These condensed milk pancakes made from only 4 ingredients are a perfect option for a delicious lazy morning. Get ready for the fluffiest, most delicious pancakes you’ve ever tasted! With just four simple ingredients—condensed milk, yogurt, egg, and self-rising flour—you’ll create an irresistibly tender and scrumptious breakfast treat.
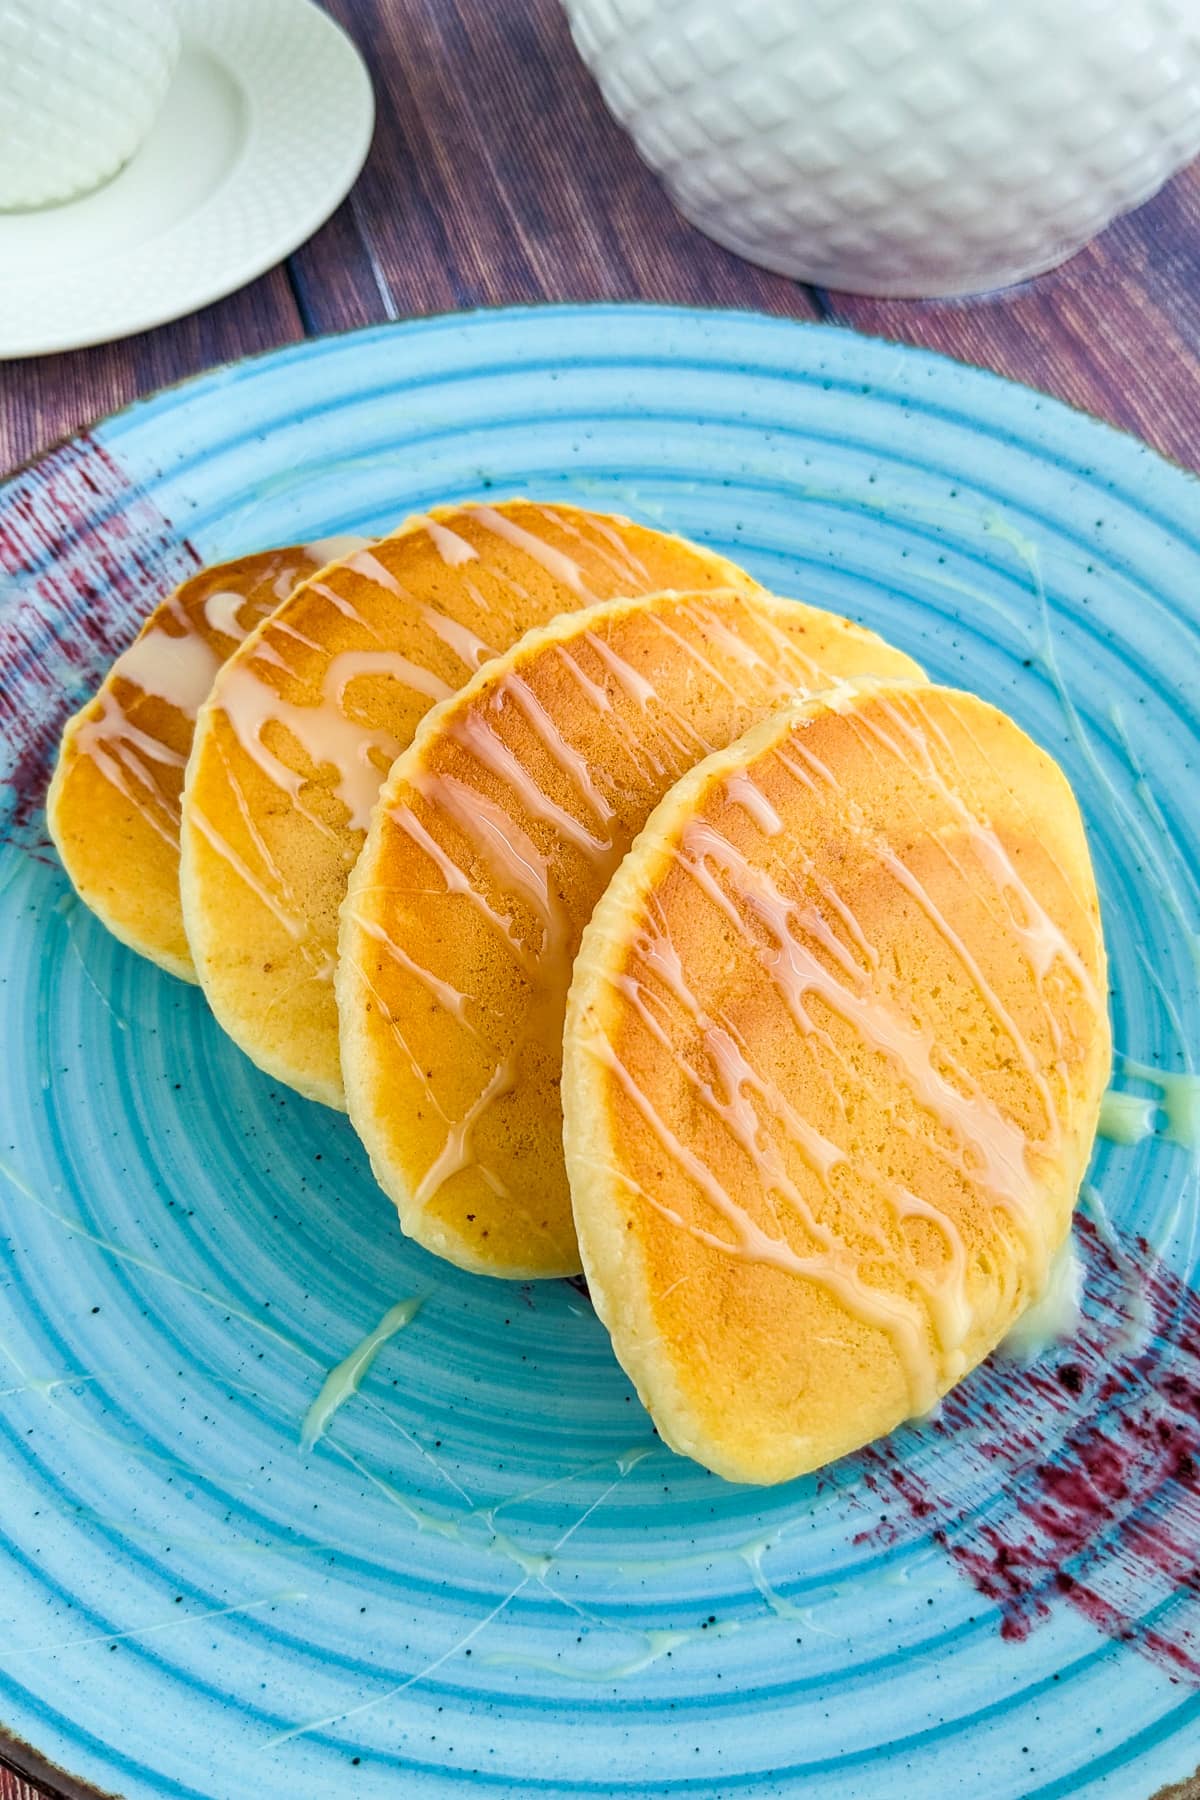
Today, I have a special treat for all of you: the incredibly scrumptious and unbelievably easy-to-make Condensed Milk Pancakes made from only 4 Ingredients.”
Yes, yes, I know what you’re thinking: “Four ingredients? Victoria, are you serious?” Oh, you bet I am! And let me tell you, these pancakes are truly magical. They’re fluffy, tender, and oh-so-delicious—everything you’ve ever wanted in a pancake!
Now, you might be wondering how we’re going to achieve such perfection with just condensed milk, yogurt, egg, and self-rising flour. Well, my friends, that’s the secret sauce!
The beauty of this recipe is in its simplicity.
The condensed milk adds sweetness and velvety smoothness, while the yogurt creates a delicate tang that balances the richness of the milk. The egg gives our pancakes structure, and the self-rising flour—well, that’s what makes them rise to heavenly heights!
These pancakes with condensed milk have a unique, irresistible flavor that sets them apart from your run-of-the-mill pancakes. And the best part? You can customize them to your heart’s content!
Picture this: a warm, fluffy pancake stack, topped with a generous drizzle of maple syrup or honey, a dollop of whipped cream, and a sprinkle of your favorite fruits or berries. Or, for the chocolate lovers out there, why not add a handful of chocolate chips to the batter, and top your stack with a luscious chocolate sauce?
The possibilities are endless, and I encourage you to let your creativity run wild!
Of course, for those of you with dietary restrictions or preferences, don’t fret! You can easily make these pancakes gluten-free by using a gluten-free self-rising flour blend. And for my vegan friends, simply replace the egg with a flax egg or your favorite egg substitute, and use dairy-free yogurt and condensed milk. Voilà!
Now, if you’re anything like me, you might be worried about the dreaded “pancake flip” (you know, that moment when you hold your breath and hope your pancake doesn’t end up on the floor or splattered across the stove).
But don’t worry, my pancake protégés! I’ve got some foolproof tips to help you achieve the perfect flip every time. With a little patience, practice, and a dash of confidence, you’ll be flipping pancakes like a pro in no time.
I must say, this recipe is perfect for those lazy weekend mornings, when you crave a delectable breakfast but don’t want to spend too much time in the kitchen. Trust me, once you’ve tried these pancakes, they’ll become your go-to recipe, and you’ll never look back!
🥰 Why You Will Love This Recipe?
- With just four ingredients—condensed milk, yogurt, egg, and self-rising flour—this recipe is a breeze to prepare. No need to rummage through your pantry for a long list of ingredients; just gather these kitchen staples, and you’re good to go!
- These pancakes come together in no time, making them perfect for busy mornings or a spontaneous treat. You can whip up the batter in minutes, and each pancake takes only a few minutes to cook. Breakfast (or dessert) will be ready before you know it!
- This basic recipe serves as a fantastic canvas for your culinary creativity. Feel free to add your favorite mix-ins, like chocolate chips or blueberries, to the batter or experiment with toppings to create your ultimate pancake stack. The sky’s the limit!
- These pancakes are sure to put a smile on everyone’s face, from kids to adults. Their fluffy texture and the subtle sweetness from the condensed milk make them a hit with even the pickiest of eaters. They’re perfect for family breakfasts or gatherings with friends.
- This recipe is easily adaptable to various dietary needs. Gluten-free, dairy-free, or vegan options are all possible with just a few simple ingredient swaps. Everyone can enjoy these pancakes, no matter their preferences or restrictions.
- There’s something undeniably comforting about a warm stack of pancakes. This recipe delivers that cozy, indulgent feeling we all crave, whether it’s for breakfast, dessert, or a late-night snack. It’s pure happiness in every bite!
🥘 Ingredients and Substitutes
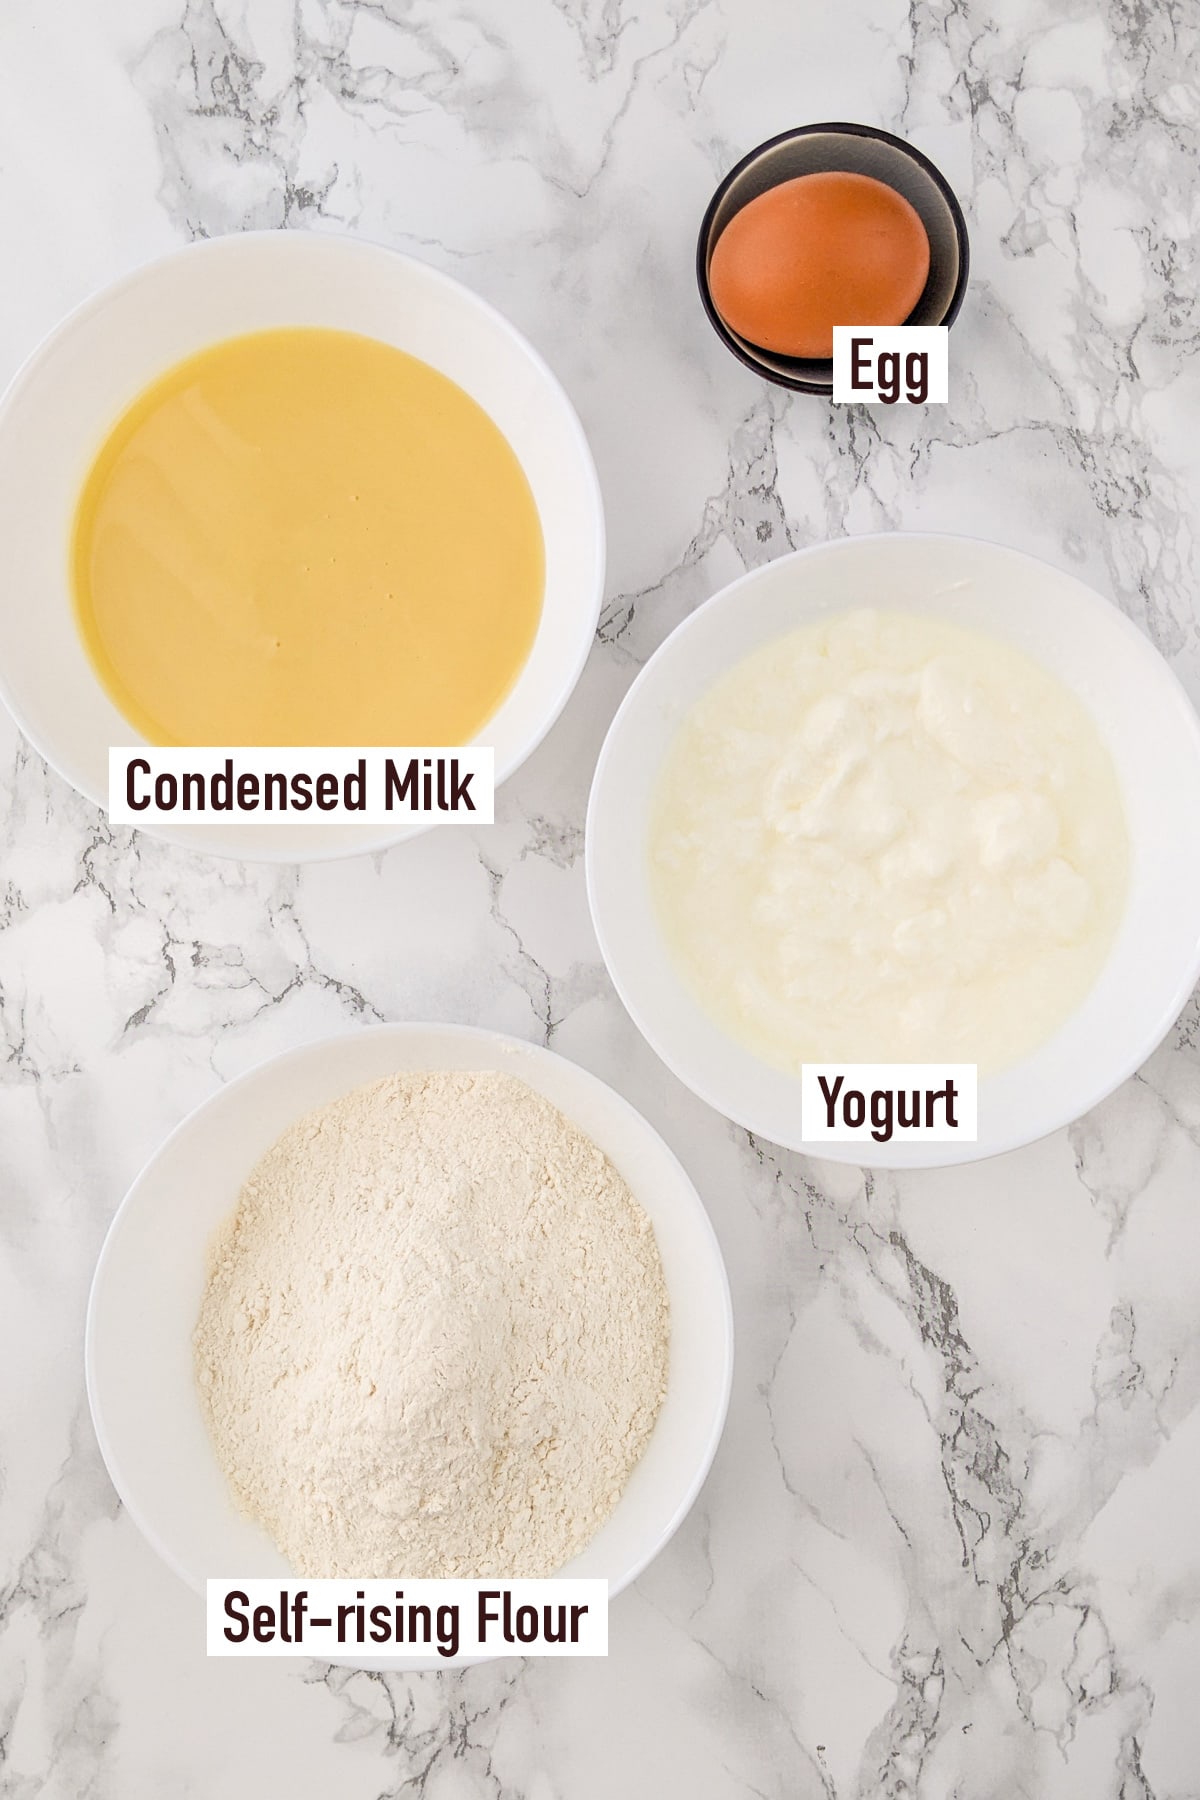
- Condensed Milk: This provides sweetness and creaminess. If you need a substitute, you could use:
- Sweetened Evaporated Milk: This will provide similar sweetness and creaminess.
- Cream of Coconut: This is a sweet, coconut-flavored substitute.
- A mix of milk and sugar: This won’t be as thick but will provide similar sweetness.
- Egg: This acts as a binder and provides moisture. If you need to substitute, you could use:
- Flaxseed Meal: Mix 1 tablespoon of flaxseed meal with 2.5 tablespoons of water for each egg.
- Applesauce: Use ¼ cup of unsweetened applesauce for each egg.
- Mashed Banana: Half of a mashed banana can replace each egg, but it will impart a banana flavor.
- Yogurt: This adds moisture and helps activate the leavening agent in the self-raising flour. If you don’t have it, you could use:
- Buttermilk: This is a traditional pancake ingredient that can replace yogurt.
- Sour Cream: This has a similar tanginess and thickness to yogurt.
- A mix of milk and vinegar: Combine 1 cup of milk with 1 tablespoon of vinegar and let it sit for 5 minutes to curdle slightly.
- Self-raising Flour: This flour contains a leavening agent. If you’re out of self-raising flour, you could use:
- All-Purpose Flour + Baking Powder: For each cup of self-raising flour, use 1 cup of all-purpose flour and 1 ½ teaspoons of baking powder.
- Whole Wheat Flour + Baking Powder: This will create a denser, more hearty pancake.
- Gluten-Free Flour + Baking Powder: This is a good option for those with gluten intolerance.
Quick Note: Please keep in mind that substitutions may change the flavor, texture, and nutritional content of the pancakes.
How to Master Pancake Flipping?
- Be patient. Wait for bubbles to form on the surface of the pancake and the edges to become slightly dry. This indicates that the pancake is ready to be flipped. Rushing the process can result in undercooked or torn pancakes.
- Use the right tools. A wide, flat spatula is essential for successfully flipping pancakes. Make sure your spatula can easily slide under the pancake without damaging it.
- Confidence is key. When you’re ready to flip, slide the spatula under the pancake, lift it slightly, and confidently turn it over with a quick, smooth motion. Hesitating or being too gentle can lead to a messy flip.
- Keep the pan greased. Lightly grease the pan with oil or butter between each batch of pancakes to prevent sticking. Use a paper towel or pastry brush to evenly distribute the grease.
- Maintain consistent heat. Cook your pancakes over medium-low heat, adjusting the temperature as needed. Too high of heat can cause the pancakes to burn before they’re cooked through, while too low of heat can result in uneven cooking.
- Practice makes perfect. Don’t be discouraged if your first few pancakes aren’t perfect. It takes a bit of practice to get the timing and technique just right. Keep at it, and you’ll soon master the art of pancake flipping.
👩🍳 Step-by-step Directions
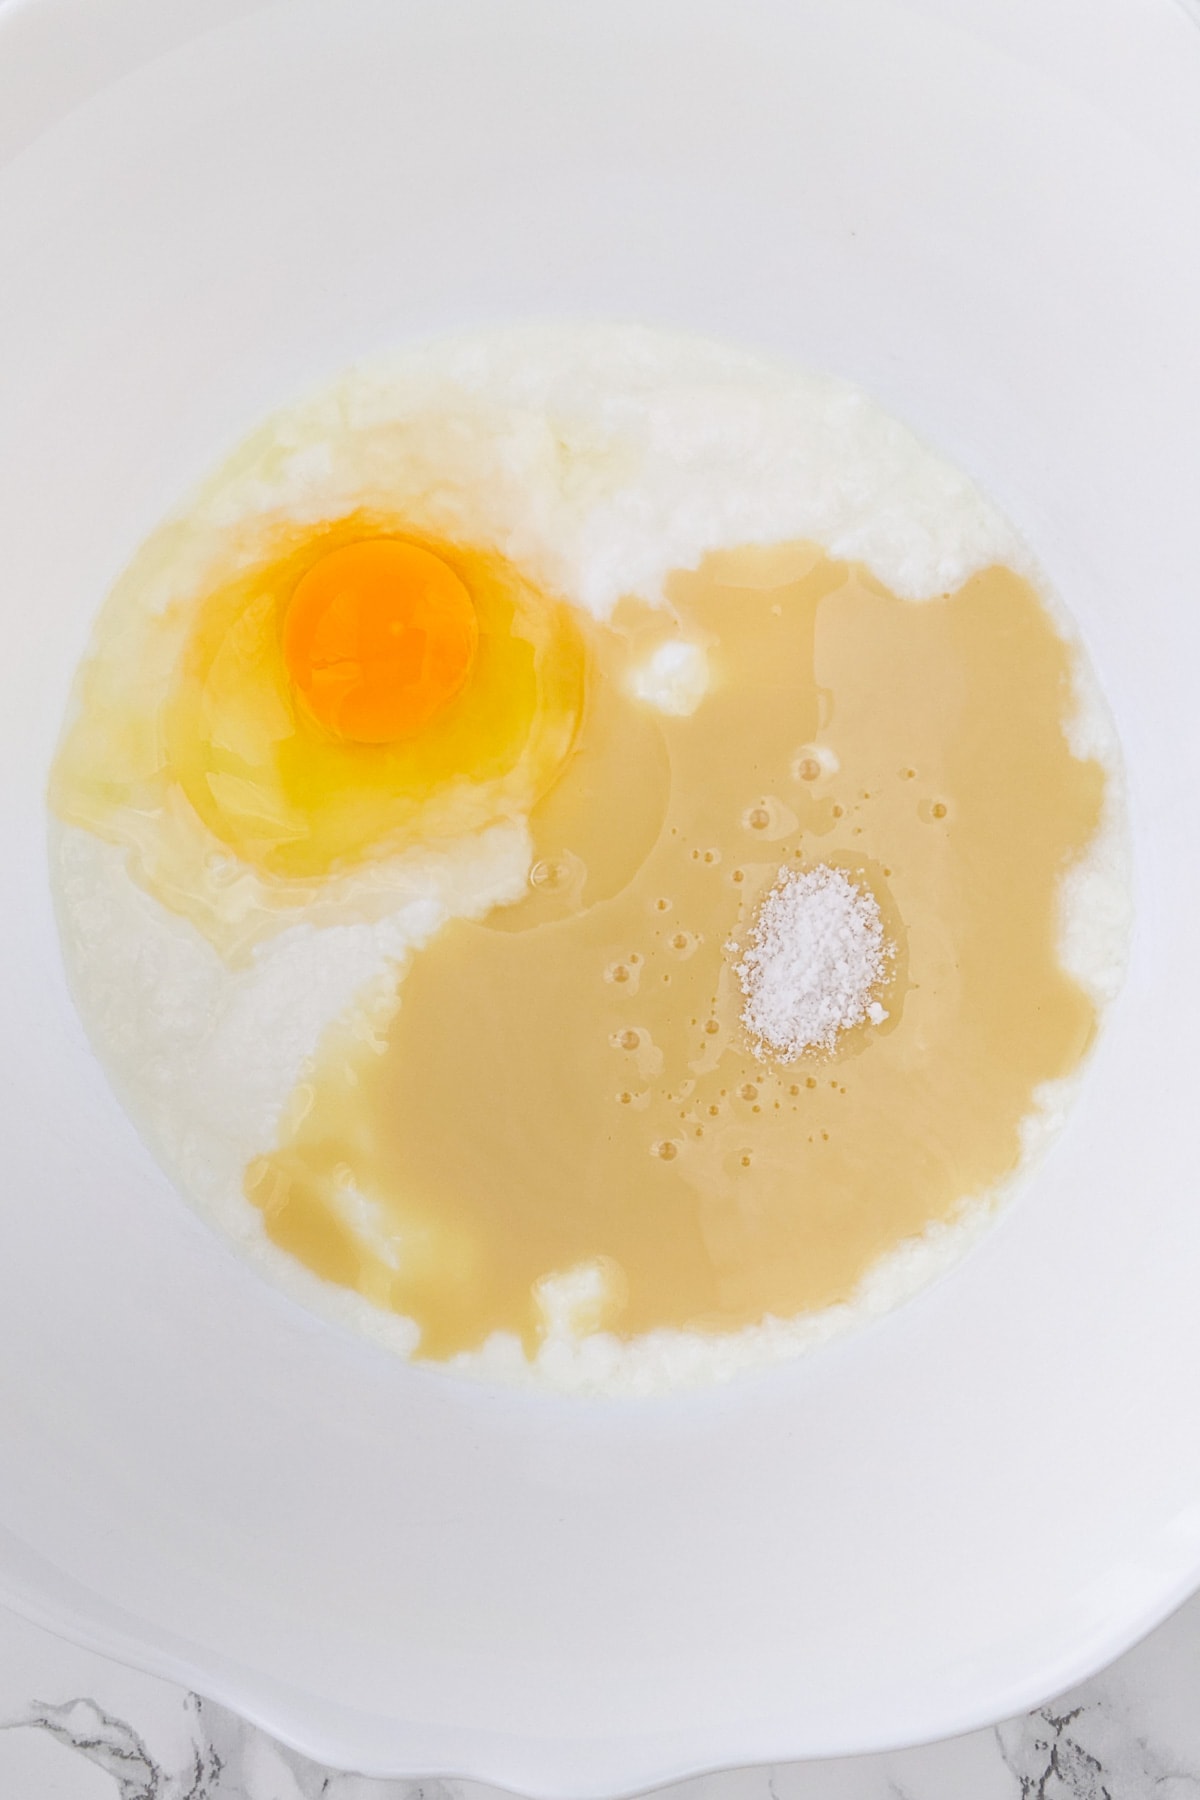
Take a large bowl and put the wet ingredients in it. In the end, add a little salt.
Mix the composition until it becomes uniform.
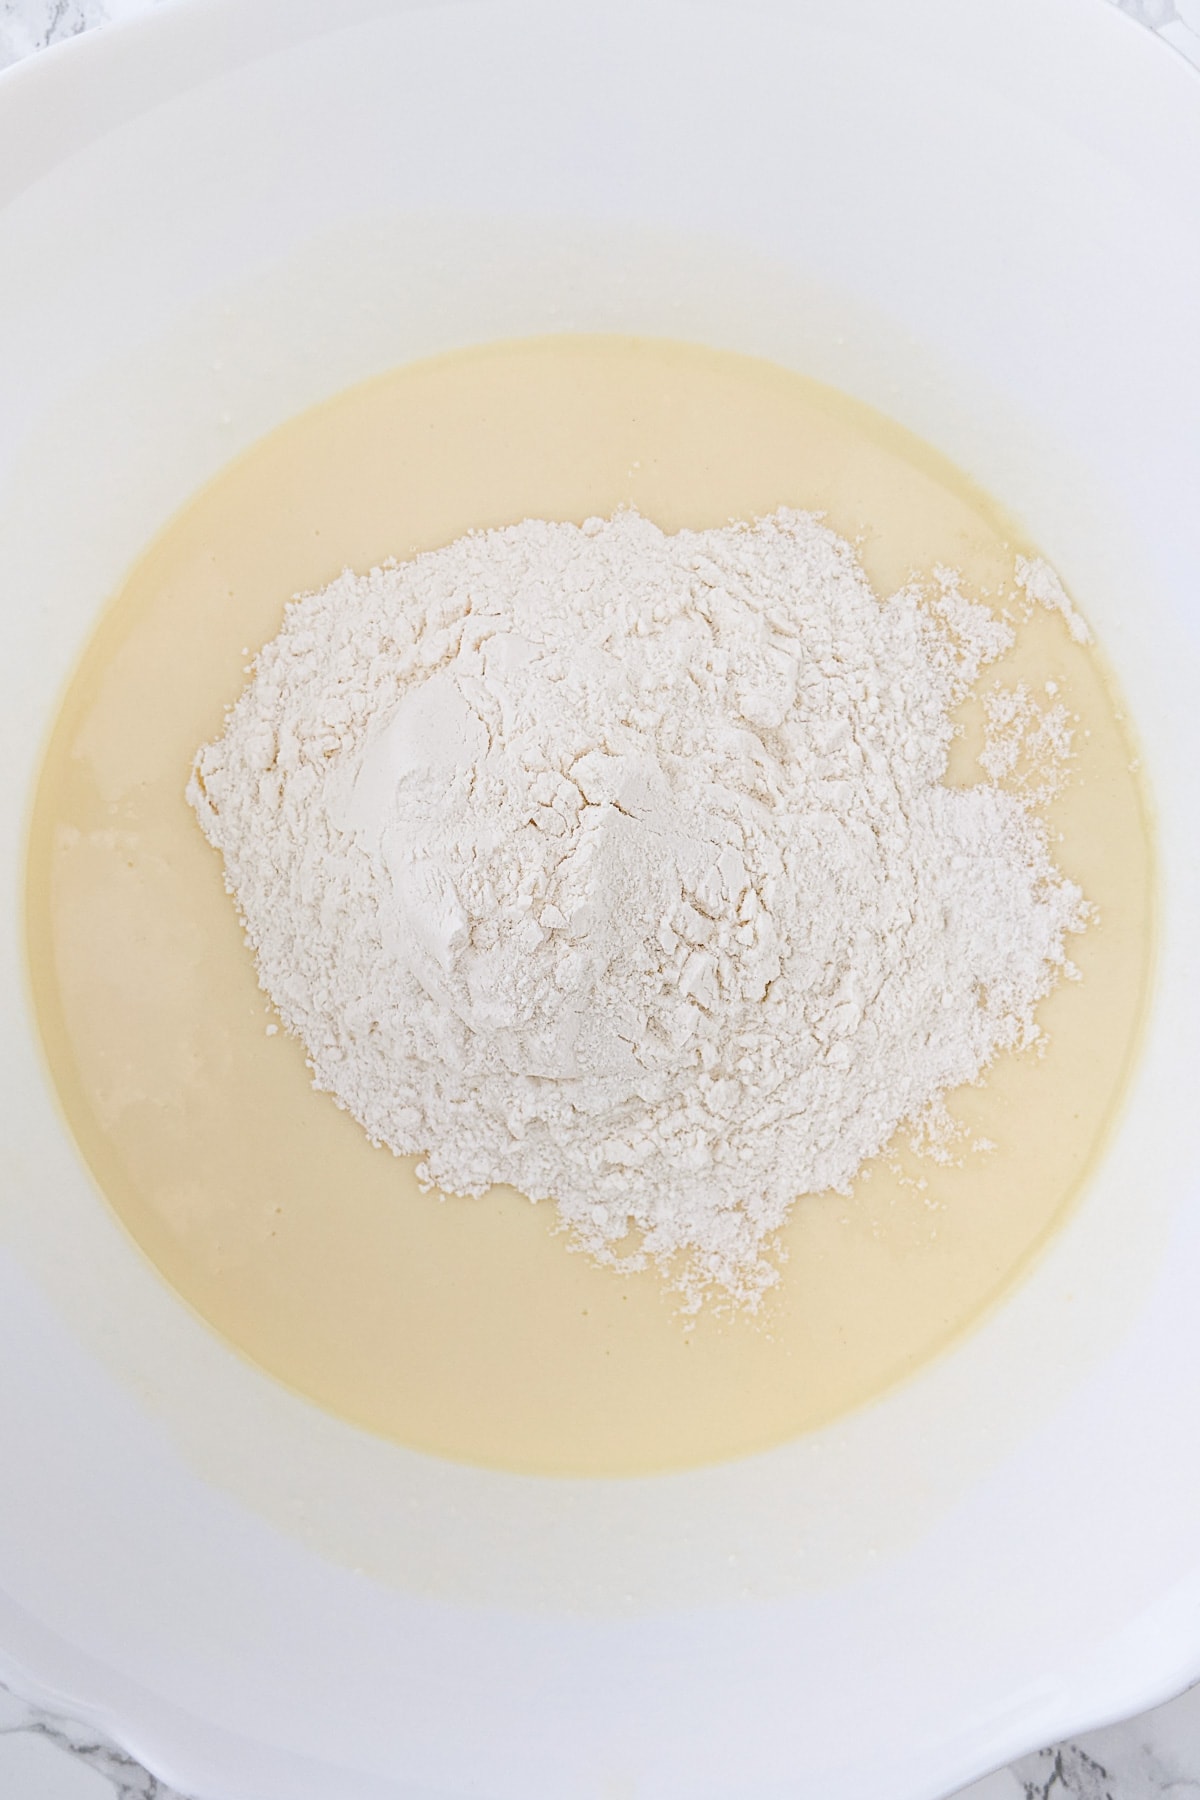
After this, add the self-rising flour and mix for a few seconds until you incorporate the flour.
Quick Note: Do not mix the flour for too long because if you mix for a longer period of time, the pancakes will not be as fluffy.
Pro Tip: Let the dough rest for about 15 minutes. By doing that, the gluten from the batter will relax and you will get fluffier pancakes.
After this, you can start frying pancakes.
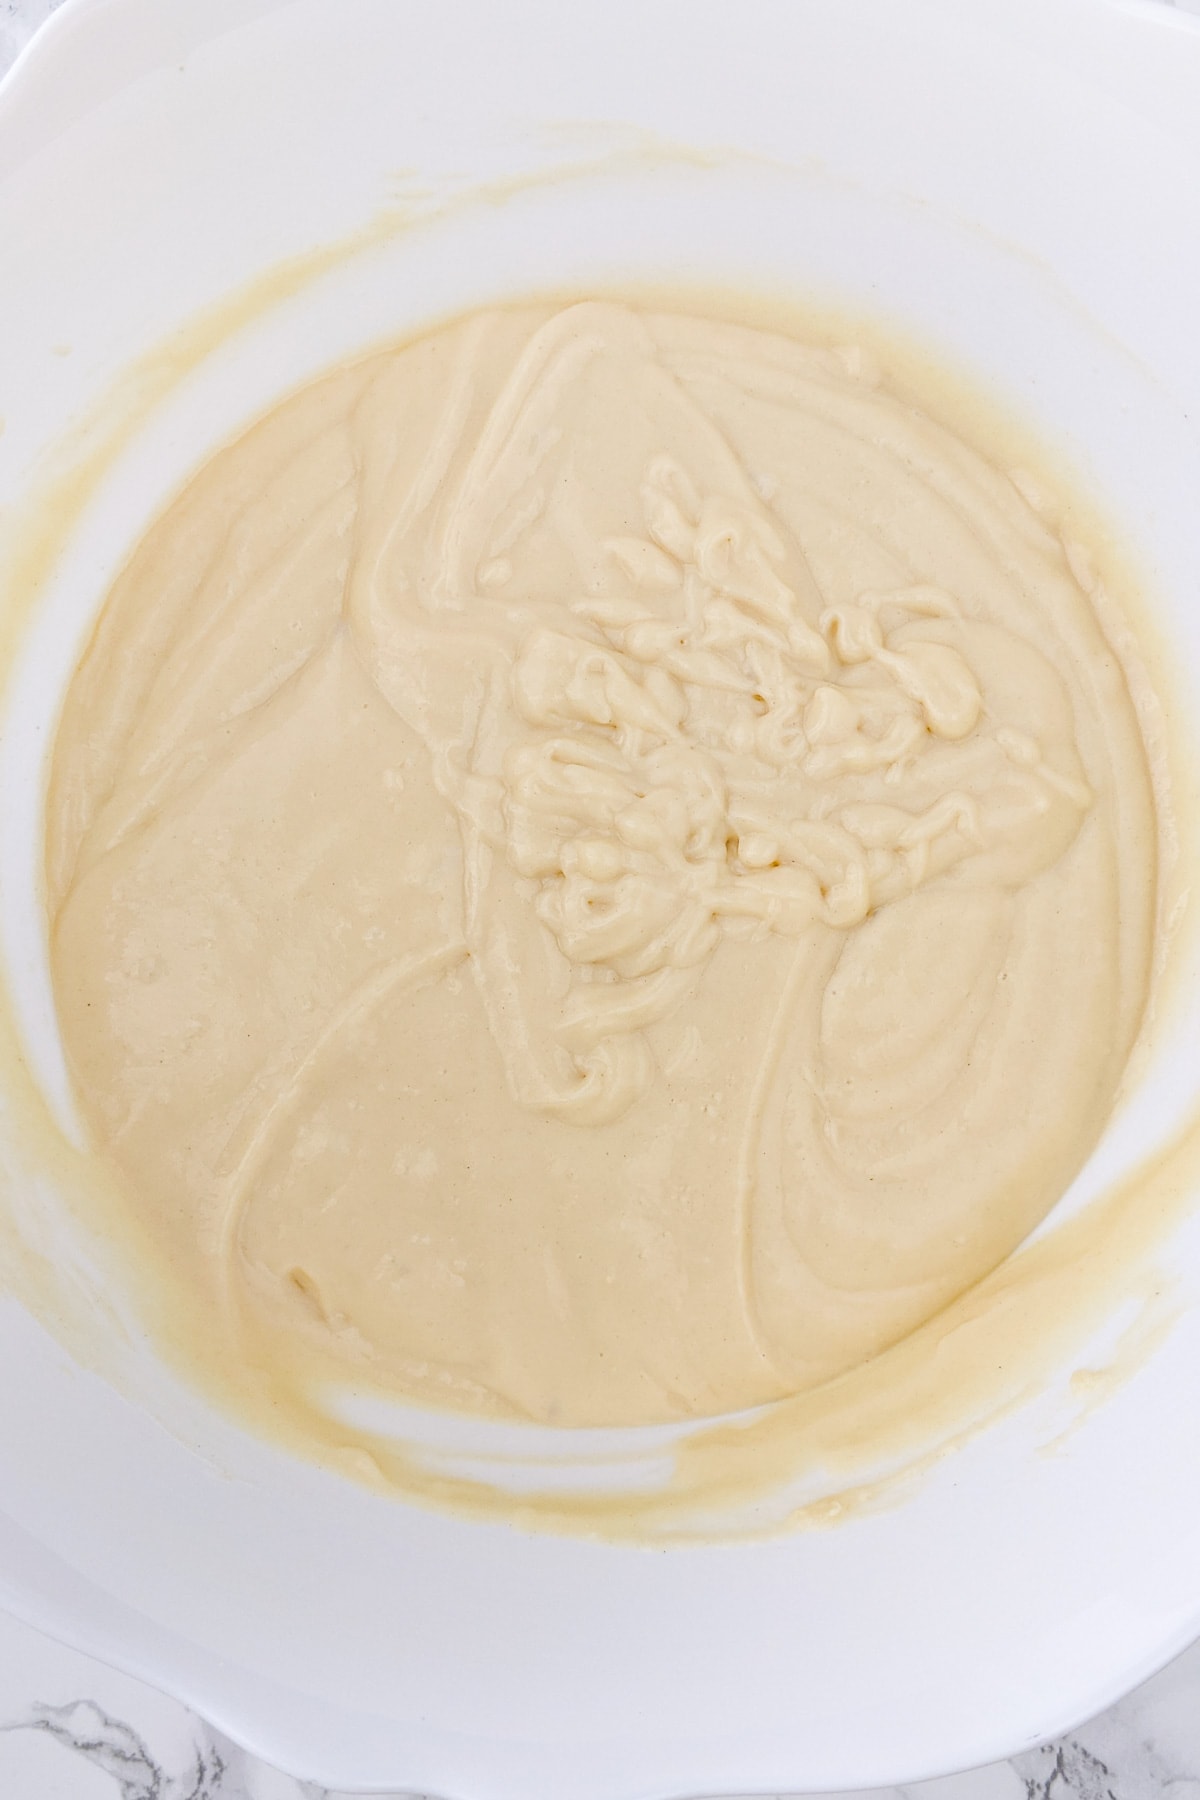
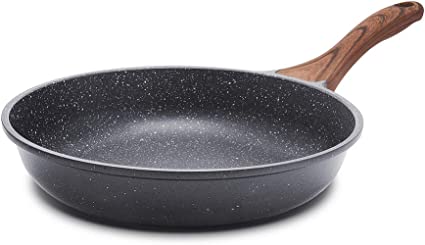
Take a pan with a thick bottom and non-stick. Using a spoon, form the pancakes.
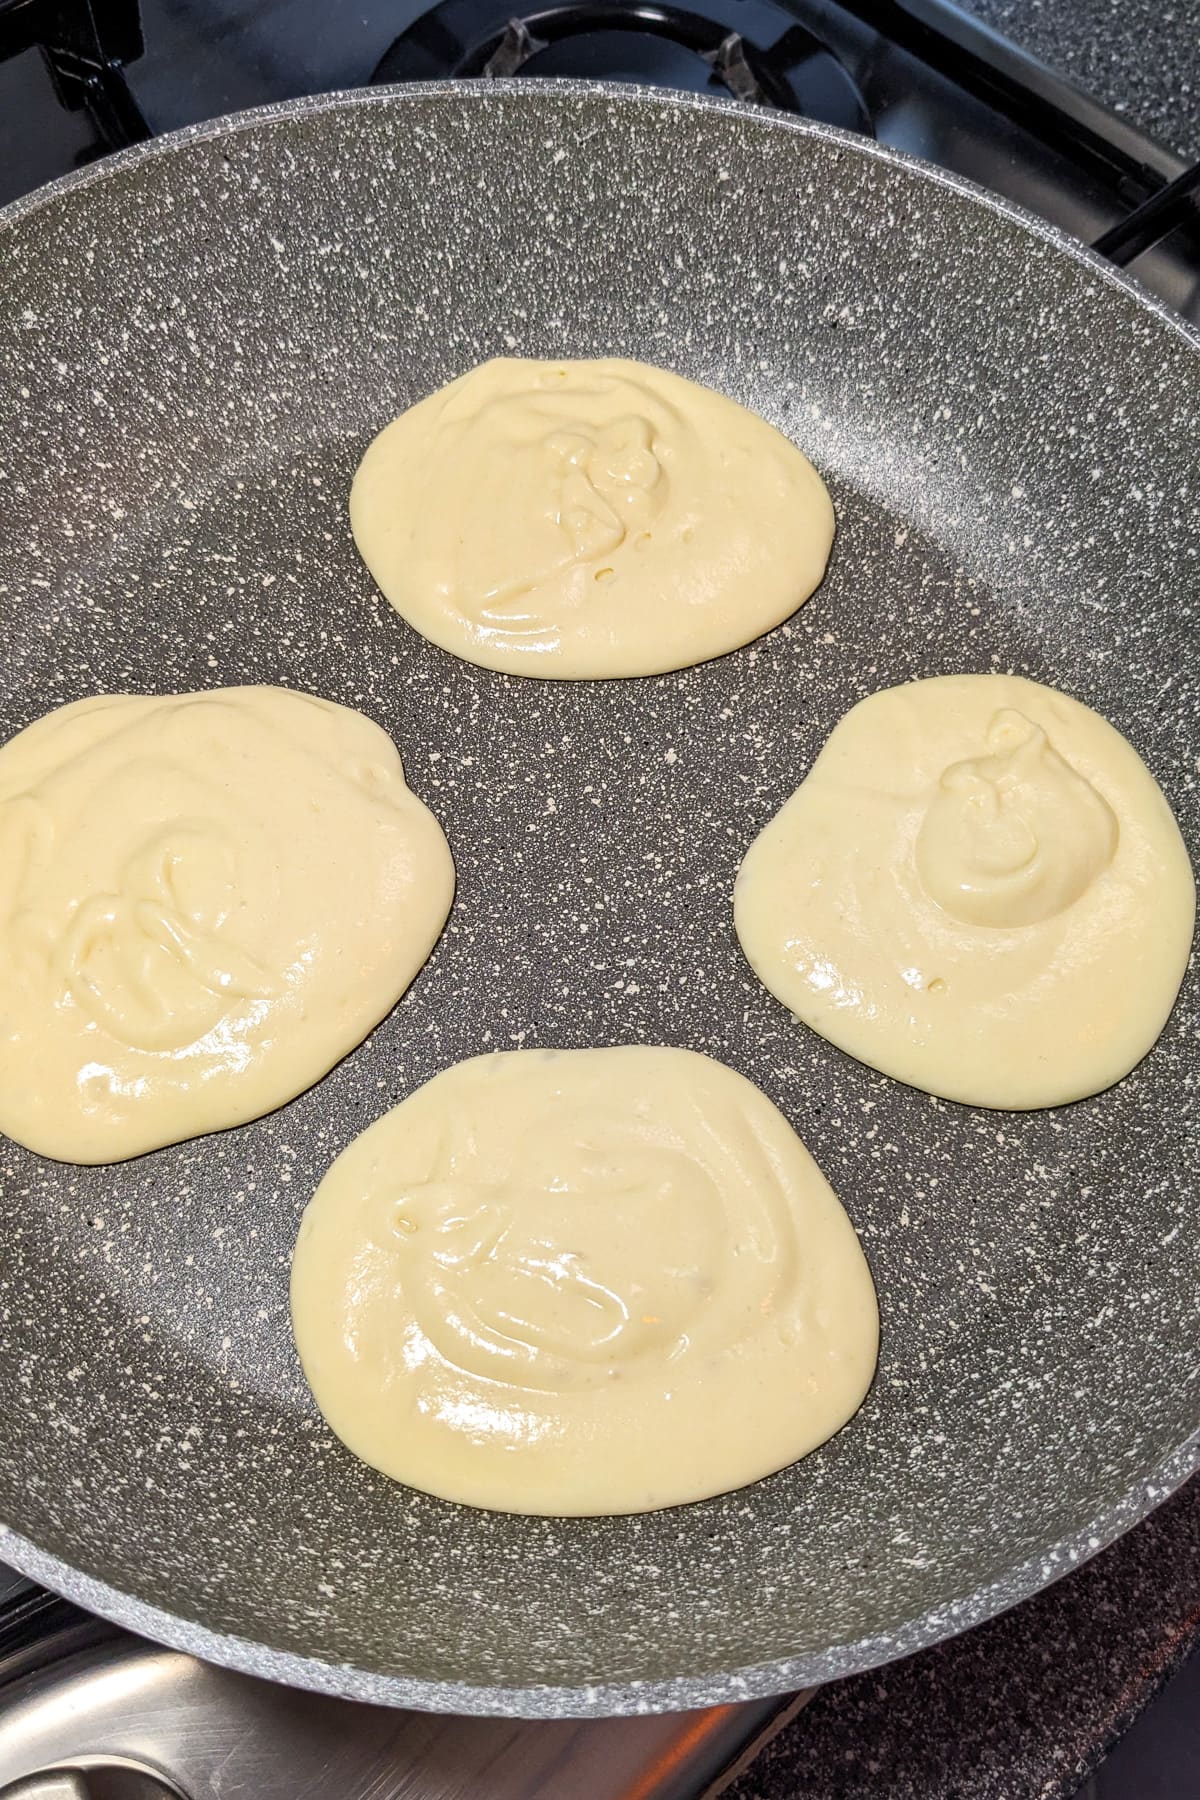
Cover the frying pan with a lid and let them fry on low-medium heat for about 4 minutes or until the surface becomes perforated and has a more matte appearance.
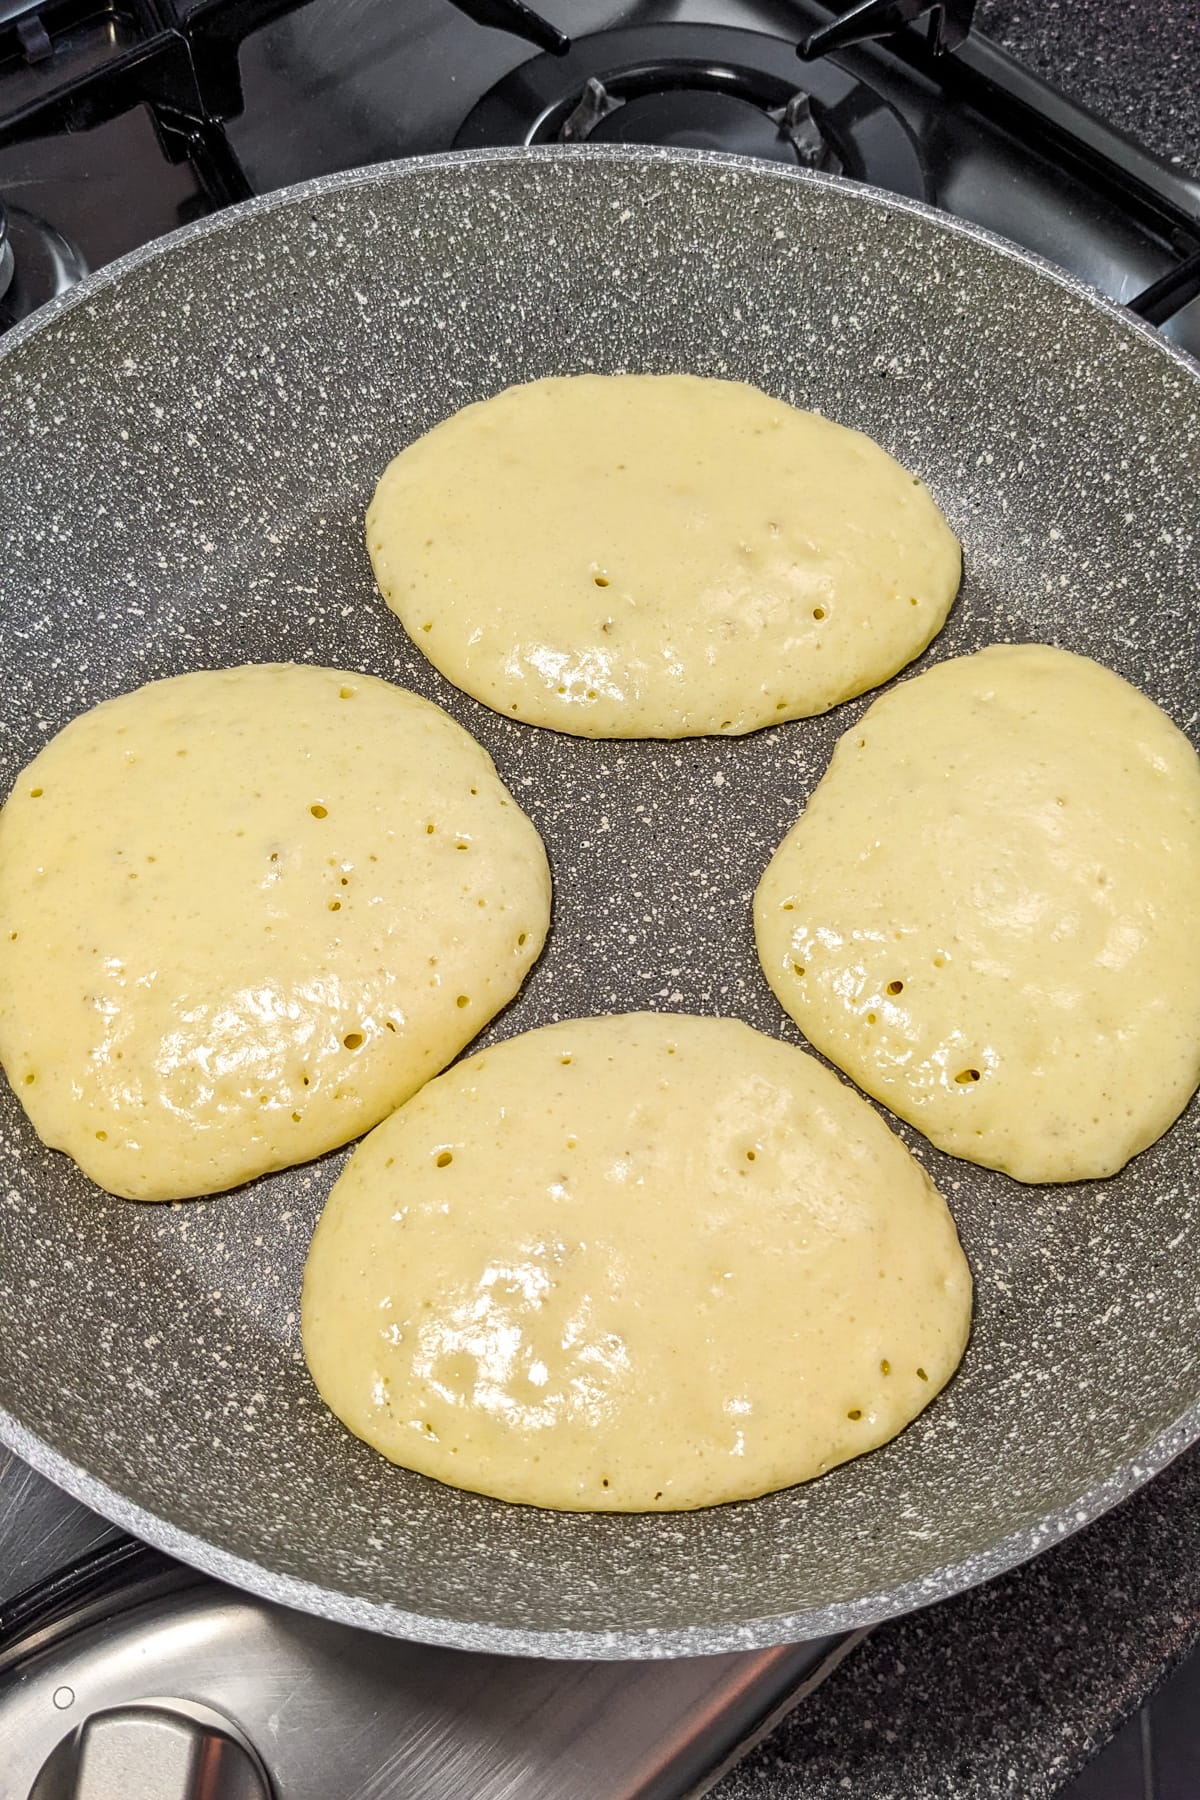
After this, flip the pancakes to the other side and fry for another 2-3 minutes.
Repeat these steps with the rest of the dough mix until you finish it all.
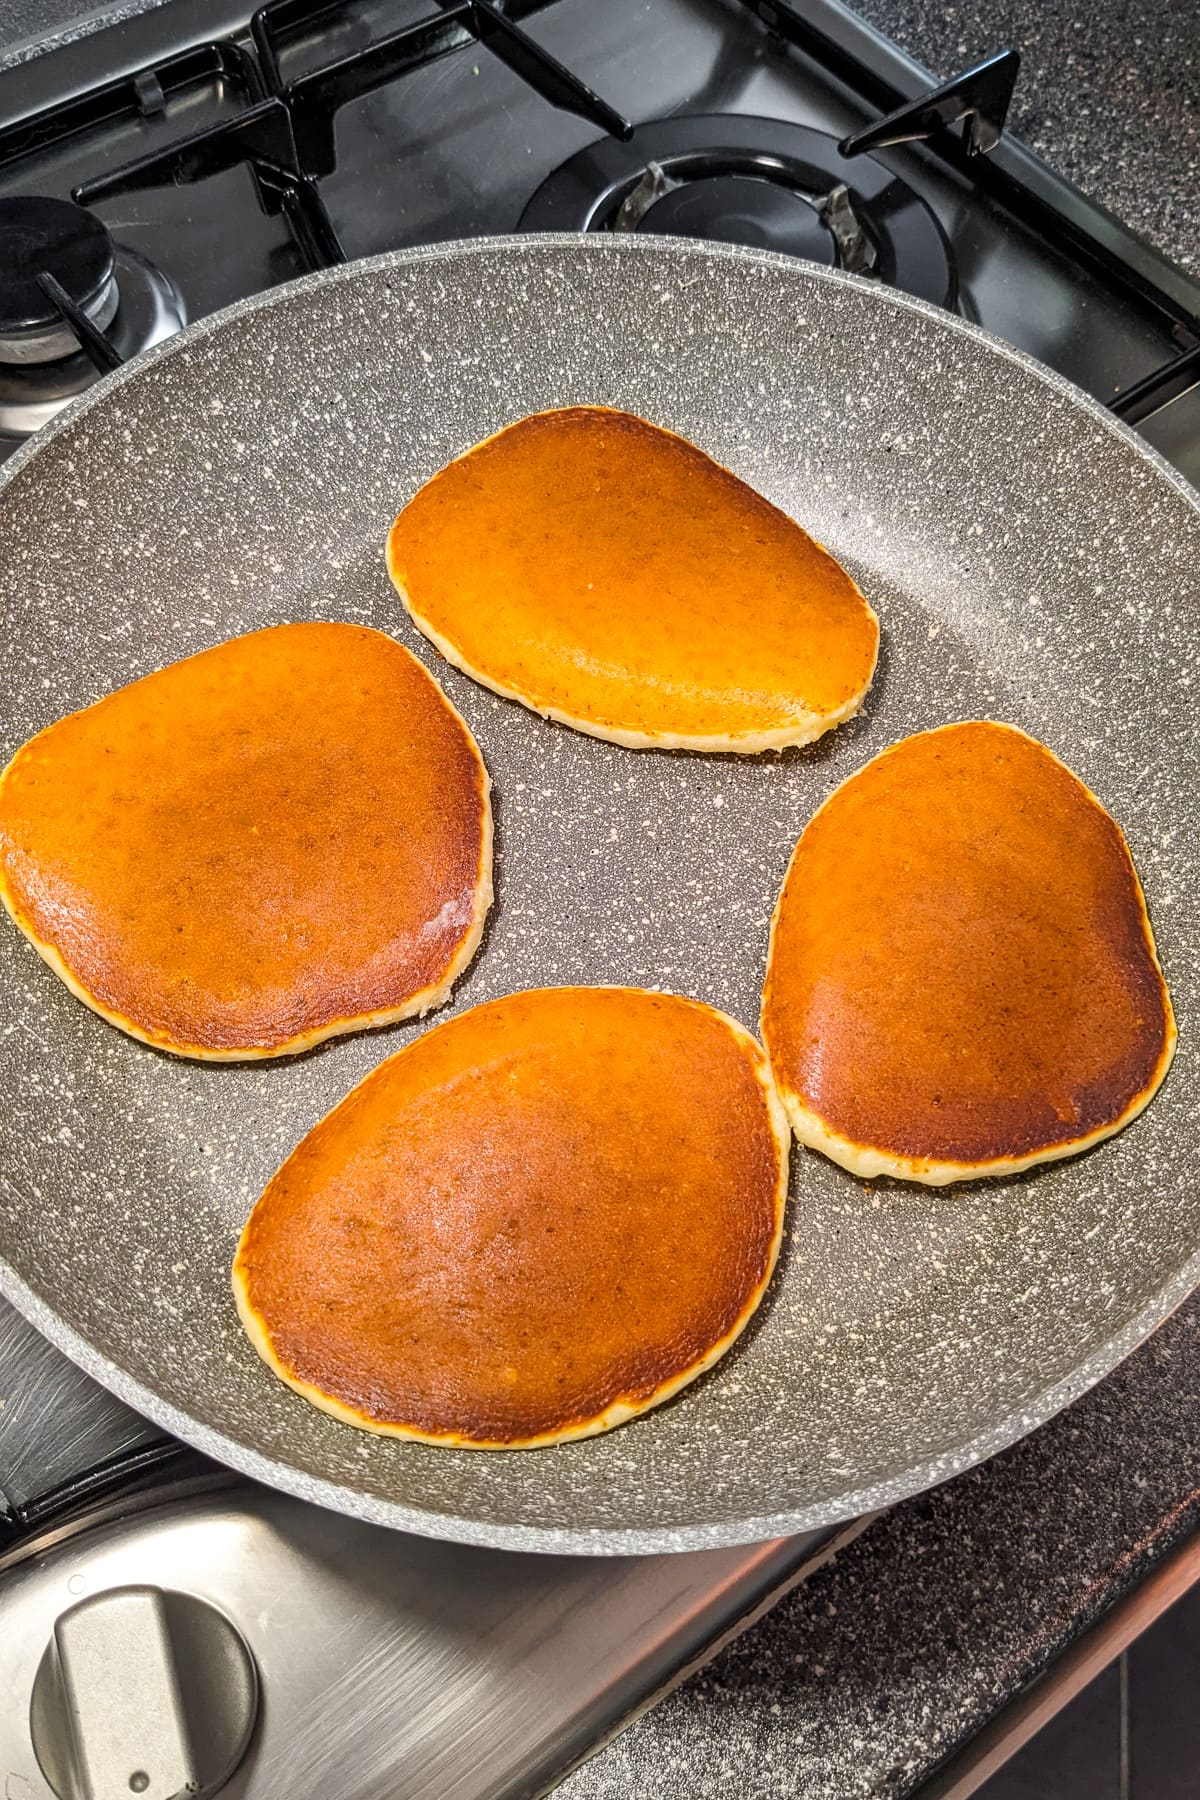
Serve with fresh fruit, jam, or condensed milk.
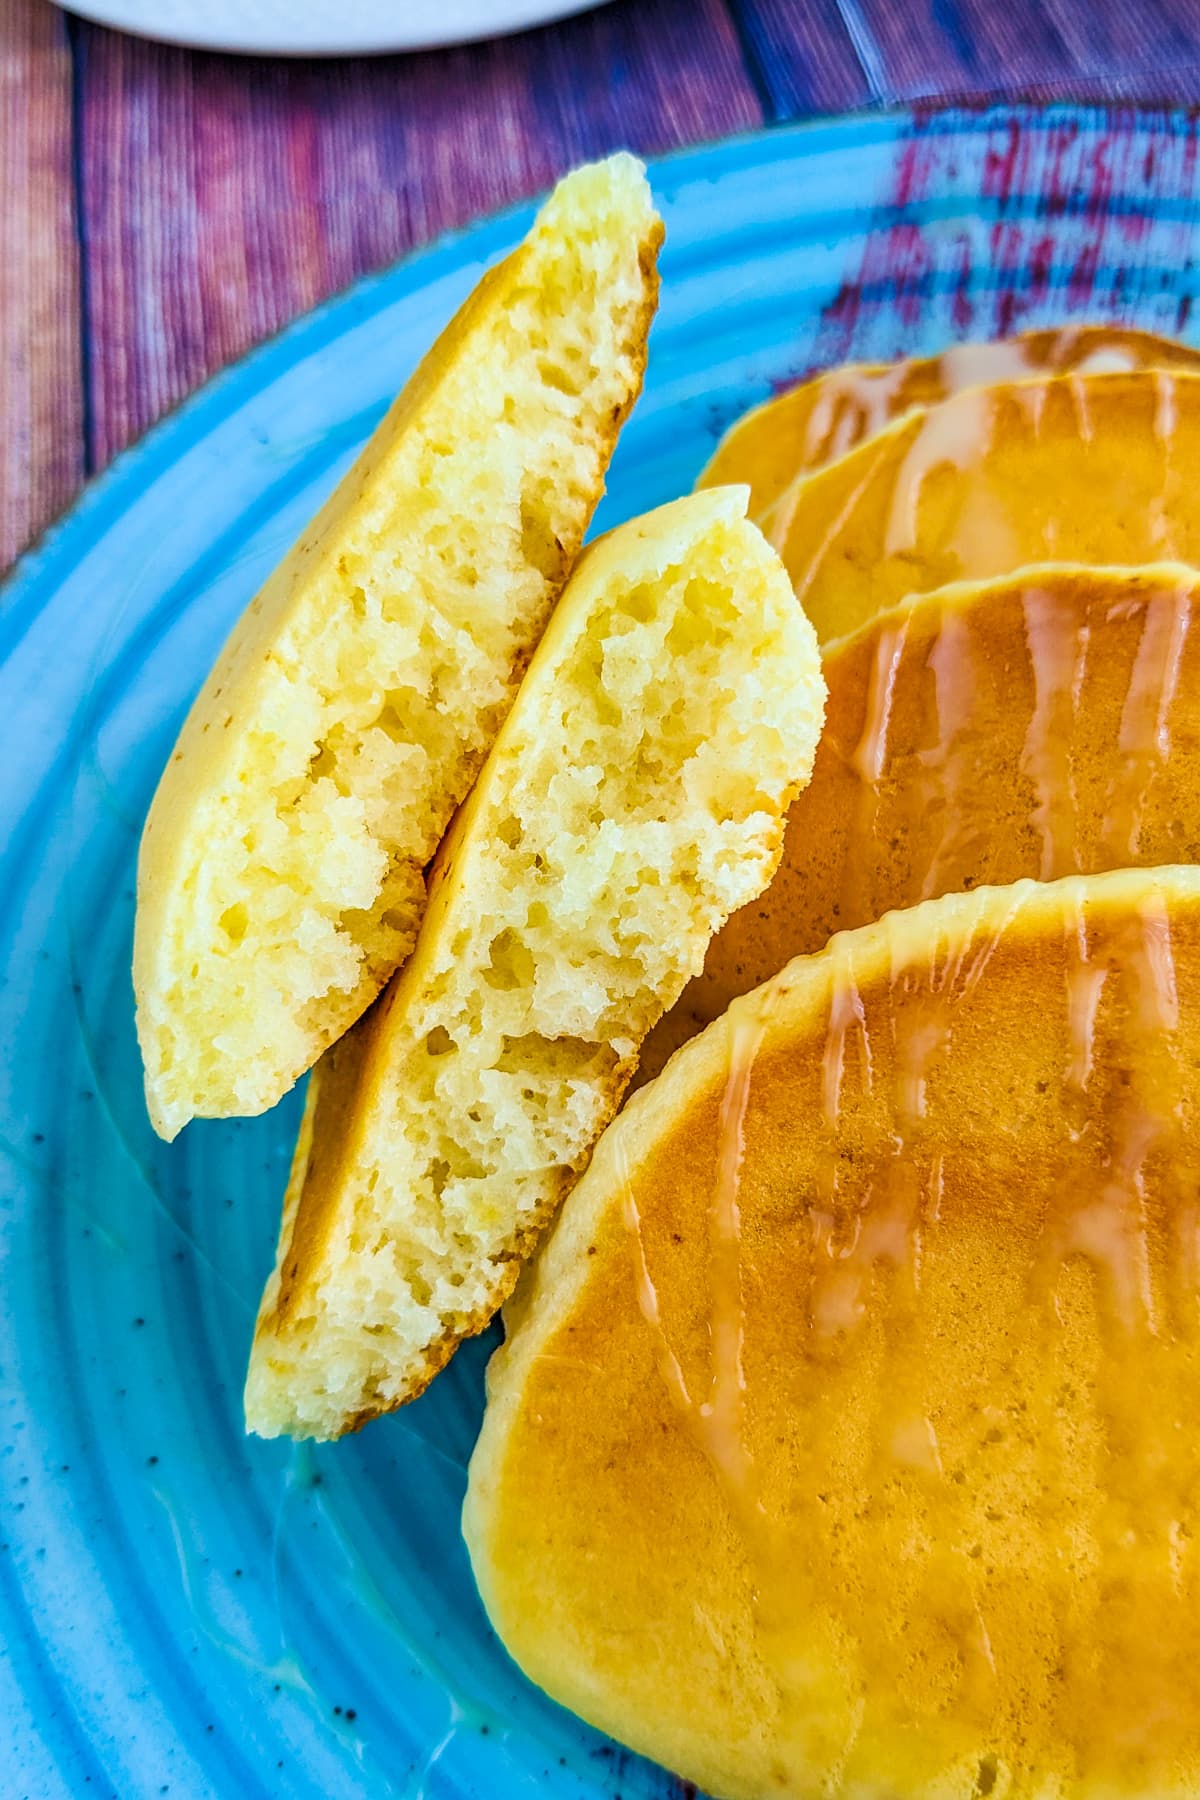
In the end, you should get a fluffy texture on the inside and a thin, golden crust on the outside.
🍽️ Serving Suggestions
- Pair your pancakes with crispy bacon or sausage, and a side of scrambled eggs for a hearty and satisfying breakfast feast.
- Top your pancakes with a colorful assortment of fresh fruits, such as sliced strawberries, blueberries, raspberries, banana slices, or kiwi. You can also add a dollop of whipped cream or Greek yogurt for extra creaminess.
- Drizzle your pancakes with warm Nutella or peanut butter, and sprinkle some chopped nuts (like almonds, pecans, or walnuts) on top for added crunch and flavor.
- Top your pancakes with warm, cinnamon-spiced caramelized apples, and a drizzle of caramel sauce for a decadent autumn-inspired treat.
- Combine sliced mango, pineapple, and shredded coconut for a tropical fruit topping. You can also add a scoop of coconut ice cream or a splash of coconut cream for an extra tropical touch.
- Simmer your favorite berries (like strawberries, blueberries, or raspberries) with a touch of sugar and lemon juice to create a delicious berry compote. Pour it over your pancakes and finish with a dollop of whipped cream or mascarpone cheese.
- Create a classic Bananas Foster sauce by cooking sliced bananas in a mixture of butter, brown sugar, and rum or brandy. Spoon this warm, gooey sauce over your pancakes for a truly indulgent experience.
- Transform your pancake stack into an ice cream sundae by adding a scoop of your favorite ice cream, a drizzle of chocolate or caramel sauce, and a cherry on top. Perfect for a special dessert or a fun weekend brunch!
🏆 Expert Tips. What to Pay Attention To?
- When combining the ingredients, be gentle with your mixing. Over-mixing can result in tough, dense pancakes instead of the light and fluffy texture we’re aiming for. Use a whisk or a fork to gently fold the ingredients together until just combined. A few lumps in the batter are perfectly fine.
- Let your pancake batter rest for a few minutes before cooking. This allows the self-rising flour to work its magic, resulting in even fluffier pancakes. You can use this time to preheat your pan or griddle and gather your toppings.
- Ensure that your pan or griddle is properly preheated before you start cooking the pancakes. A medium-low heat works best for cooking pancakes evenly without burning them. To test if your pan is ready, sprinkle a few drops of water on the surface. If they sizzle and evaporate quickly, your pan is good to go.
- Use a small amount of oil or butter to lightly grease your pan. This prevents the pancakes from sticking and gives them a beautiful golden-brown color. You can use a pastry brush or a paper towel to evenly spread the oil or butter.
- Use a ladle or a measuring cup to pour the batter onto the pan. This ensures that your pancakes are uniform in size and cook evenly. Pour the batter gently and try not to spread it out too much. The pancakes will naturally spread and puff up as they cook.
- Watch for bubbles forming on the surface of the pancake and the edges becoming slightly dry. This is a good indication that it’s time to flip. Typically, it takes about 2-3 minutes for the first side and 1-2 minutes for the second side. Keep an eye on the heat and adjust as needed to avoid overcooking.
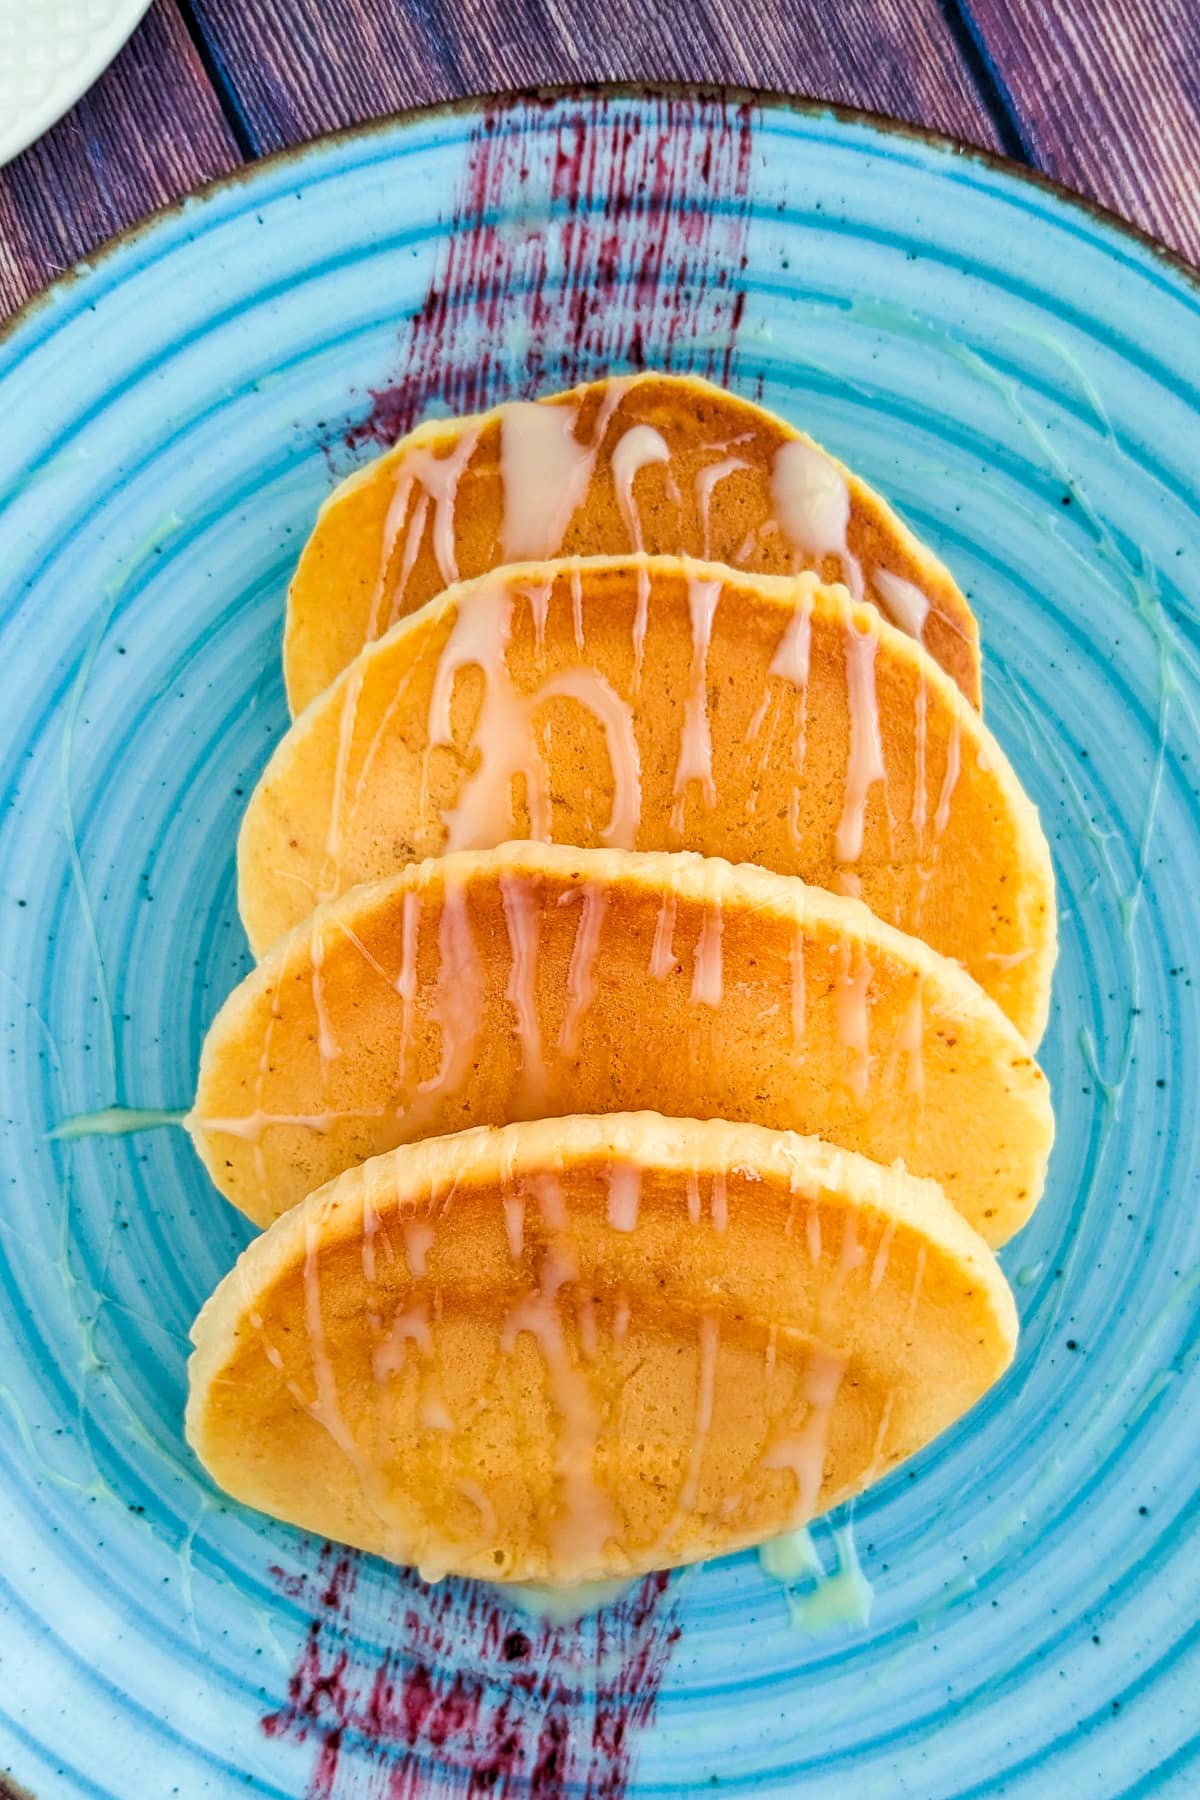
- Finally, don’t forget to make your pancake stack visually appealing. Arrange the pancakes on a plate, and top them with your favorite garnishes, such as fresh fruit, whipped cream, or a dusting of powdered sugar.
🤔 Answering Your Questions:
Can I Use Regular Flour Instead of Self-Rising Flour?
Yes, you can use regular all-purpose flour. To make it work like self-rising flour, add 1 ½ teaspoons of baking powder and ¼ teaspoon of salt per cup of all-purpose flour.
What if I Don’t Have Any Yogurt? Can I Use Something Else?
You can replace the yogurt with an equal amount of sour cream or buttermilk. If you don’t have either of those, you can make a buttermilk substitute by adding 1 tablespoon of lemon juice or white vinegar to 1 cup of milk and letting it sit for 5 minutes.
Can I Make These Pancakes Ahead of Time and Reheat Them Later?
Yes, you can make the pancakes ahead of time. Allow them to cool completely, then store them in an airtight container in the refrigerator for up to 3 days. To reheat, simply warm them in a microwave, oven, or toaster oven until heated through.
Can I Add Mix-Ins Like Chocolate Chips or Blueberries to the Batter?
Yes! Feel free to add your favorite mix-ins to the batter. Just gently fold them in after you’ve combined the other ingredients. Be careful not to overmix the batter, as this can result in tough pancakes.
My Pancakes Are Not Cooking Evenly. What Am I Doing Wrong?
Uneven cooking could be due to the temperature of your pan or griddle. Make sure it’s preheated to medium-low heat and adjust the temperature as needed. Also, make sure you’re using a consistent amount of batter for each pancake so they cook evenly.
📋 Recipe Card:
Condensed Milk Pancakes From 4 Ingredients
Equipment
Ingredients
- ⅔ cup Condensed Milk
- 1 Egg
- ¾ cup Yogurt
- 1 ¼ cup Self-rising flour
Instructions
- Mix the wet ingredients.⅔ cup Condensed Milk, 1 Egg, ¾ cup Yogurt
- After that, add the self-rising flour. Incorporate it well.1 ¼ cup Self-rising flour
- Take a frying pan, and preheat it. Form the pancakes.
- Fry on one side for about 4 minutes, until the appearance become a little bit matte.
- Flip on another side and fry for another 2-3 minutes.
- Repeat the previous steps until you will use all the pancake mix that we just made.
Quick Note
I highly recommend reading the entire recipe to find more tips and notes about this recipe. Read Full Recipe ⇑
Notes
- The pancake batter is supposed to be thick and a little lumpy. Avoid overmixing the batter, as mixing too vigorously will result in flatter, tougher pancakes.
- Because the batter is thick, portion it with a spoon. This will help you control the size of your pancakes and ensure they cook evenly.
- After preparing the batter, let it rest for 15 minutes before cooking. This allows the gluten in the batter to relax, resulting in a lighter, fluffier pancake.

Leave a Reply