Made with smoky kielbasa, crisp green beans, and hearty potatoes, this skillet Kielbasa with green beans recipe transforms simple ingredients into a rich, flavorful dinner. It’s a swift, budget-friendly meal that elevates your skillet experience, ready in under an hour.
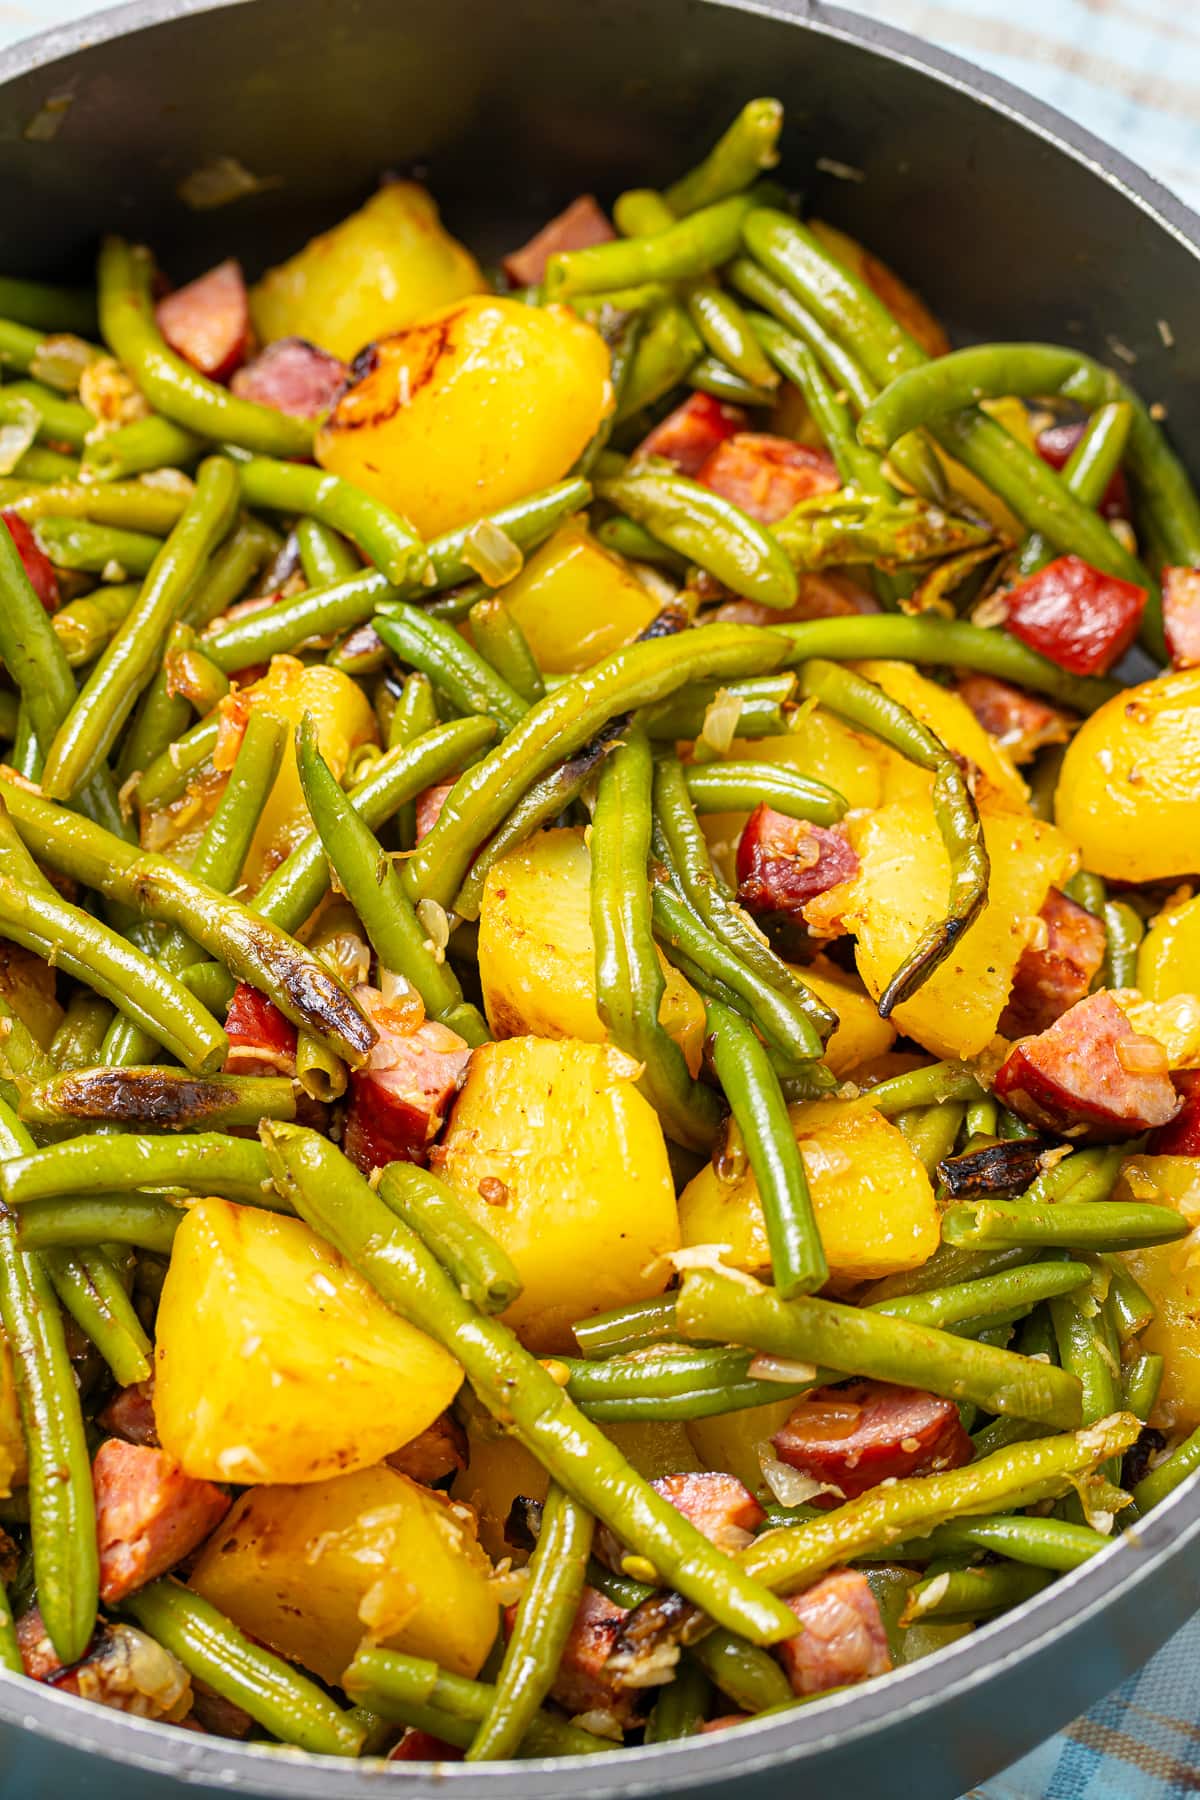
I love how a good skillet meal, especially one made from simple ingredients like green beans, potatoes, kielbasa, onion, and garlic, just hits the spot. This recipe has been a lifesaver on busy nights.
Seriously, 10 minutes to prep and 35 to cook, and you’re all set with a meal that’s not just about getting fed but about enjoying what you eat.
Let’s get into how easy and tasty this is!
🥘 Ingredients and Substitutes
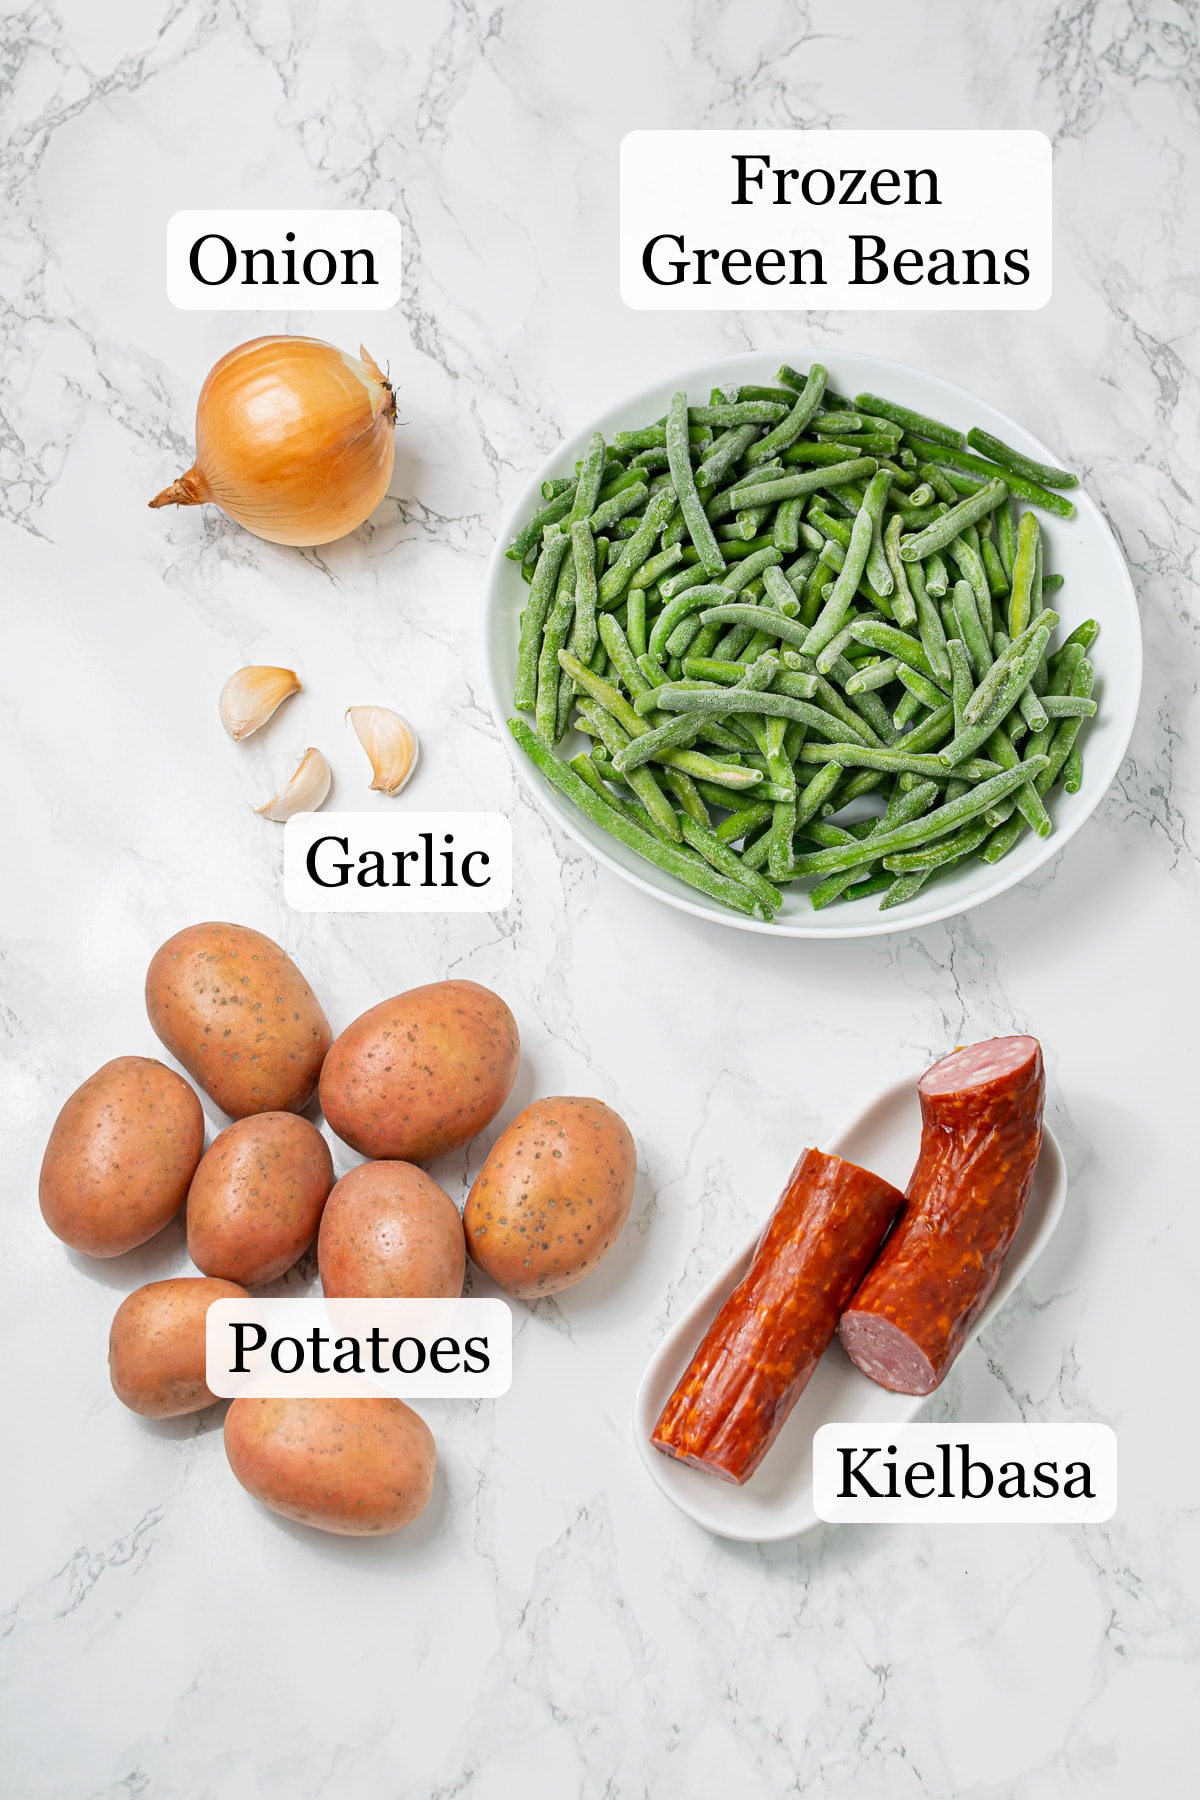
- Green beans throw in that fresh crunch and make the dish pop with color. Can’t find them? Snap peas or bell peppers work great too, just a tiny bit different in taste.
- Potatoes are what make this skillet hearty. I’m all about Yukon golds for their creamy texture, but hey, sweet potatoes are a fun swap if you’re up for something sweet and hearty.
- Kielbasa brings that deep, smoky flavor. No kielbasa? No problem. Chorizo or andouille can do the trick, just know it’s gonna tweak the flavor a bit.
- Onion really builds up the taste, making everything richer. If you want to mix it up, try shallots. They’re a bit softer in flavor but still pack a savory punch.
- And garlic? It’s the secret weapon for that aroma we all love. If you’re out of fresh garlic, a teaspoon of garlic powder or granulated garlic will do in a pinch, just won’t be as sharp.
👩🍳 Step-by-step Directions
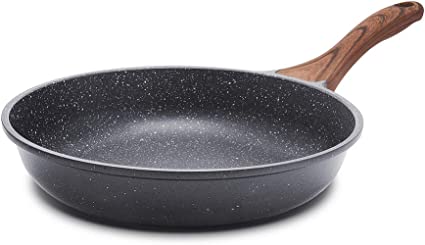
Quick Note: Grab a deep pan with high sides, big enough so you can mix everything without making a mess.
First, get your ingredients ready.
Wash and chop your veggies: dice the onion nice and fine, and chop the potatoes into quarters or halves, depending on how big they are. Then, cut the salami into bits that are just a tad smaller than your potato pieces.
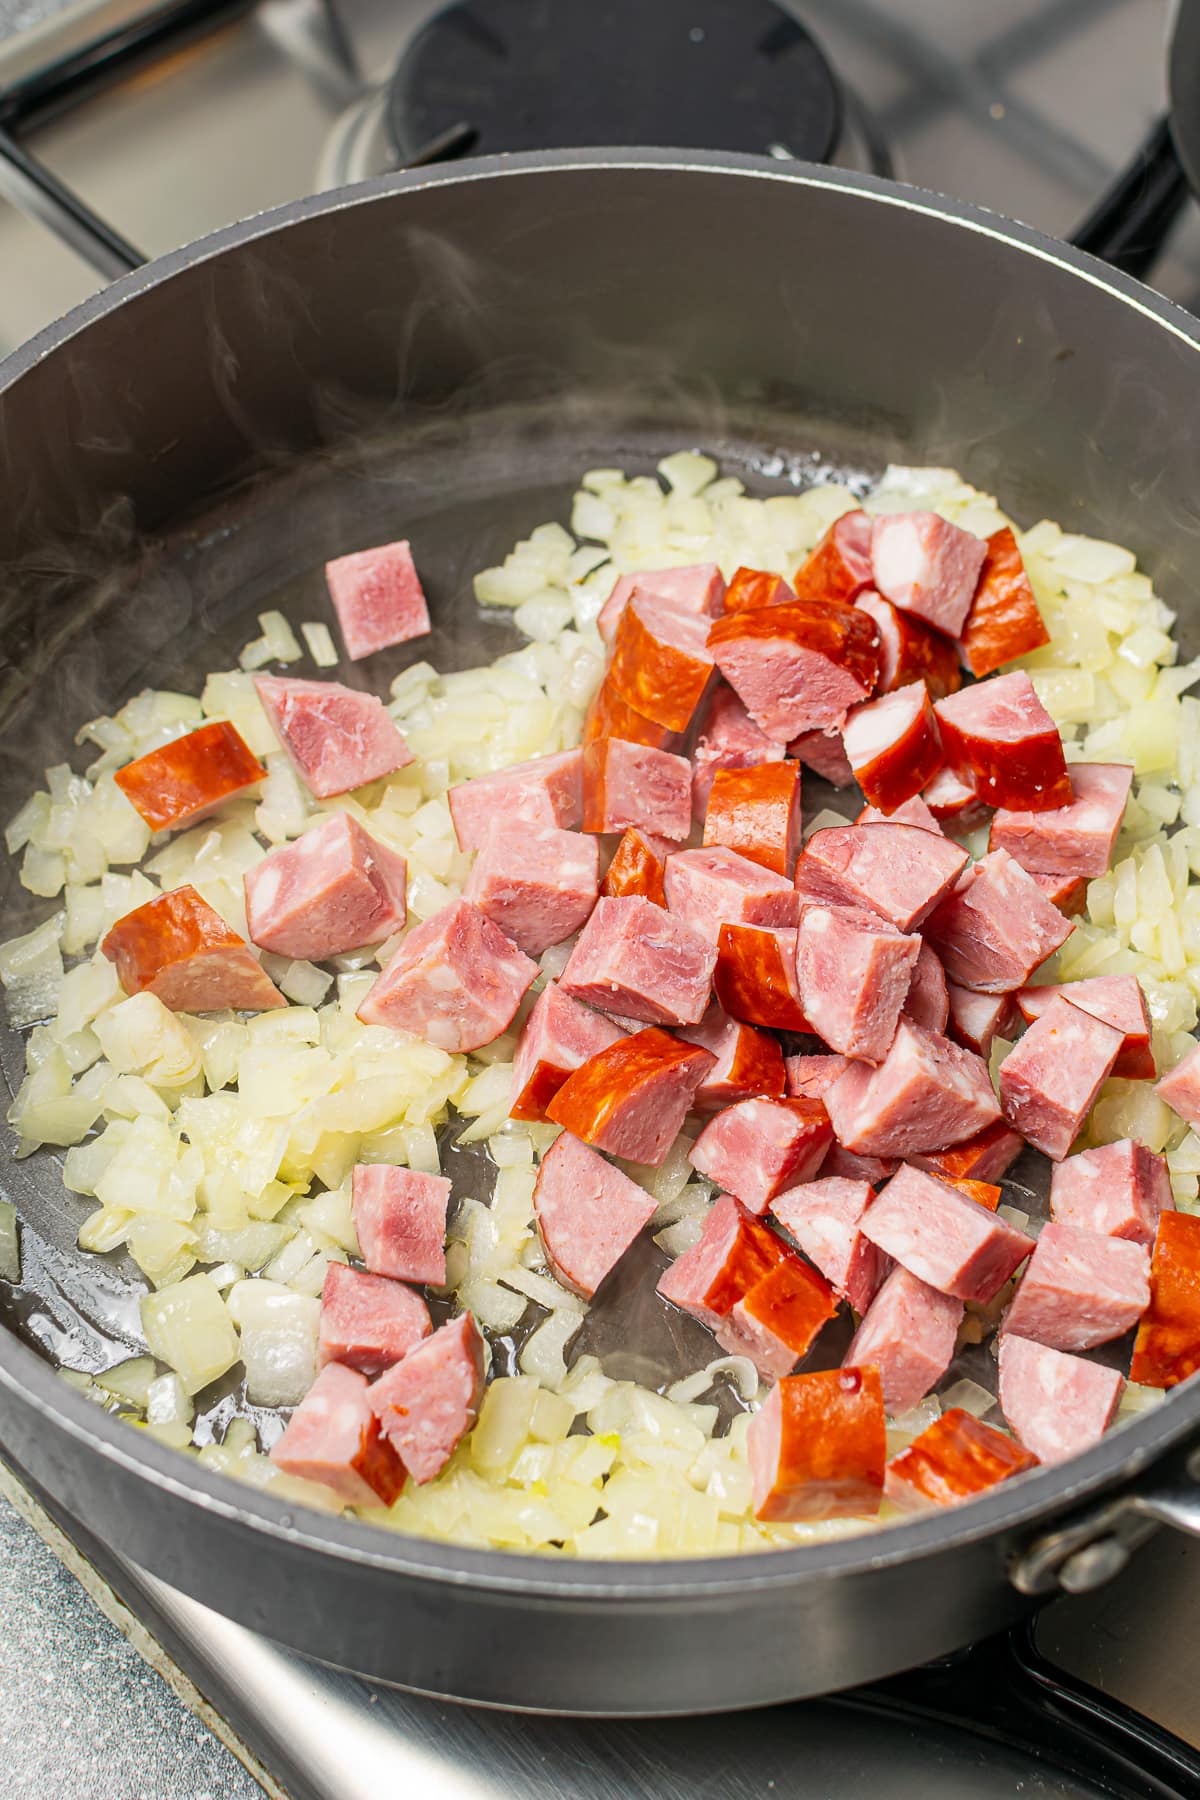
After you have the ingredients ready, heat up a tablespoon of olive oil in the pan and soften that onion.
Next, toss in the salami and let it cook till it begins to sweat out its fat, about 3 minutes.
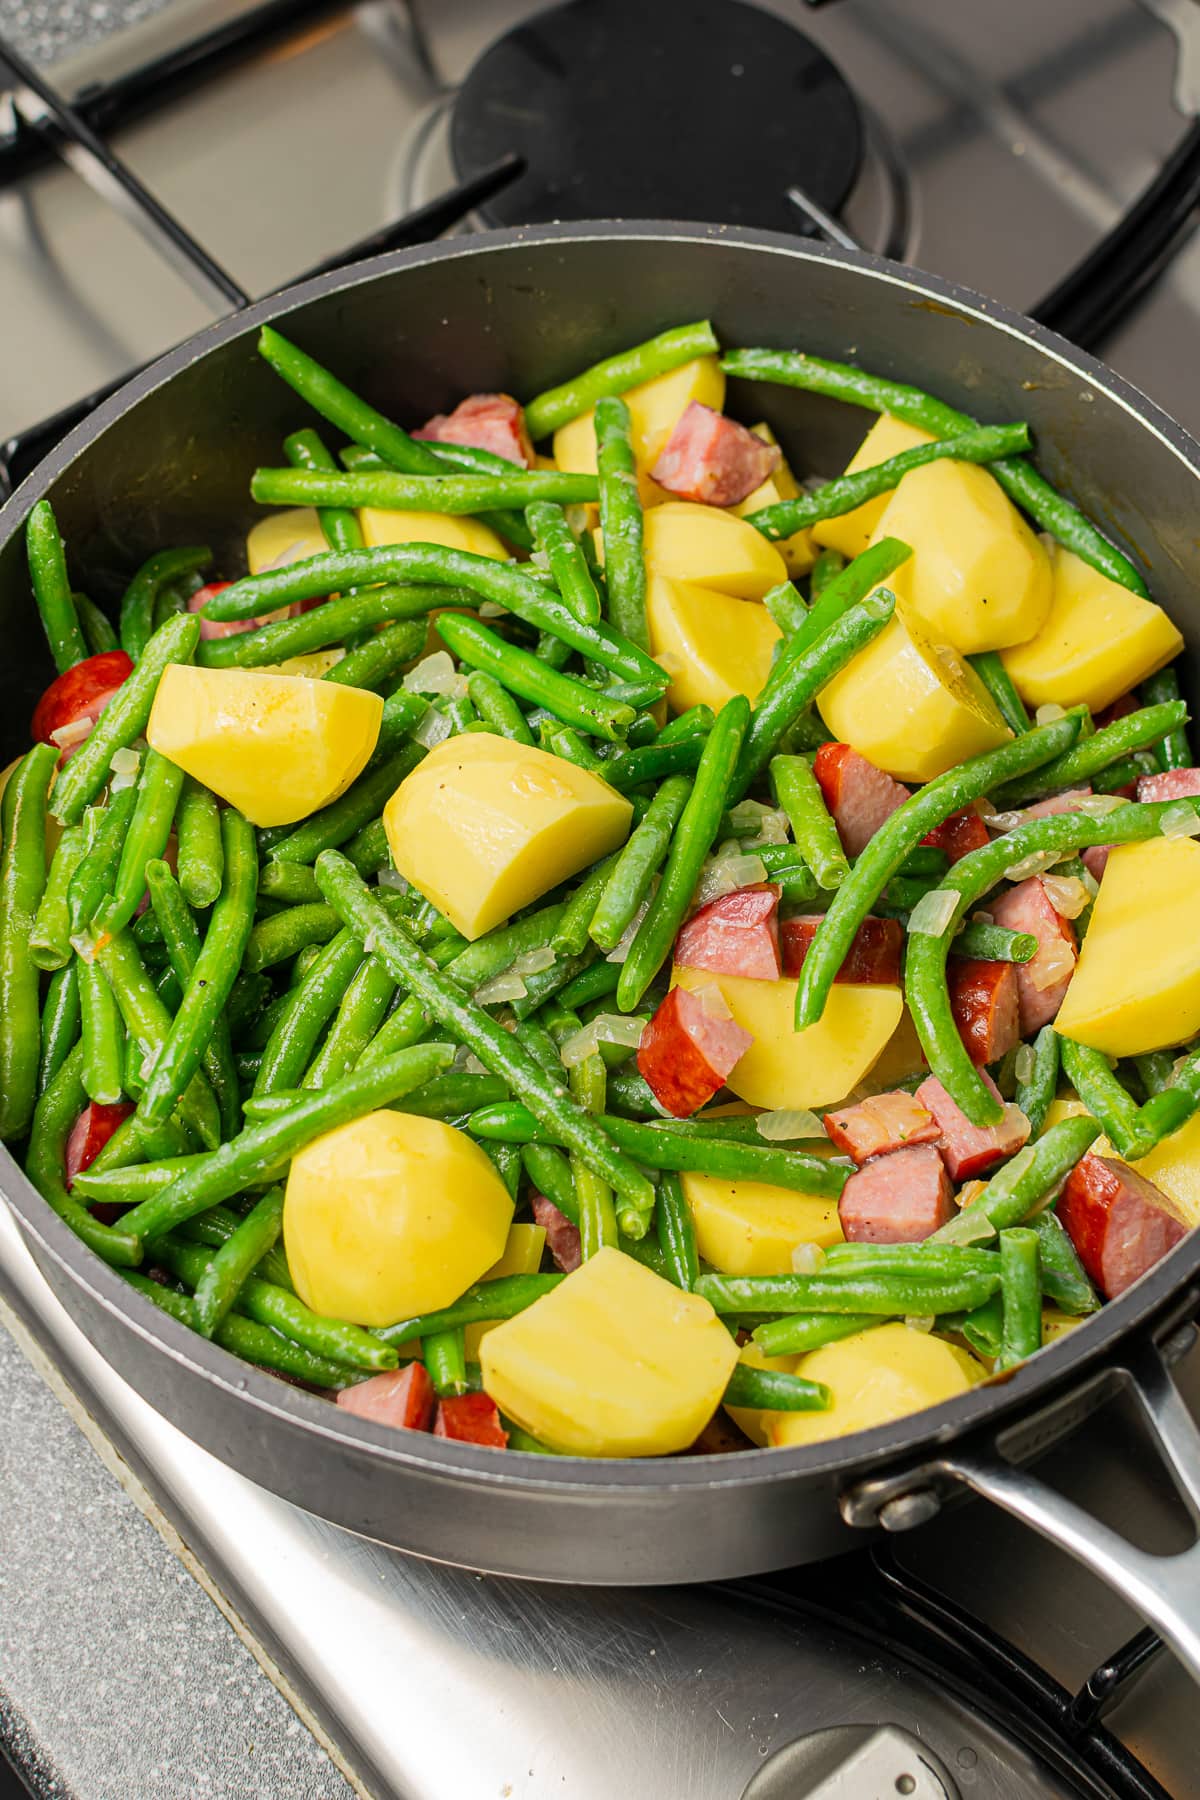
Once the salami’s looking good and fatty, throw in the frozen beans and those potato chunks. Season with a bit of salt and pepper, whatever feels right.
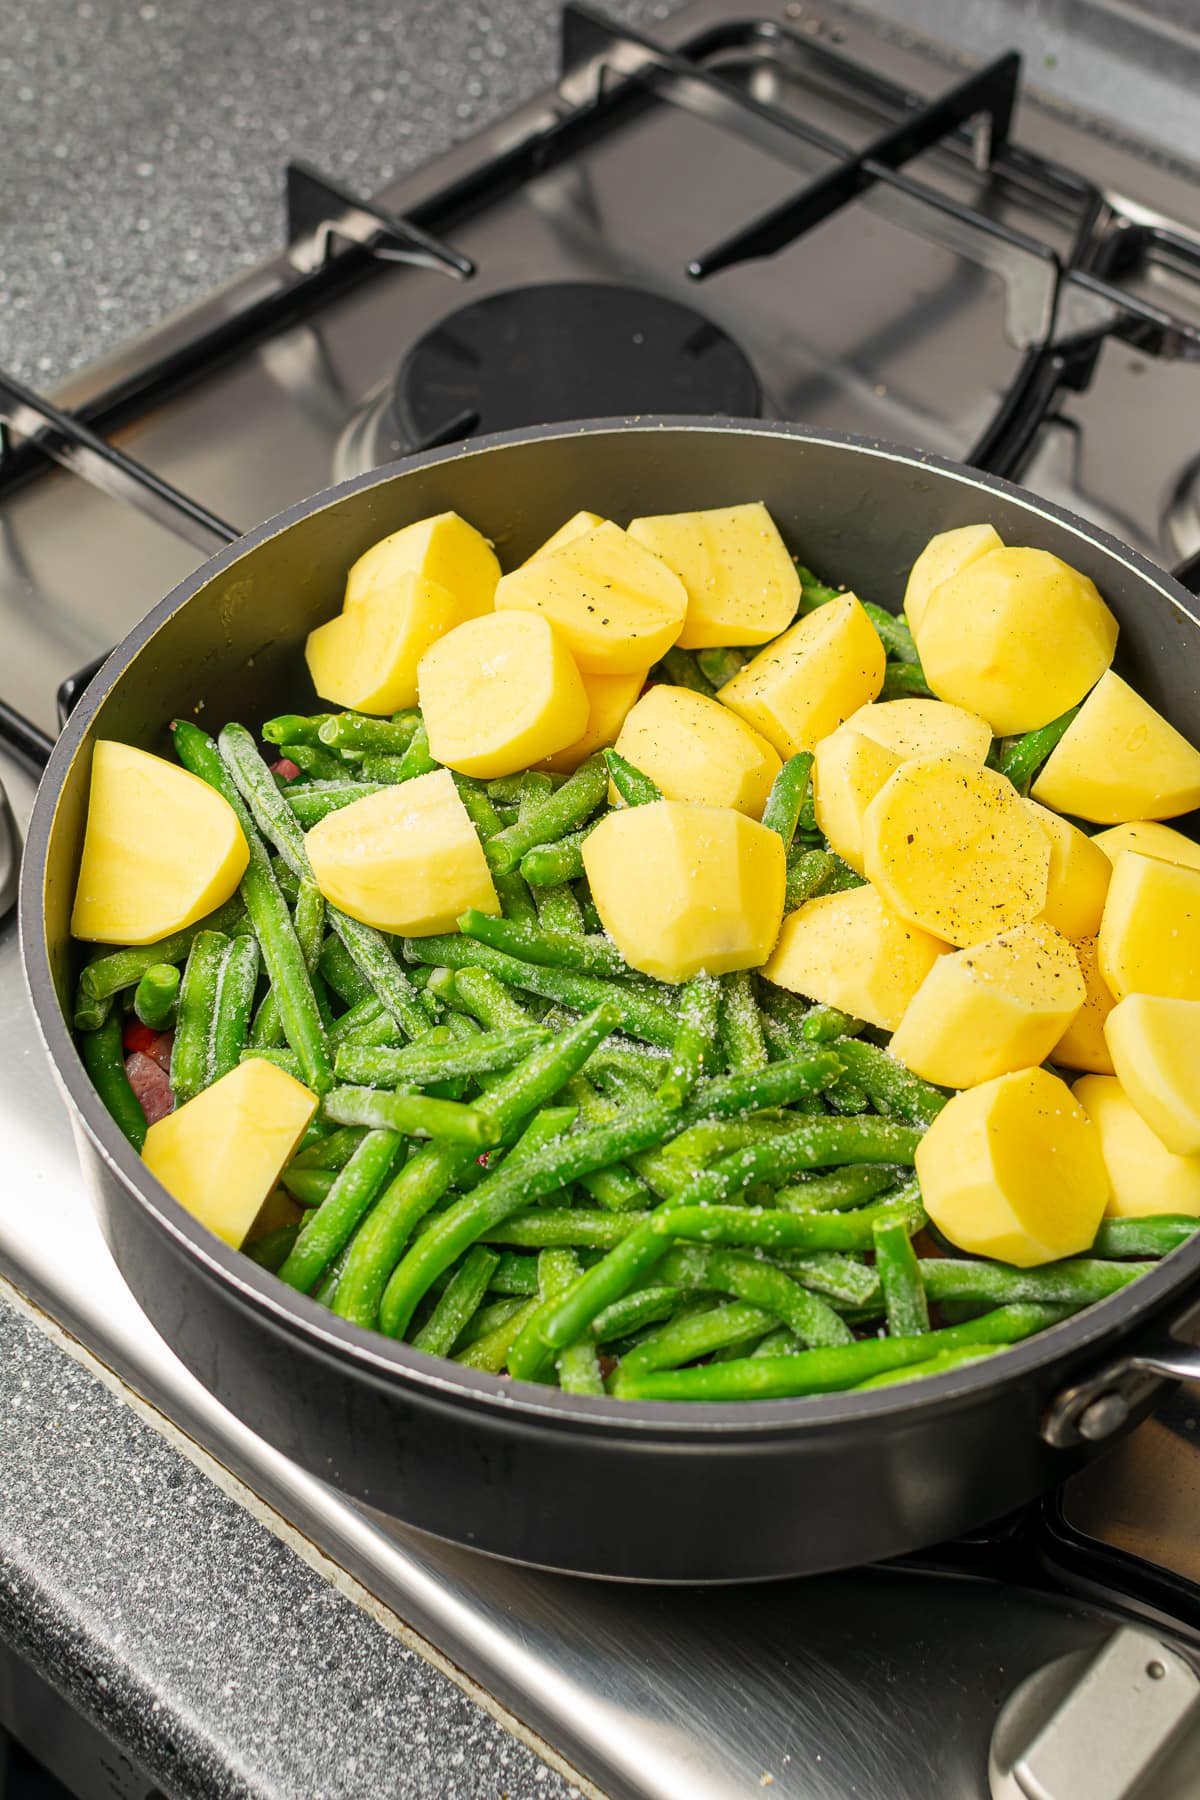
Give it all a good stir, then cover it up and let it simmer on low until those potatoes are tender. Check in a couple of times to stir and make sure nothing’s sticking to the bottom of the pan.
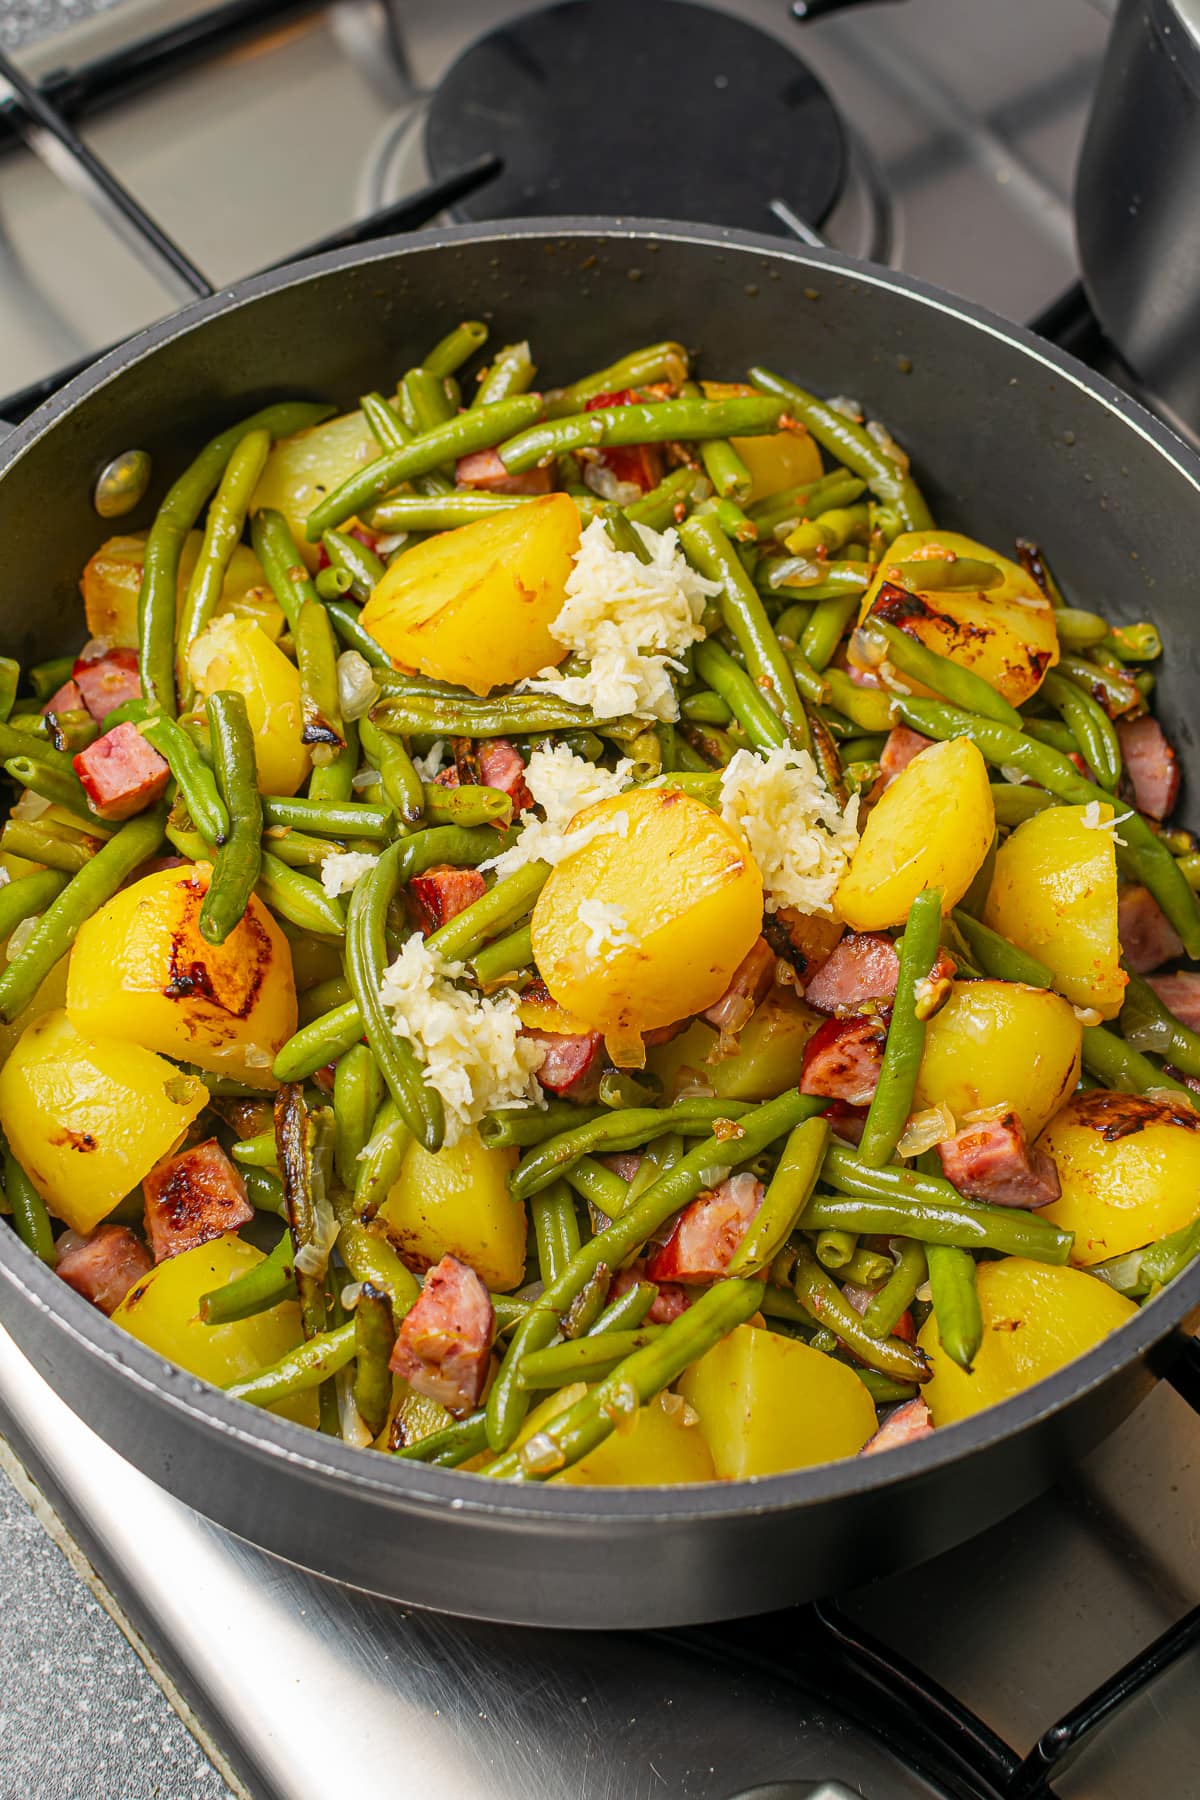
When the potatoes feel soft, crush or grate some garlic into the mix. Let it cook for another couple of minutes, just until the garlic smell starts to fill up your kitchen and everything’s mixed in well.
I’m all about the garlic in this dish, really gives it a kick. But hey, if garlic’s not your thing, feel free to dial it back or skip it.
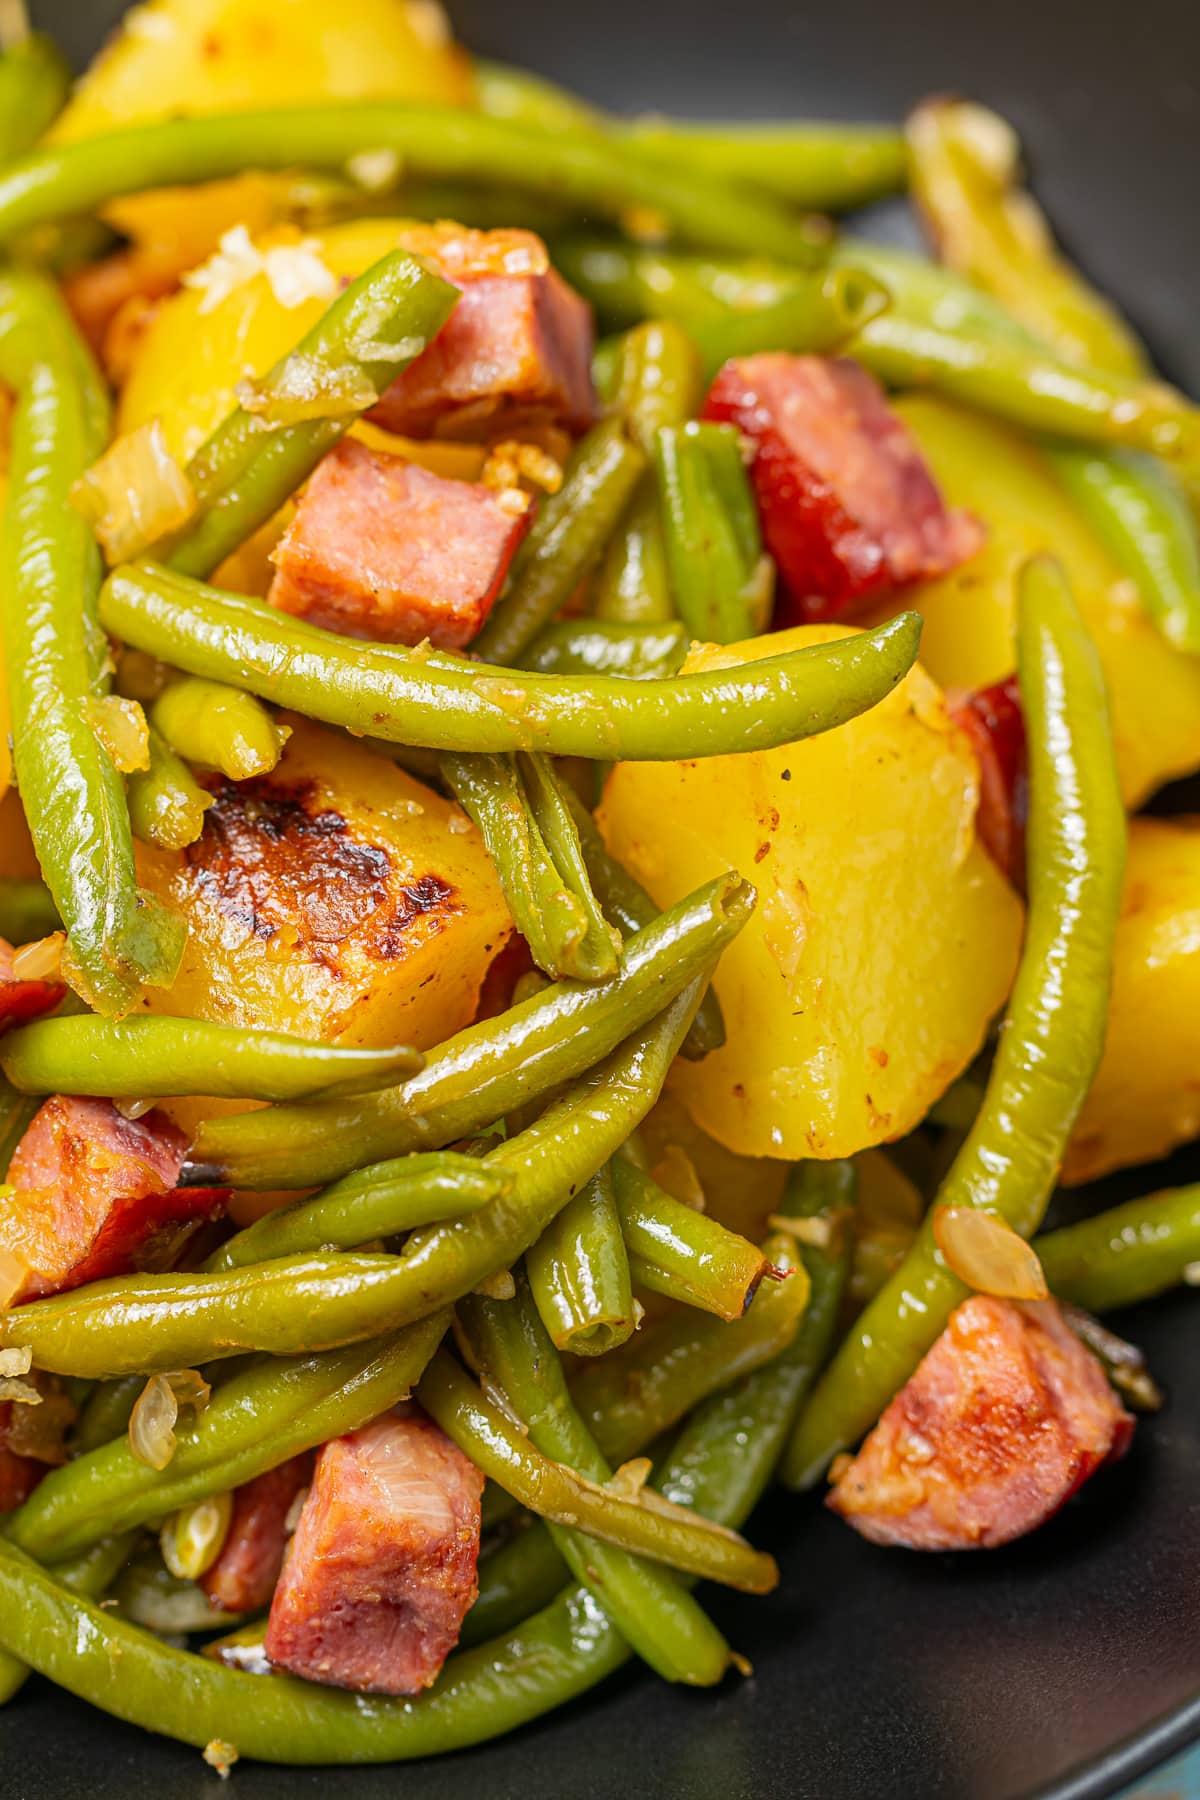
Serve it up hot and enjoy!
🍽️ Serving Suggestions
- With Crusty Bread: Grab a piece of crusty bread to dip into the skillet juices—sourdough or rye bread works wonders for catching all those flavors.
- Alongside a Crisp Salad: I usually toss together whatever greens I have with a quick vinaigrette.
- Topped with a Fried Egg: And if you’re feeling fancy, slap a fried egg on top. That runny yolk mixing with everything else? Chef’s kiss.
- Garnished with Fresh Herbs: A little sprinkle of fresh herbs—parsley, dill, or chives—right before serving adds a nice pop of color and a burst of freshness.
🍲 Storage
In the Fridge
Let the skillet cool off before you stick it in the fridge, so you don’t end up with soggy veggies. It’ll keep for 3 to 4 days in an airtight container. If you’ve got different components, like green beans, potatoes, and kielbasa, try to keep ’em separate when you store them. This way, you can reheat each part just right.
In the Freezer
Freezing works pretty well, too. Just know that green beans and potatoes might get a bit softer once you thaw and reheat. Use freezer-safe containers, label them, and try to use everything within a couple of months.
Thawing and Reheating:
For thawing, leaving it overnight in the fridge is best. But if you’re in a hurry, the microwave’s defrost setting is your friend—just be gentle to avoid mushy textures.
For reheating, you can use a microwave for speed, but I like using a skillet to bring back some of that original texture. Add a little water or broth to keep things moist. And if you did separate your ingredients before freezing, reheat them according to what they need to get back to being delicious.
🏆 Expert Tips. What to Pay Attention To?
- When you start, cook the onions first until they’re getting soft. Then throw in the garlic. Trust me, garlic can burn in a blink and taste bitter, so stir it in later and just for a short while until it smells amazing.
- Don’t crowd the kielbasa in the pan. Let it sit and get a nice sear on each side. It’s not just about looks; it adds so much flavor.
- Season as you go. A little salt and pepper with the onions and garlic, then adjust later. Kielbasa’s already got a salty kick, so check the taste before you add more.
- Watch your veggies. You want those green beans snappy and the potatoes just right. Mushy veggies are a no-go, so keep an eye on them and adjust the heat or time as needed.
📋 Recipe Card:
Skillet Kielbasa with Green Beans and Potatoes
Equipment
Ingredients
Instructions
- Prep Your Ingredients: Wash and dice the onion, chop the potatoes, and cut the kielbasa into pieces slightly smaller than the potatoes.
- Cook Onion: Heat olive oil in a deep, high-sided pan. Add the onion and cook until soft.1 tablespoon Olive Oil, 1 piece Onion
- Brown Kielbasa: Add kielbasa to the pan and cook for about 3 minutes, until it starts releasing fat.7 oz Kilbasa sausages
- Add Veggies: Stir in frozen green beans and potato chunks. Season with salt and pepper to taste.16 oz Frozen Green Beans, 8 pieces Potatoes
- Simmer: Cover and simmer on low heat until potatoes are tender, stirring occasionally to prevent sticking.
- Add Garlic: Once potatoes are soft, add garlic and cook for a couple more minutes until fragrant.3 cloves Garlic
- Serve: Adjust garlic to taste, serve hot, and enjoy!
Quick Note
I highly recommend reading the entire recipe to find more tips and notes about this recipe. Read Full Recipe ⇑
Notes
- Feel free to adjust the garlic according to your preference.
- Ensure your pan is large enough to mix everything easily and prevent spills


Leave a Reply