Crafted with creamy evaporated milk, this Mac and Cheese is the ultimate comfort food that everyone will love. It’s an effortless casserole that shines as both a simple weeknight meal and a cozy side dish for any celebration – be it a casual dinner or festive gatherings like Thanksgiving, Christmas, or Easter.
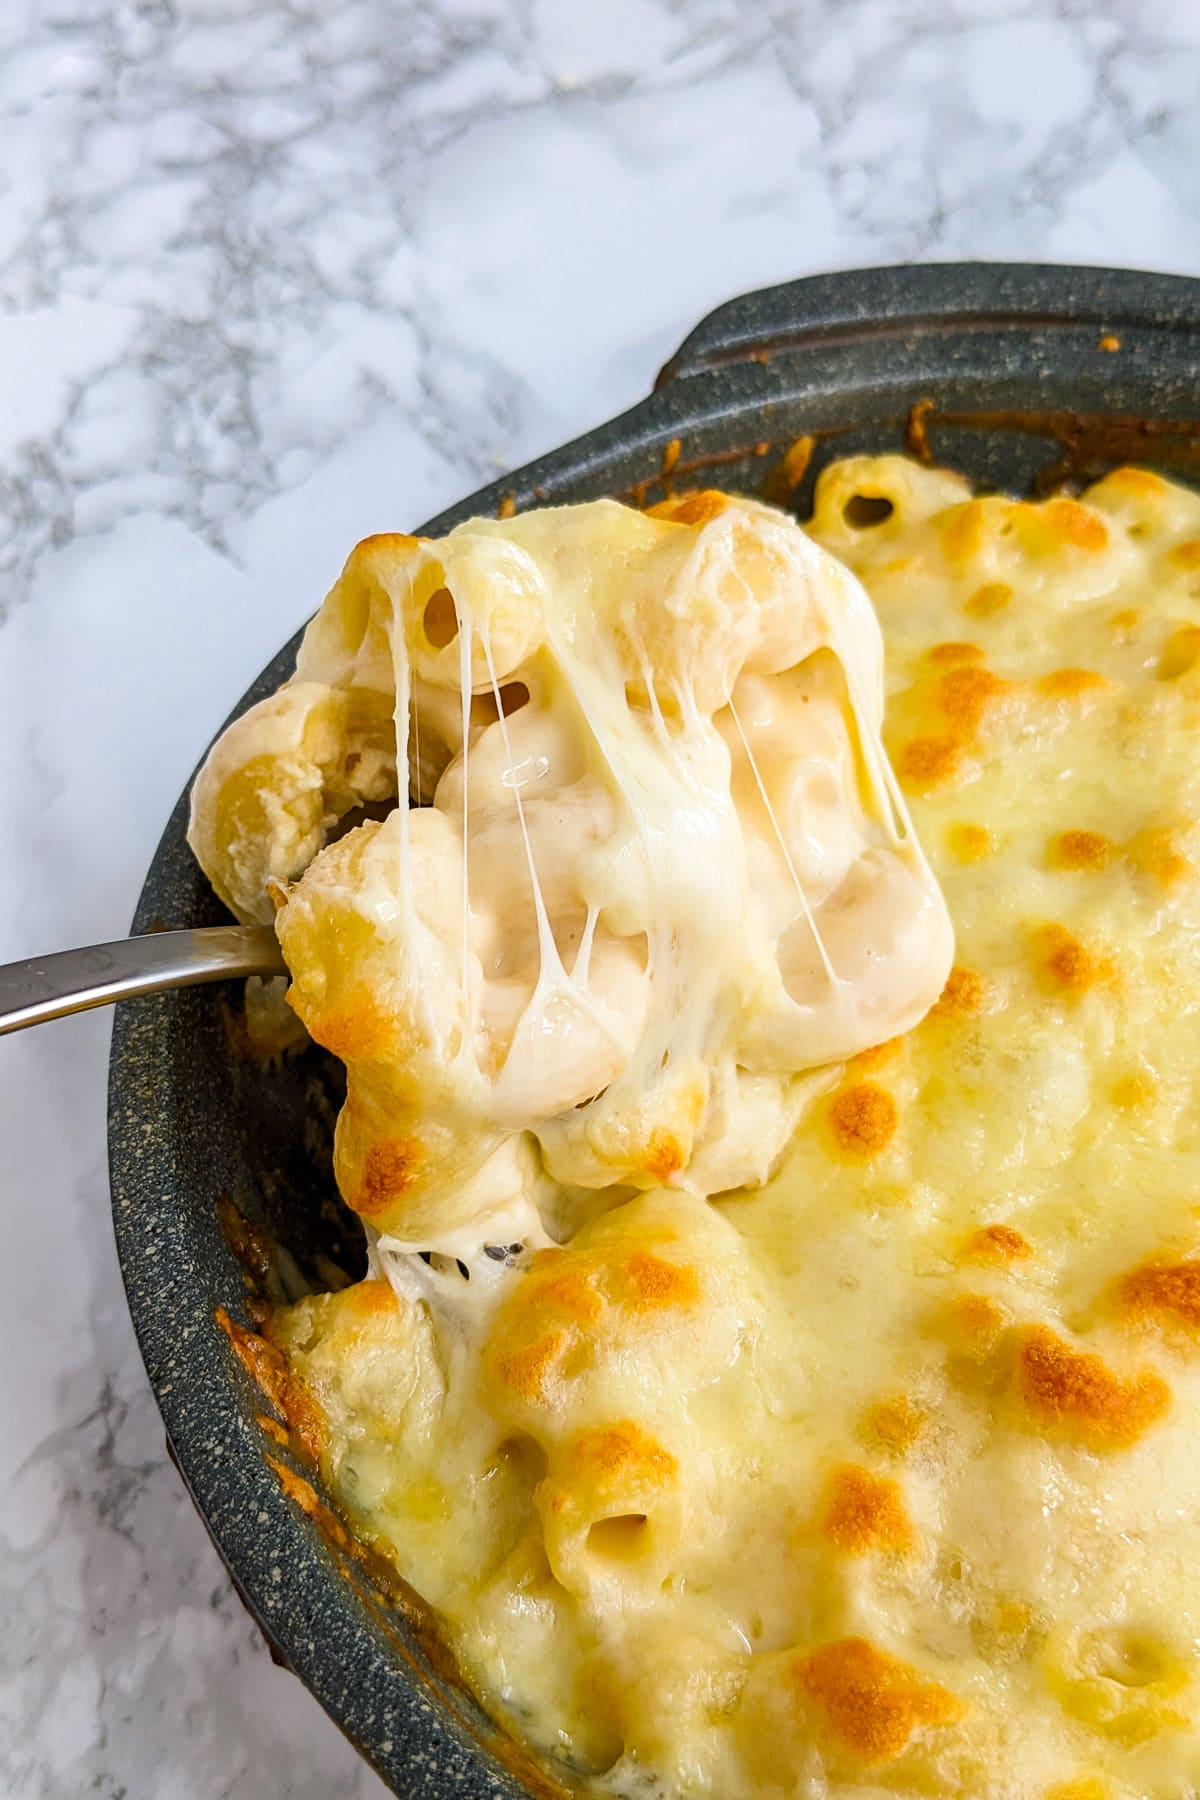
I make my mac and cheese with creamy evaporated milk, a mix of mozzarella and cheddar, some tender macaroni, flour, and a bit of butter. It’s my go-to because it just takes that classic comfort dish to a whole new level of creamy and rich.
The mozzarella and cheddar combo is key here—it’s like they were meant to be together, with mozzarella bringing that silky smoothness and cheddar adding a sharp, tangy depth.
And that roux I whip up with the butter and flour? It’s the secret to making the sauce extra thick and creamy. Despite sounding fancy, it’s super easy to make. Honestly, this cheesy mac and cheese is a hit every time.
Ready to give it a try?
🥰 Why You Will Love This Recipe?
- Like I said, this is super easy to whip up because you probably already have everything you need. It’s my go-to for a quick dinner or lunch.
- What I love about this recipe is how you can make it your own. Throw in whatever extras you’re in the mood for—bacon, ham, veggies, spices, you name it. And playing around with different cheeses? That’s where the magic happens.
- It makes a ton, too, which is perfect for when you’ve got people over, be it a family dinner or a casual get-together.
- And kids? They can’t get enough of it. Honestly, it’s a hit with everyone. Cheesy, creamy goodness? Count me in.
🥘 Ingredients and Substitutes
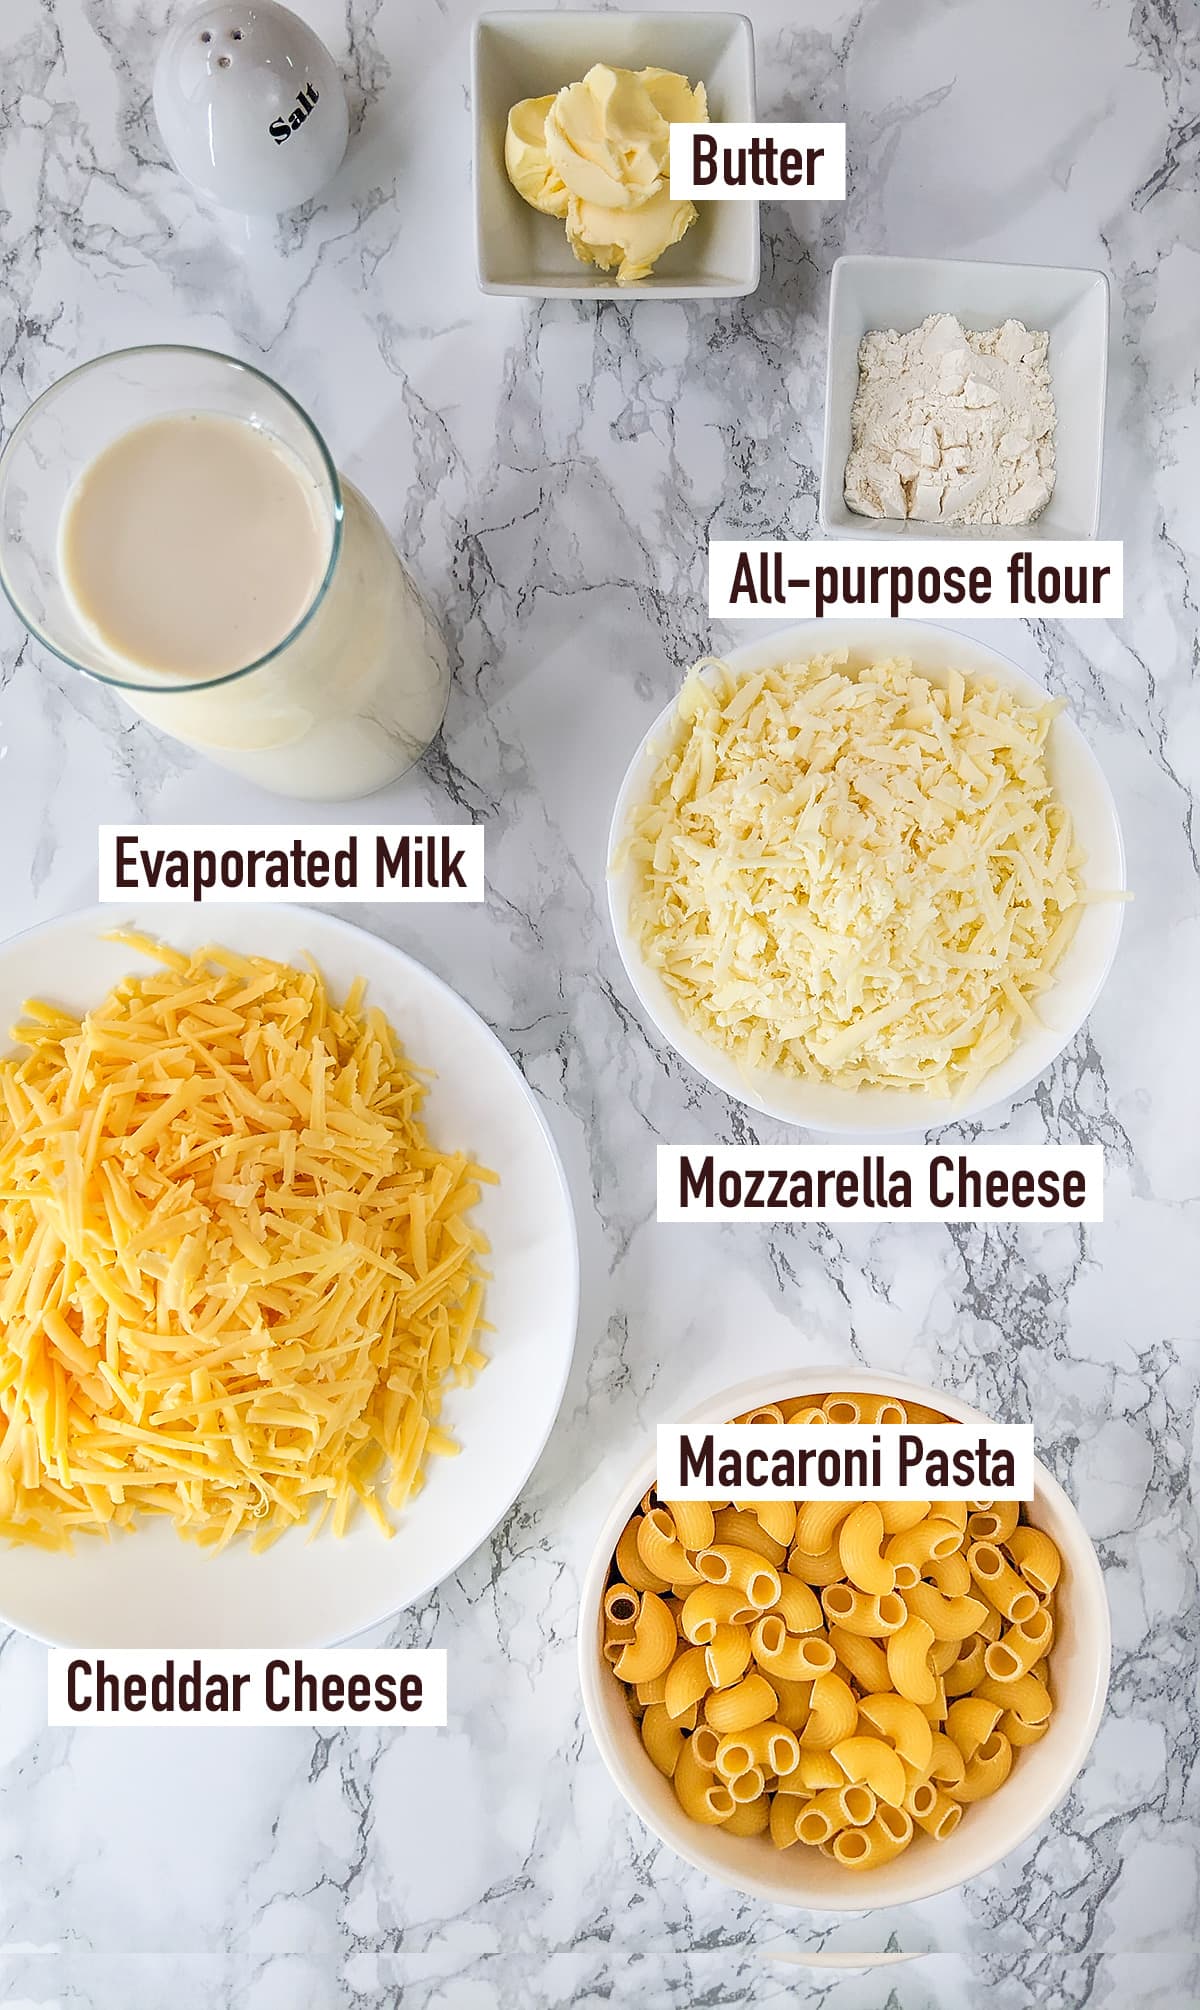
- Pasta. I used Macaroni pasta, but you can use any other type of pasta that you prefer to use for mac and cheese.
- Cheeses. I used a mix of Cheddar and Mozzarella cheese. I picked cheddar cheese for its sweet taste and to provide a nutty nuance, and mozzarella for its texture when it melts.
- Evaporated Milk. I used evaporated milk to accentuate the creamy and sweet taste of the milk. You can use plain milk, preferably with a high-fat content, or replace it with a mix of low cream and milk using a ratio of 1:1.
- All-purpose flour. I used flour to thicken the sauce. If you don’t have it at hand, you could replace it with starch.
- Butter. We need the butter to fry the flour and accentuate its flavor. If you don’t have the butter at hand, you could replace it with oil.
- Salt. Be careful with the amount of salt because it depends on the cheese time you will use. For this reason, we advise you to add the salt at the end after tasting the sauce.
👩🍳 Step-by-step Directions
Alright, let’s kick things off by making the roux. You’ll need a pan with a thick bottom. Toss in some flour and butter and crank the heat to medium until the butter’s all melted.
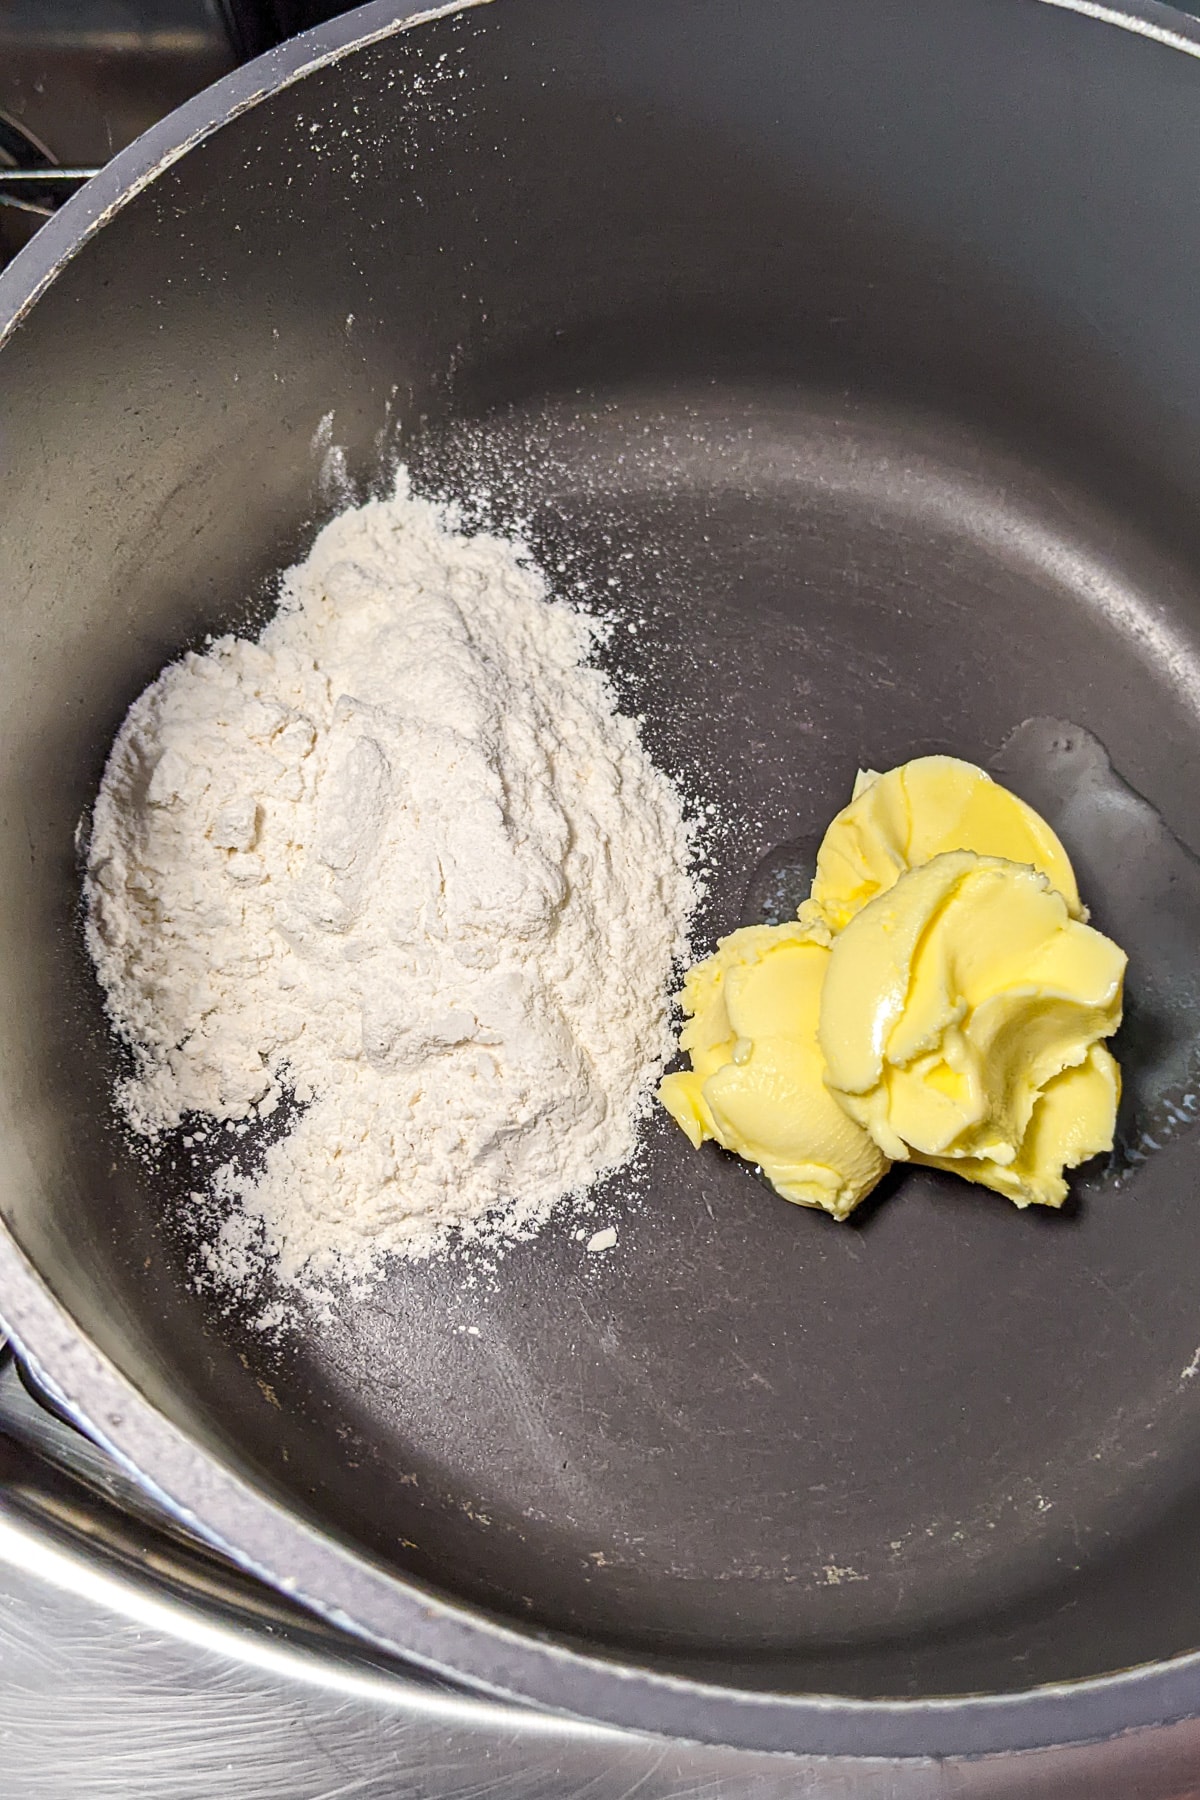
Keep stirring so it doesn’t clump up or stick. You’re aiming for a moment when it starts to smell a bit nutty—that’s your cue it’s done, which should be about 3-4 minutes in.
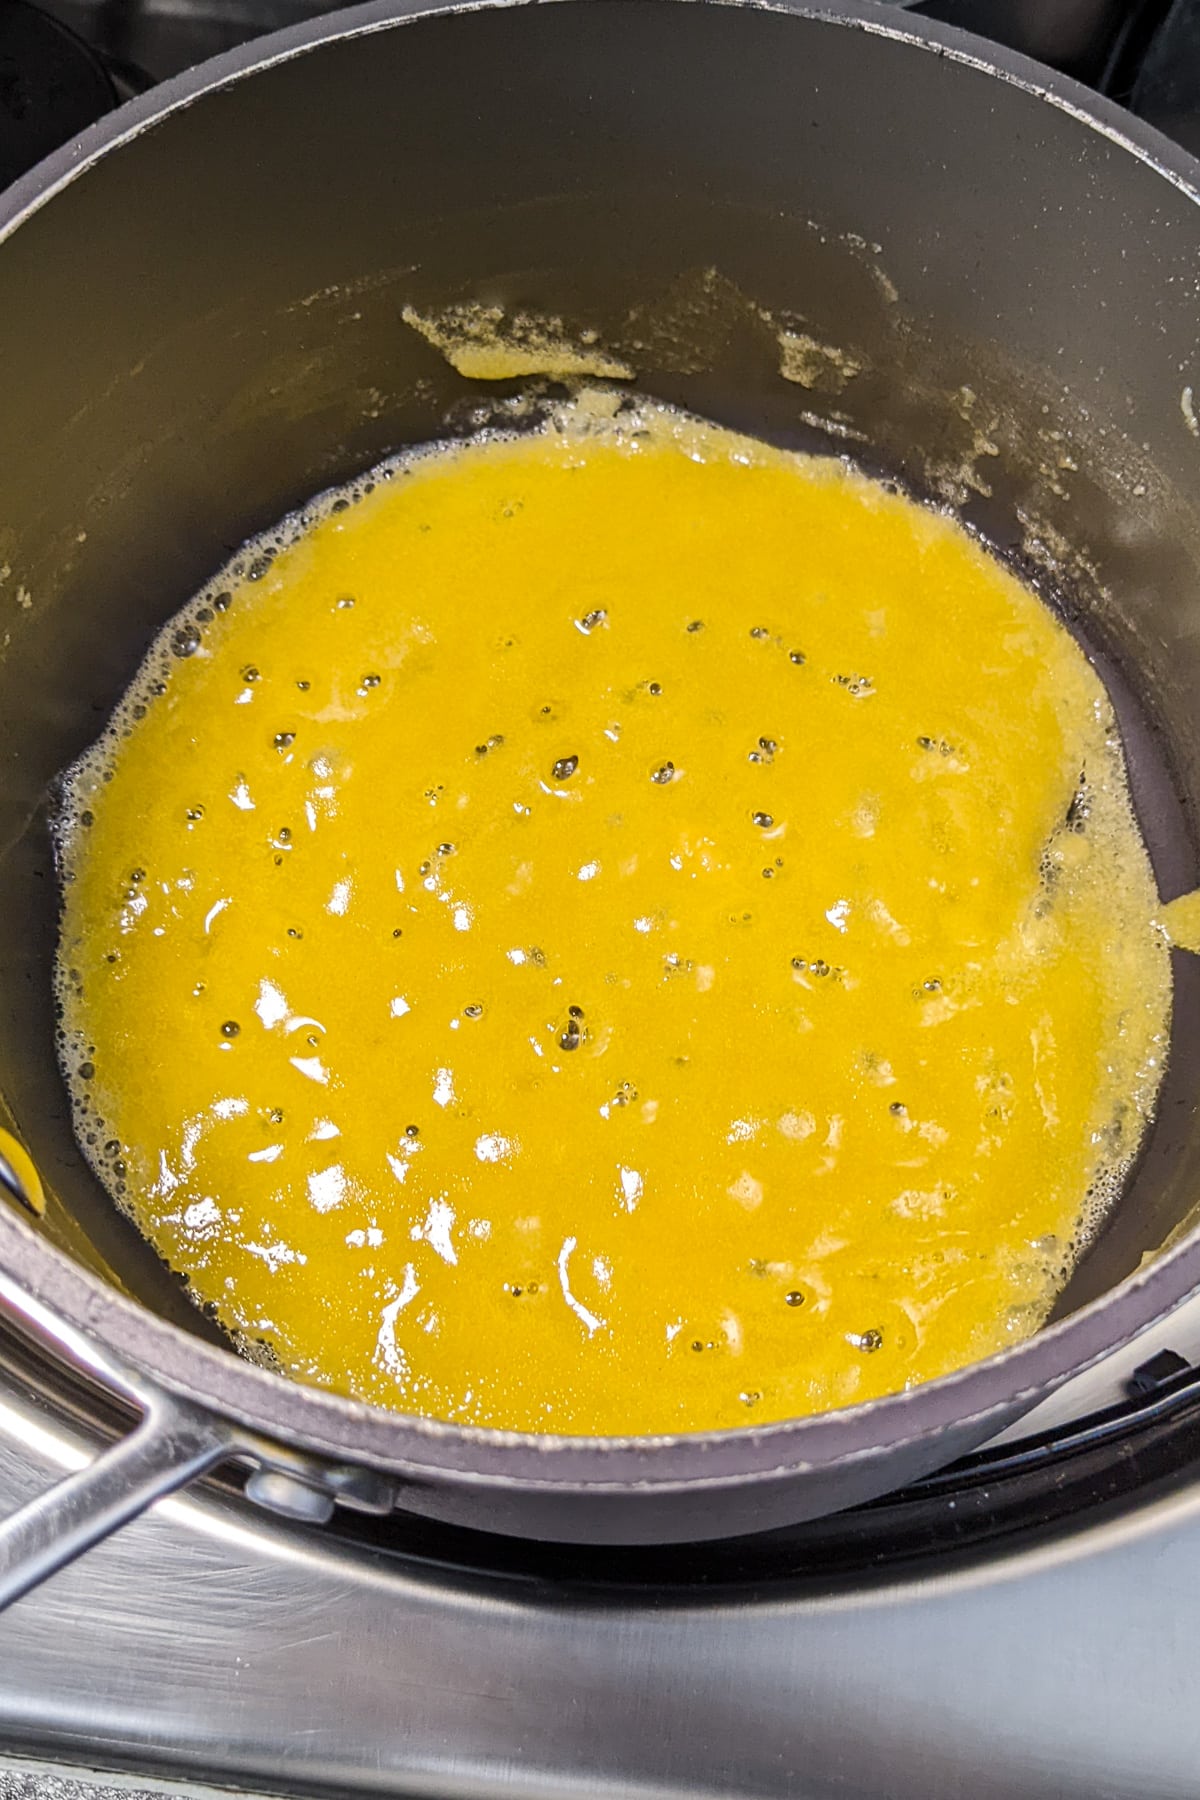
Now, it’s time for the evaporated milk. Pour it in bit by bit, stirring like crazy to dodge those lumps.
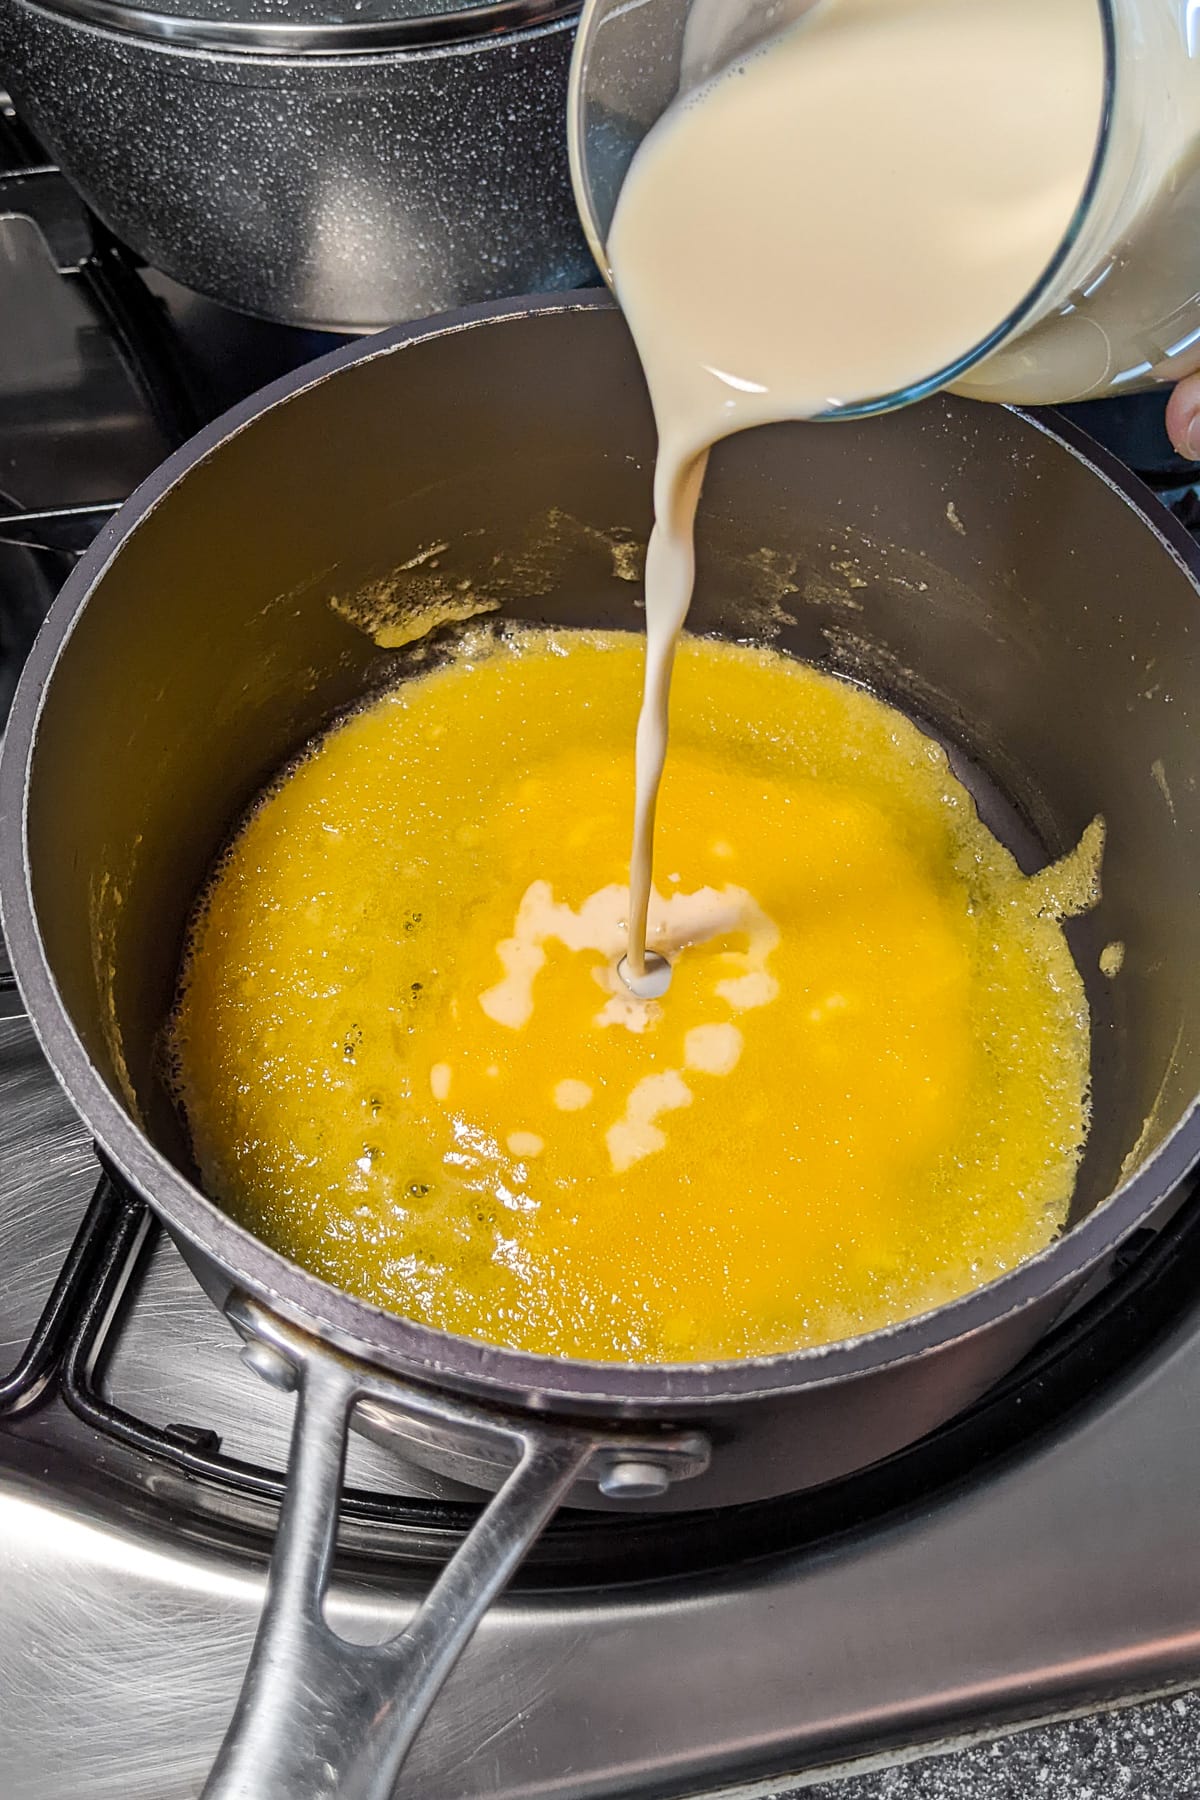
I usually do this in three goes until it’s all mixed in.
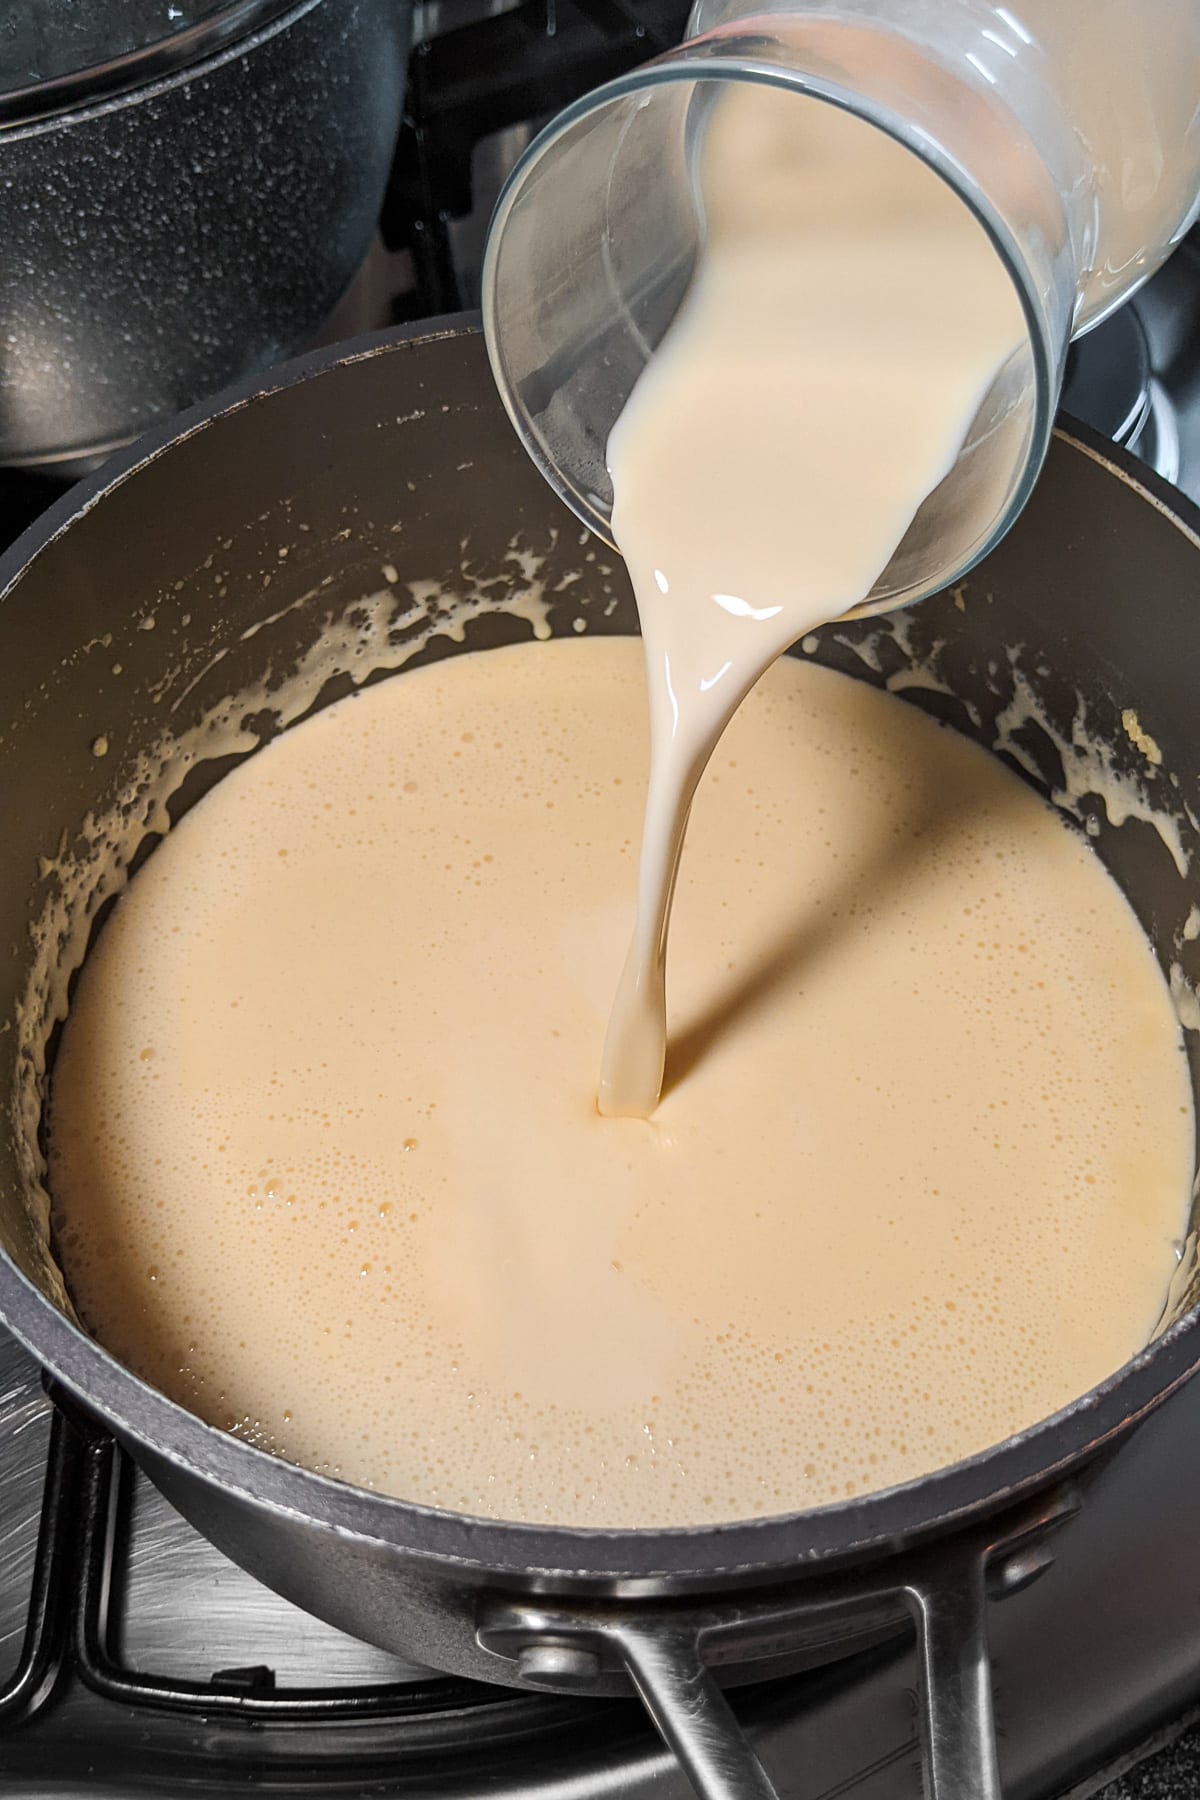
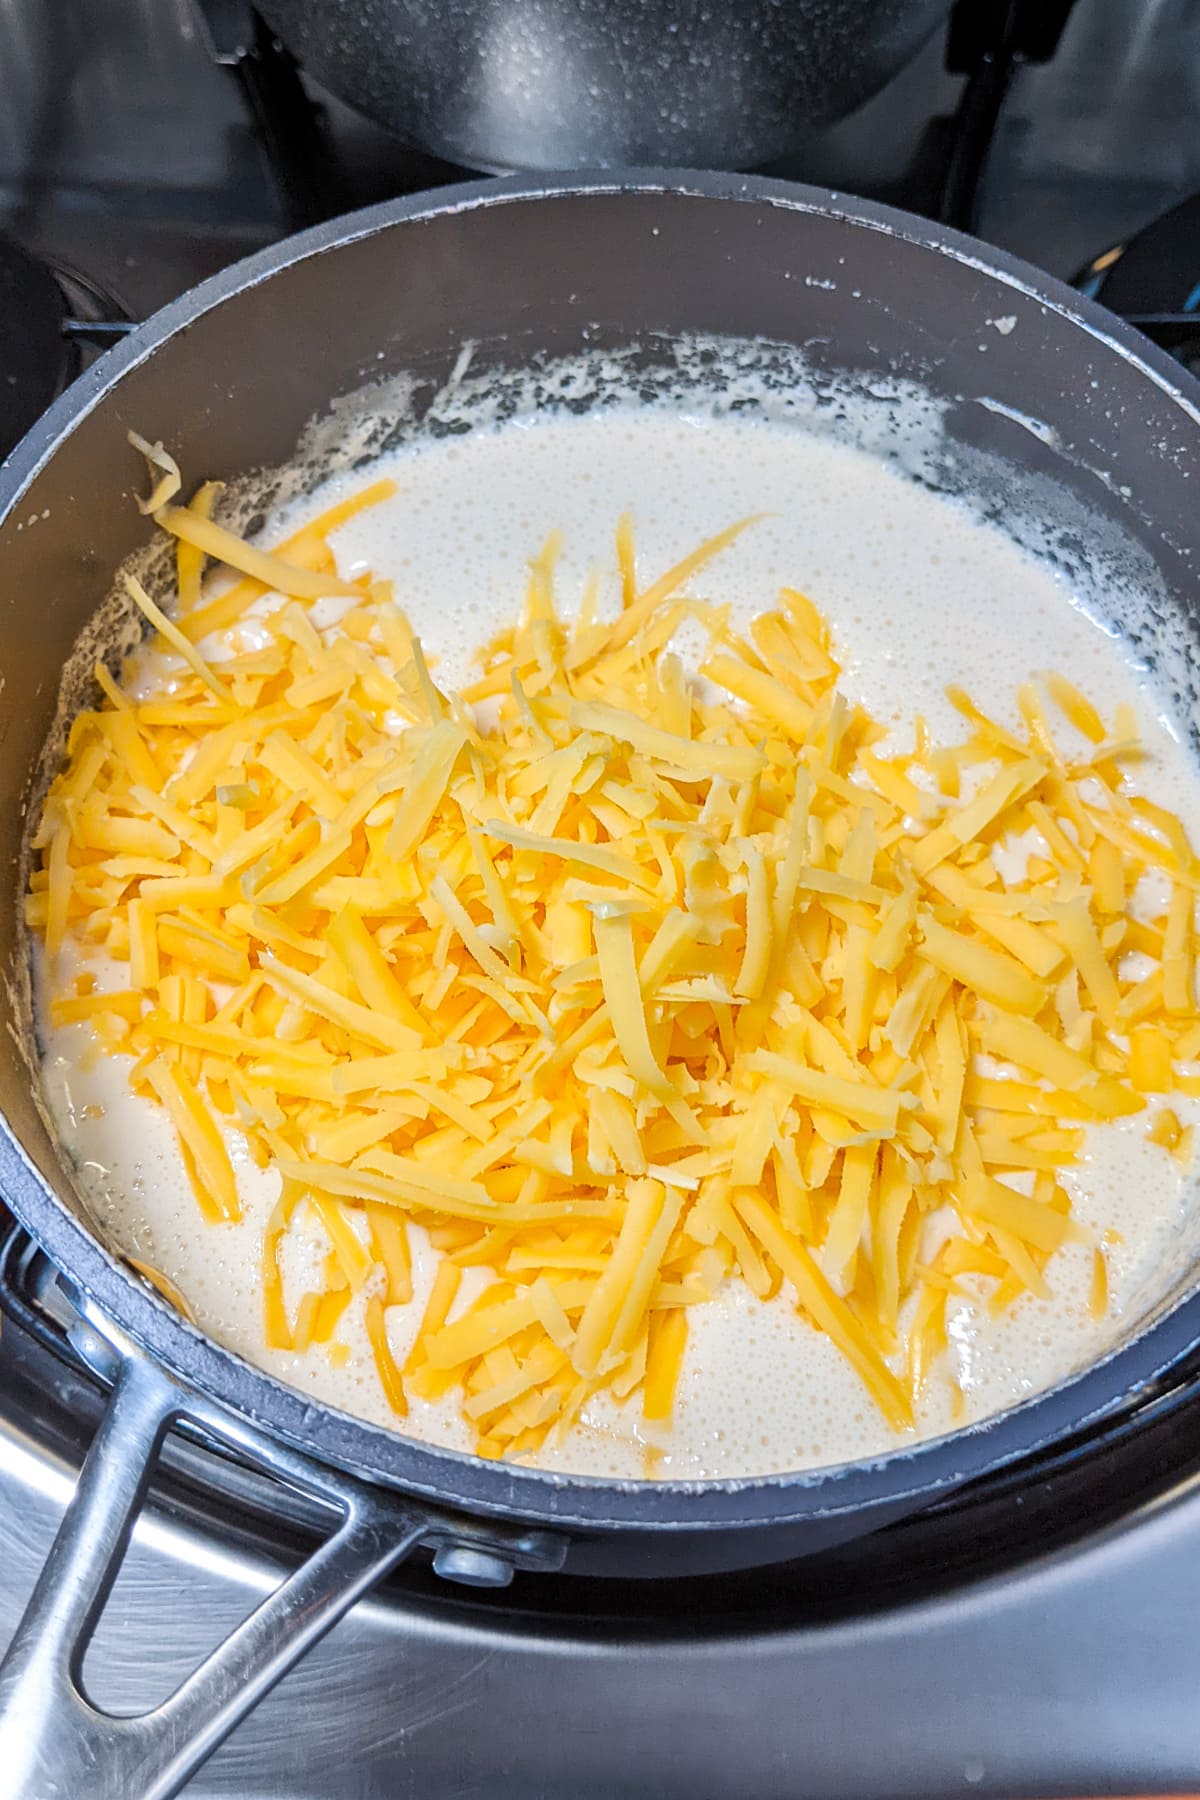
Keep on stirring until it boils up, then cut the heat and throw in your shredded cheddar.
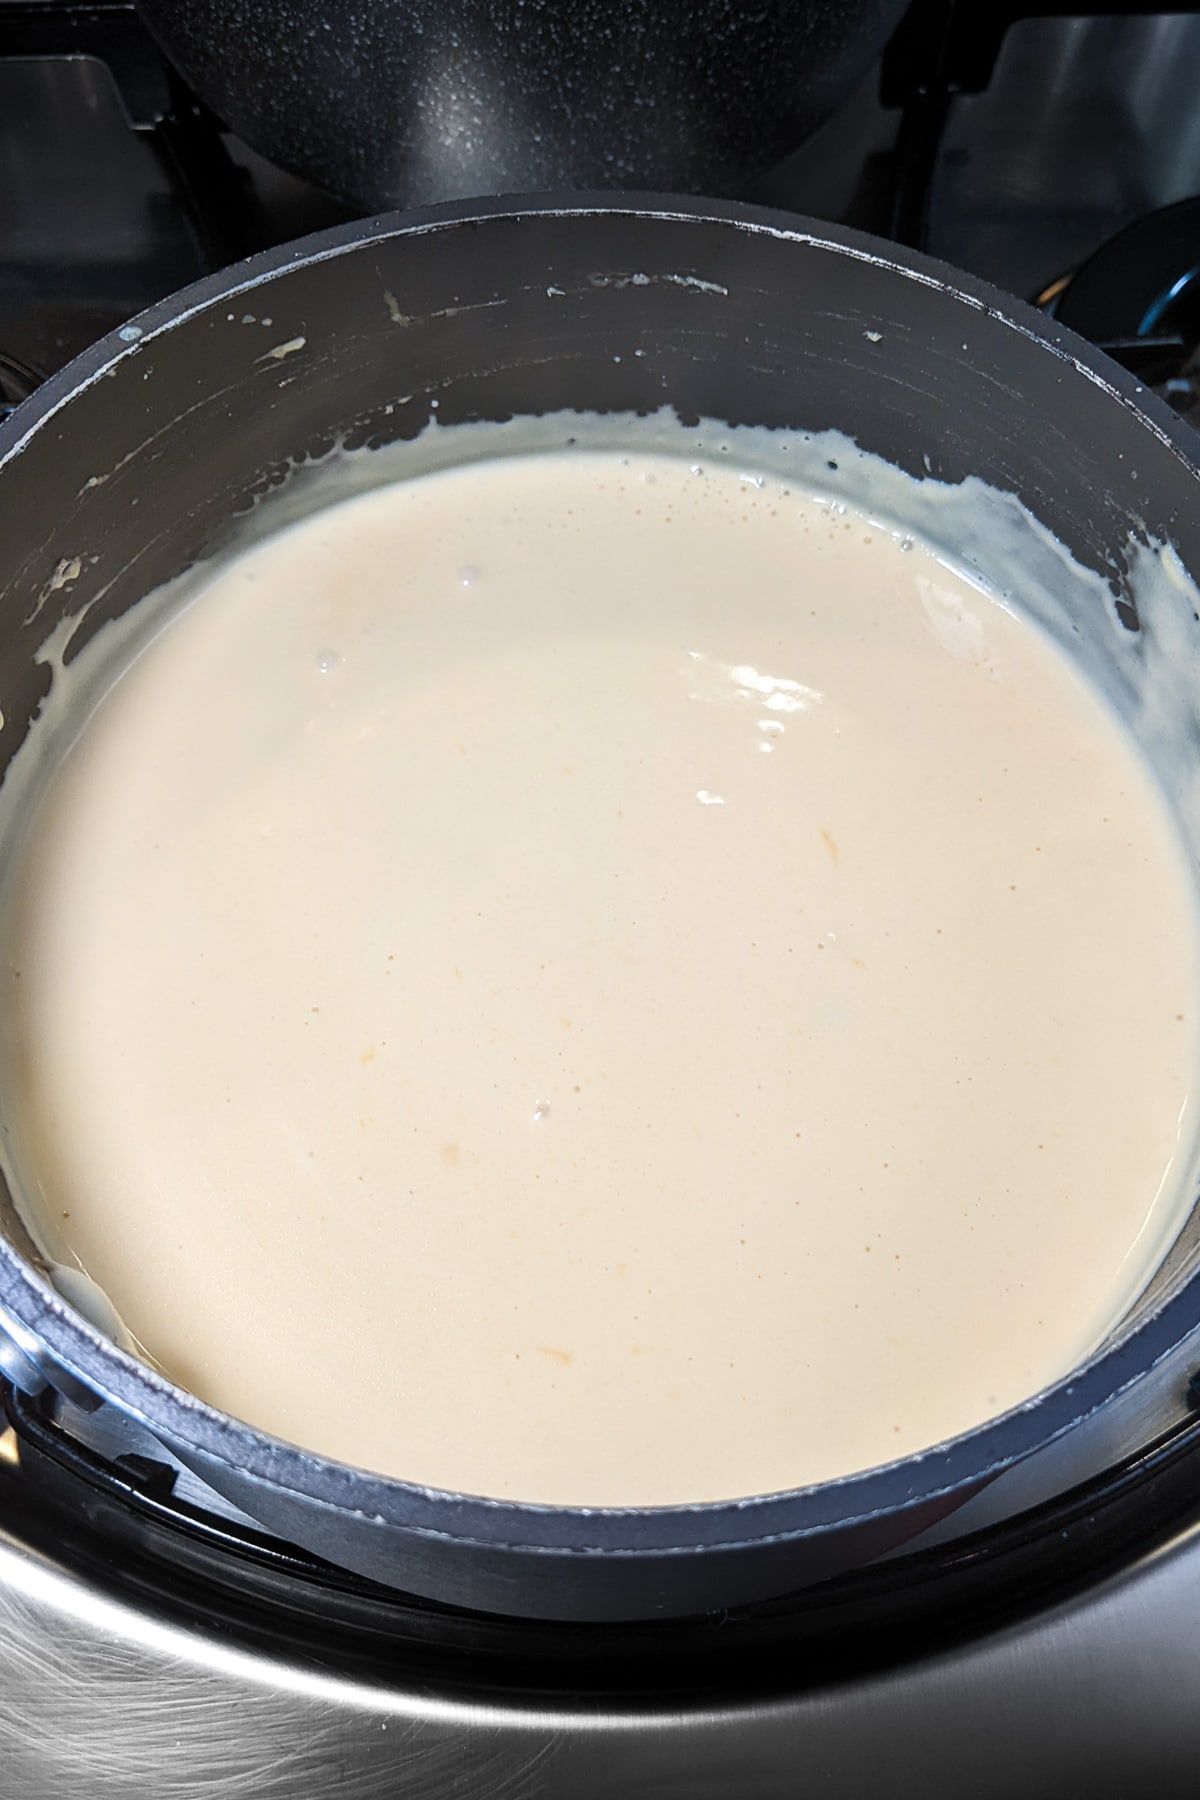
Stir it up until it’s all smooth.
Next up, cook your pasta a tad less than the package says—shave off 2 minutes.
Oh, and get your oven heating to 350°F (180°C).
Take that slightly undercooked pasta, dump it in a casserole dish, and drown it in the sauce you just made. Give it a good mix to get every noodle coated.
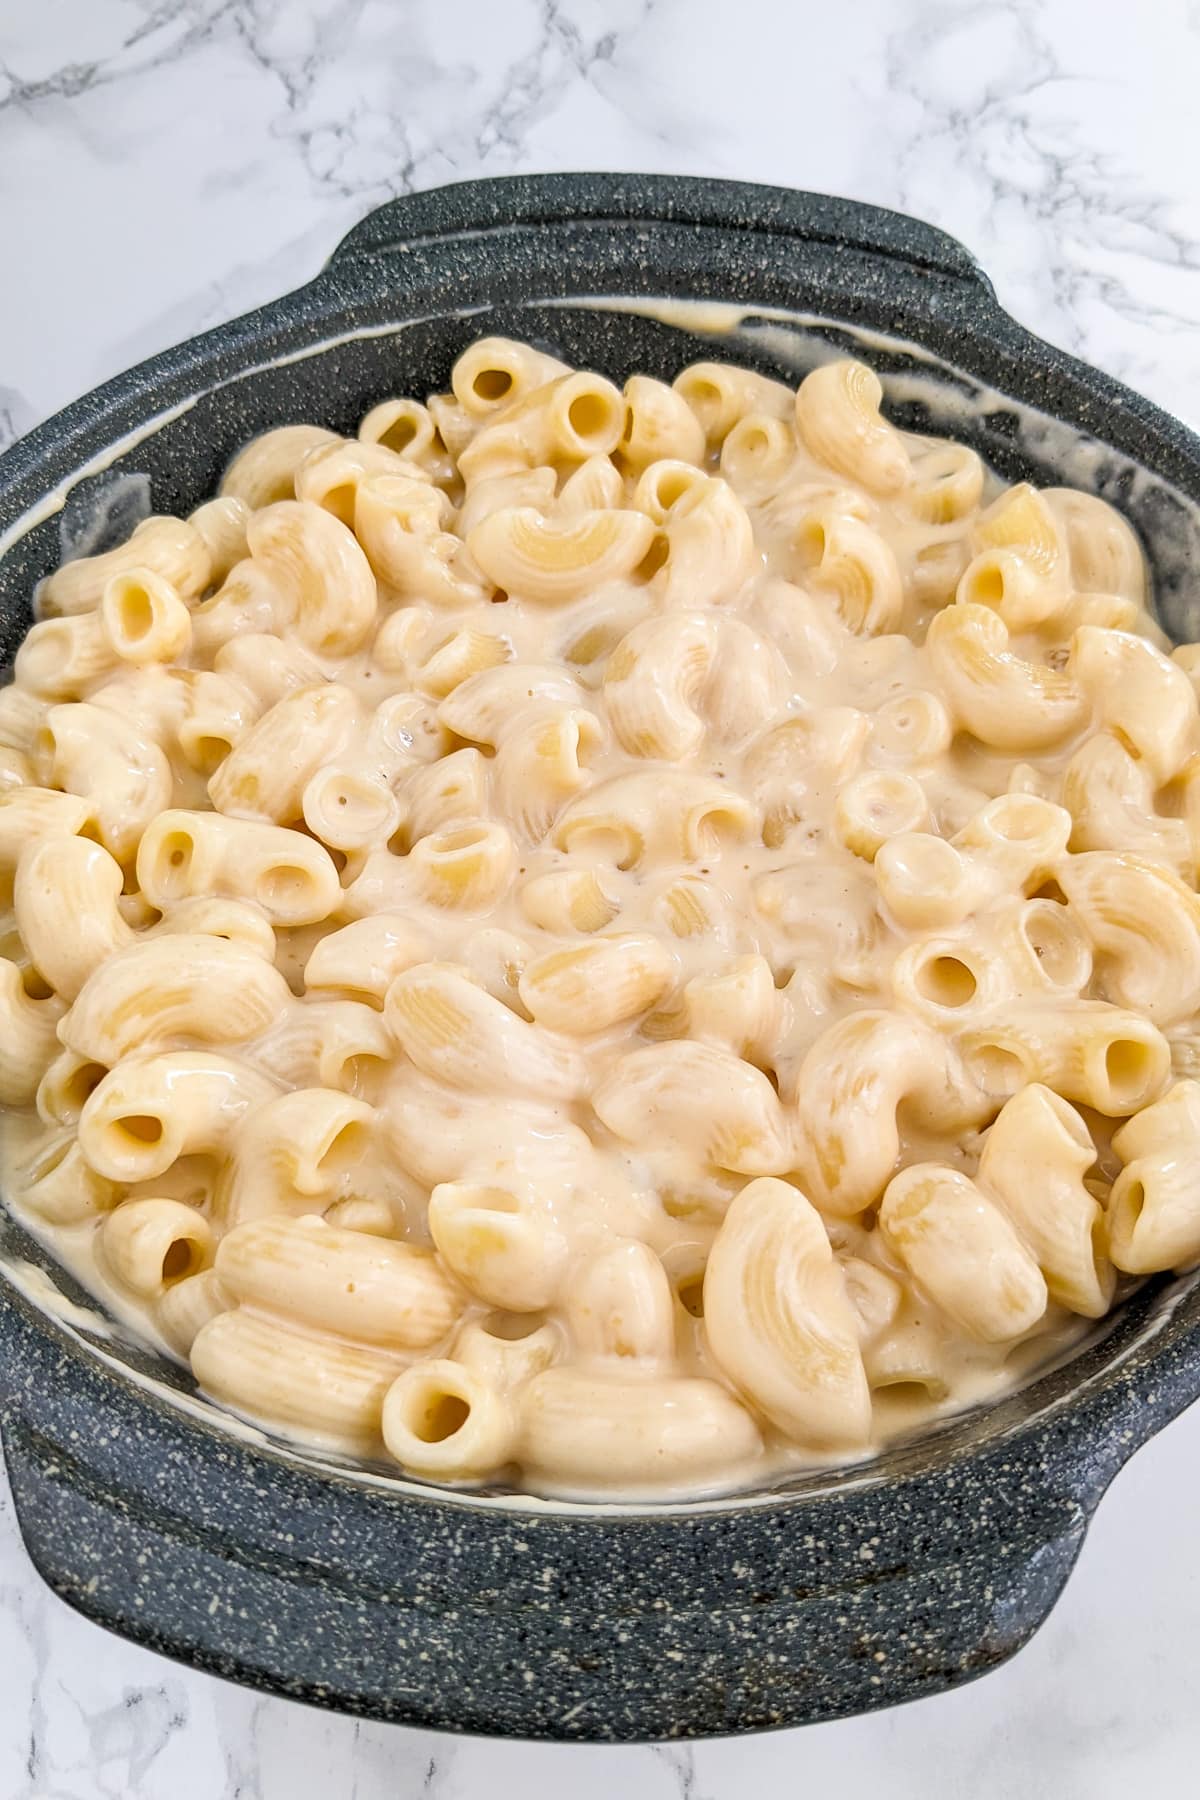
Sprinkle some mozzarella on top, then bake it for 7-10 minutes until the cheese is bubbly and golden.
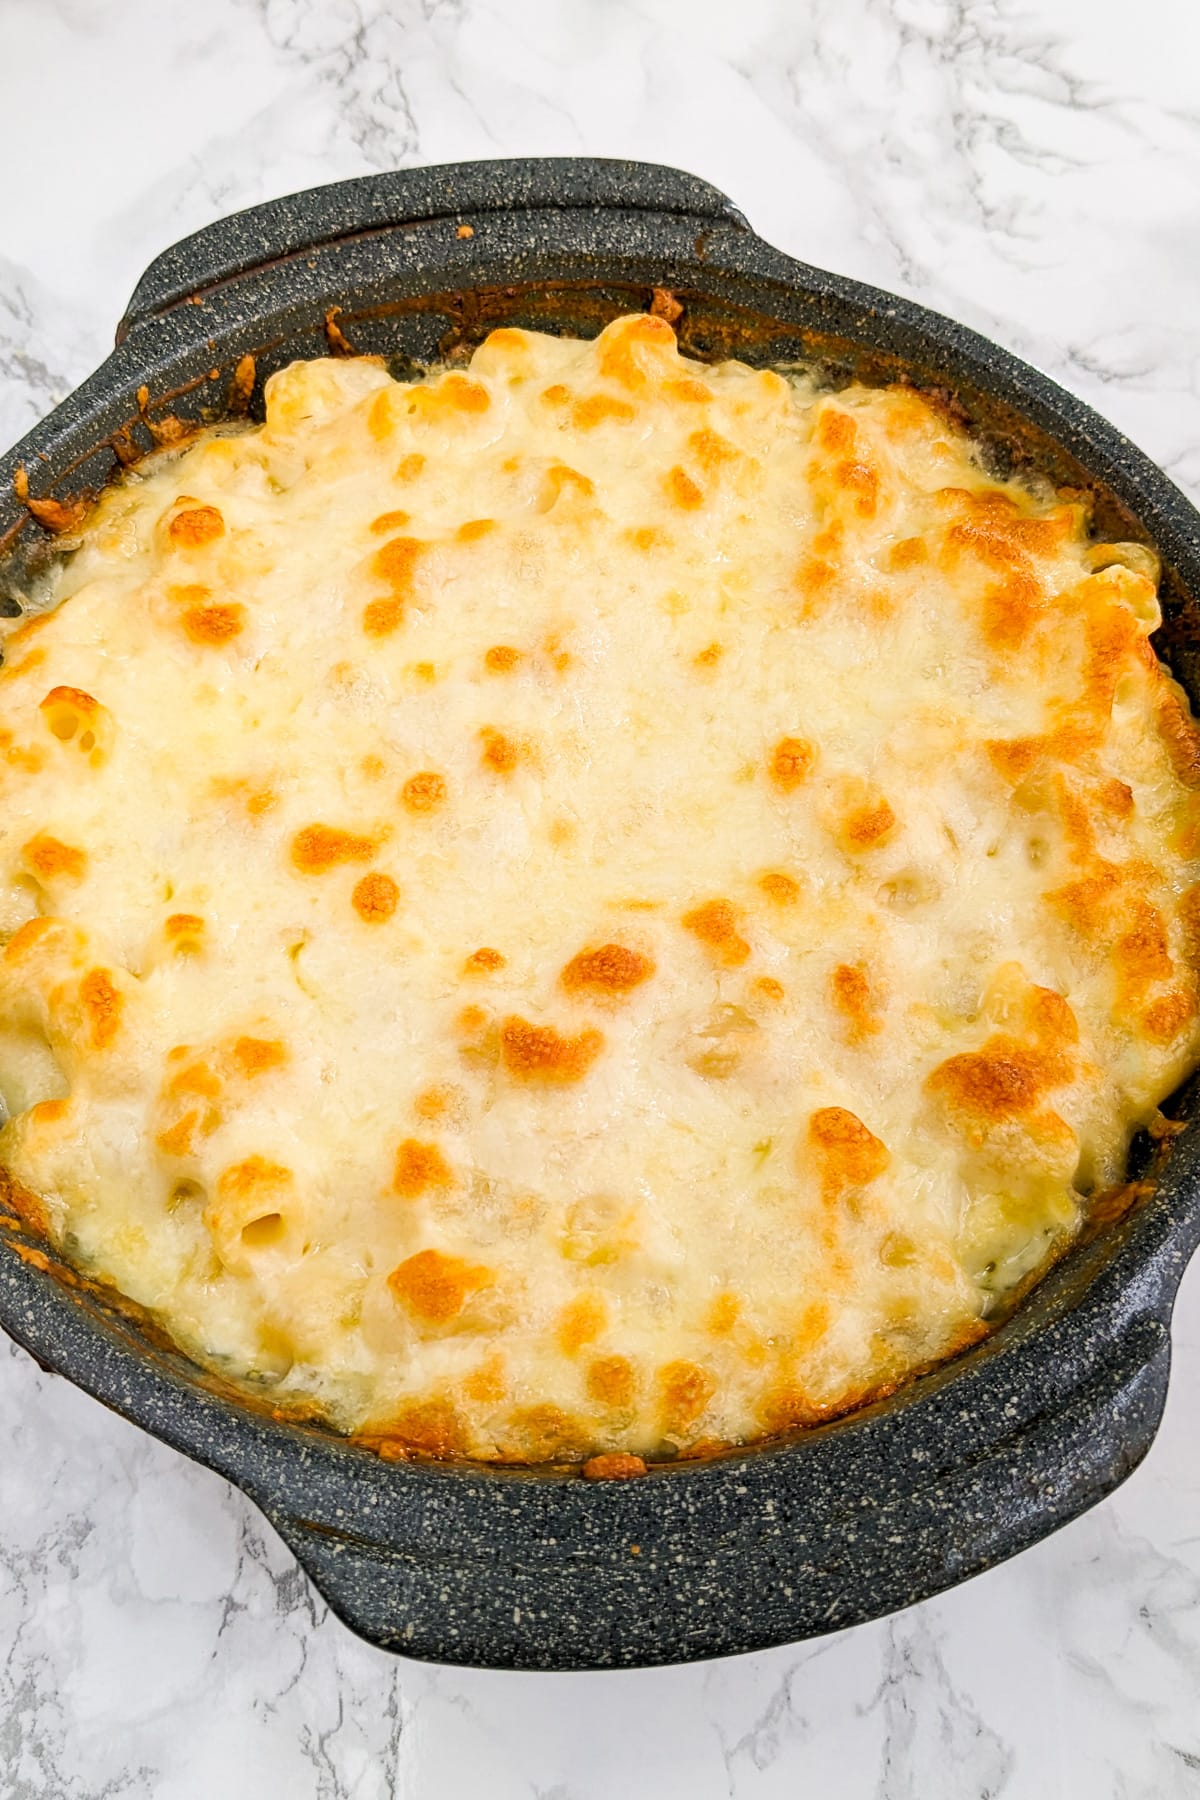
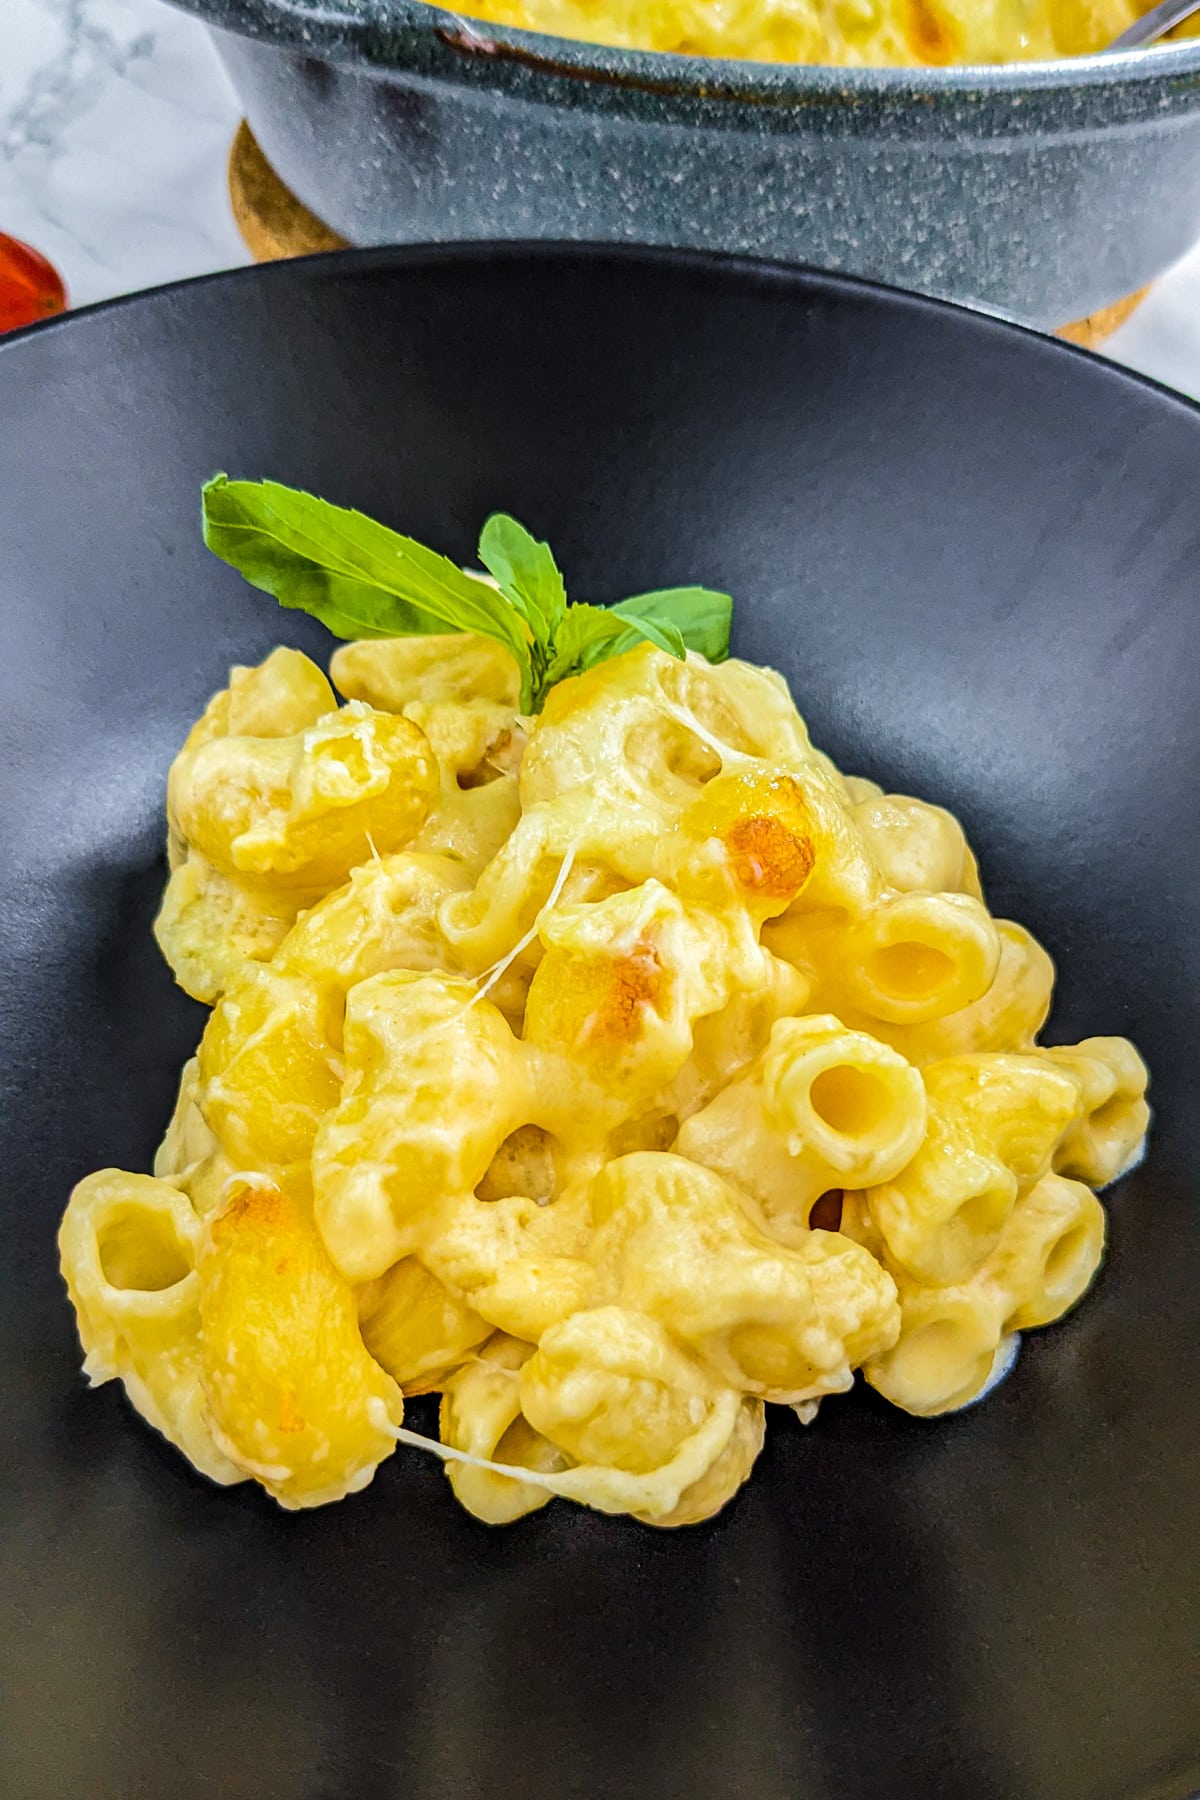
And there you have it, mac and cheese with that extra creamy kick from the evaporated milk. It’s best served hot for that ultimate cheese pull.
🍽️ Serving Suggestions
Here’s how I shake up serving mac and cheese to make it even more awesome. I like to dish it out in those cute little ramekins or tiny cast-iron skillets. Makes it look fancy, right? Then, I throw on some crispy bacon bits and a dash of fresh chives on top. The smoky bacon with the creamy mac just hits different.
I also love stuffing mac and cheese into colorful bell peppers. Just chop off their tops, scoop out the seeds, give them a quick boil to soften up a bit, and then stuff them full of mac and cheese. Pop them in the oven until everything’s all melty and the peppers are soft. It’s a total game-changer.
And for a real treat, I heap a big spoonful of mac and cheese right onto my burger buns. Mixing that creamy goodness with a juicy burger, maybe some lettuce, tomato, and a bit of ketchup? Best burger ever.
Don’t even get me started on mac and cheese pizza. Just spread the mac and cheese over a pizza crust, sprinkle on some extra mozzarella, add a few tomato slices for that fresh kick, and bake it till it’s all golden and bubbly. Sharing is optional, but it’s a crowd-pleaser for sure.
🏆 Expert Tips. What to Pay Attention To?
Here’s the inside scoop on making it perfect every time. First off, don’t cook the pasta all the way through. Shave off a couple of minutes from what the package says because it’s going to keep cooking in the oven.
Make sure your evaporated milk is at room temperature before you start. It’ll mix into the sauce way smoother that way.
And do yourself a favor—shred your own cheese. The pre-shredded stuff just doesn’t melt the same, and you’ll notice the difference in flavor.
Lastly, when you’re working on the roux, don’t rush it. It’s the backbone of that rich, creamy sauce, so give it the attention it deserves.
♻️ Make Ahead, Storage, and Heating:
Thinking about making mac and cheese ahead?
For the best results, just whip up the sauce and store it in the fridge for up to 4-5 days. When you’re ready, cook the pasta fresh and carry on with the recipe.
How long will it stay good in the fridge?
If you’ve already mixed everything up, your mac and cheese will last 3-4 days if you seal it up tight in a container. If you won’t eat it all at once, splitting it into smaller, airtight containers is a smart move.
Not sure what pasta to use?
Macaroni is the classic choice, but honestly, grab whatever pasta you like. It’s all good.
Why is it recommended to undercook the pasta before baking it?
If you cut cooking time by 2 minutes, the pasta won’t turn to mush in the oven because it’ll keep cooking in there.
What are the best ways to reheat?
When it’s time to reheat, both the microwave and oven are fine. If you’re using the oven, cover your mac and cheese with foil to keep it from drying out. Warm it up on low heat until it’s nice and hot.
📋 Recipe Card:
Mac and Cheese With Evaporated Milk
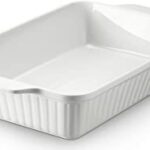
Equipment
Ingredients
- 3 cups Pasta Macaroni
- 8.5 oz Cheddar Cheese
- 8 oz Mozzarella
- 2 ½ cups Evaporated Milk
- 2 tablespoon All-purpose flour
- Salt To taste
- 2 tablespoon Butter
Instructions
- In a pan, fry the flour with the butter for about 3-4 minutes.2 tablespoon Butter, 2 tablespoon All-purpose flour
- Gradually add evaporated milk and mix continuously until it starts to boil.2 ½ cups Evaporated Milk
- Turn off the heat and add the shredded cheddar cheese.8.5 oz Cheddar Cheese
- Boil the pasta for 2 minutes less than indicated on the package.3 cups Pasta
- Put the boiled pasta in a casserole, and pour over it the cheese sauce that we just made.
- Grate the mozzarella and spread it on the rest of the ingredients in the baking dish.8 oz Mozzarella
- Preheat the oven and bake everything at 350°F (180°C) for about 8-10 minutes or until the cheese melts.
Quick Note
I highly recommend reading the entire recipe to find more tips and notes about this recipe. Read Full Recipe ⇑
Notes
- This mac and cheese recipe is highly customizable. You can throw in whatever you like—bacon, ham, veggies, or even mix up the spices.
- When you’re working on the roux with the butter and flour, just take it slow. It’s key for getting that sauce nice and thick. Wait for that moment when the flour starts smelling a bit nutty, usually takes about 3-4 minutes.
- Salt can be a bit tricky because it all depends on how salty your cheese is. My tip? Taste your sauce before you add any salt, then adjust.
- And for the pasta, don’t cook it all the way through before it goes in the oven. Knock off 2 minutes from what the package says because it’ll keep cooking in the oven, and you don’t want mushy mac and cheese.

Susan DiCanio
Hi , I tried this recipe last night and my family loved it !! Thank you for sharing