Discover the rich, savory magic of homemade caramelized onions, perfect for elevating any dish. With just a 3 simple ingredients and some patience, you can transform ordinary onions into a sweet and flavorful delight. Get ready to unlock a world of culinary possibilities with this versatile, mouth-watering ingredient.
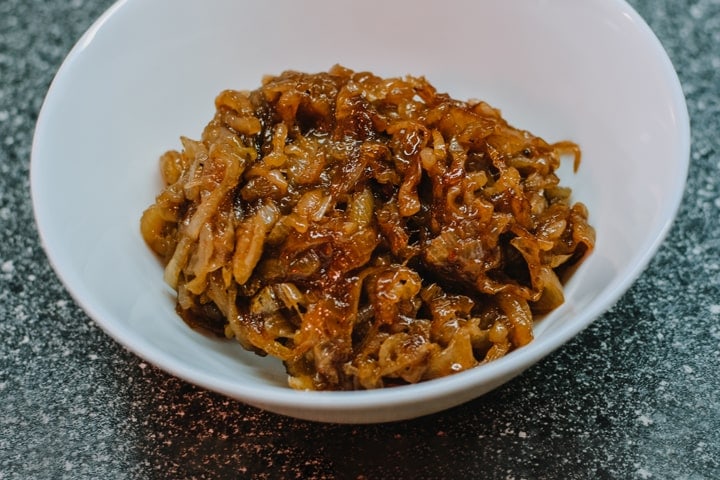
Ready to elevate your cooking with homemade caramelized onions? This simple recipe transforms ordinary onions into a sweet, savory addition that enhances any dish.
Think caramelized onions are overhyped? They’re actually a game-changer, infusing your meals with a complexity that shifts them from average to outstanding.
Imagine onions sautéed until they release a harmony of sweet and tangy notes, perfect for everything from sandwiches and tarts to stews and salads. These onions will become your go-to for adding a rich, flavorful twist.
You just need onions, salt, a bit of sugar, balsamic vinegar, and olive oil. These ingredients meld together, yielding a flavor-packed condiment.
Caramelizing onions is straightforward, especially with using only 3 ingredients. With some time and simple techniques, you’ll enhance their natural sweetness.
I’ll walk you through it, sharing essential tips to ensure your onions turn out perfect. Grab your apron and knife, and let’s get started on this simple yet transformative culinary staple. Ready to begin? Let’s make some caramelized onions!
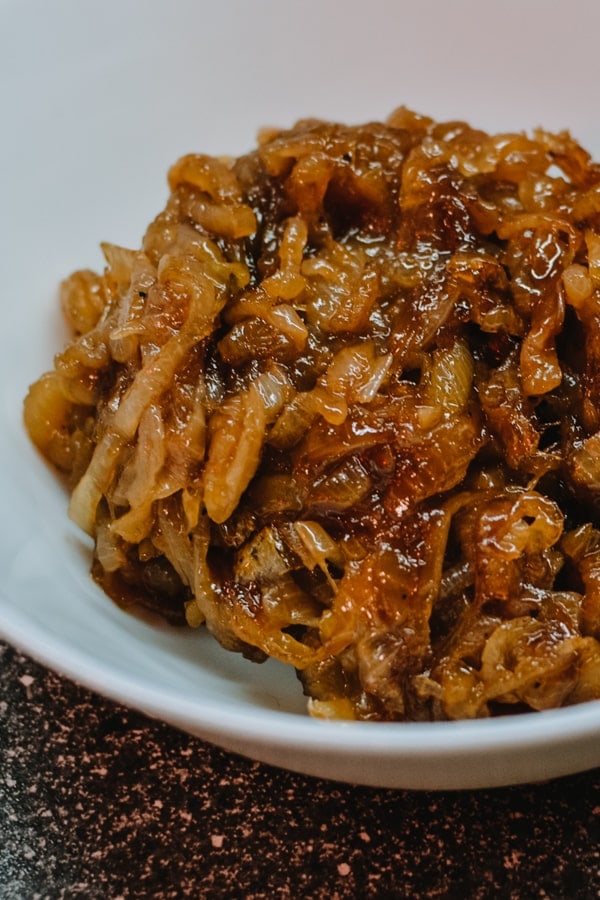
Quick Tip: When you start to caramelize the onions, close the door to the kitchen because these caramelized onions have a very strong smell that will fill your entire house.
How to Cut Onions Without Shedding Tears?
Avoiding tears at all is probably not possible, but I’ll share with you some ideas I’ve heard from others about how you can reduce the effect.
- Leave the onions for a while in the water. Water will absorb the gas eliminated by the onions, and you can avoid the tears.
- Wear a pair of glasses. They will cover your eyes and do not let the volatile particles from the onions come directly into your eyes.
- Don’t use any fans while cutting the onions. A big mistake that many of us are making is that we are turning on the fans to ventilate the kitchen. In reality, the air is in constant circulation, which will lead to the spread of gas and increase the burning sensation in our eyes.
- Refrigerate the onion before cutting. By refrigerating, you freeze the enzymes from the onions and the sulphuric acid will not be formed when you will chop the onions.
- Light a candle or a lamp near the chopping board. Because of that, the gas that is emitted from the sliced onions will get drawn toward the flare of the burning fire.
- Another essential thing: Use a sharp knife. Otherwise, you will press on the onions, which will cause the destruction of more cells and the elimination of more volatile substances in the air that will cause us tears.
Quick Tip: How to clean the onions easier? Put the onion for a few minutes in a bowl with water. This will make the peel soften a little bit, and they will peel much easier.
What Ingredients Do You Need to Caramelize the Onions?
- Onions. Obviously. For this recipe, I used yellow onions because I have them in the house. But, if you want to reduce the quantity of added sugar in that recipe, you can replace the yellow onions with the red ones. They are sweeter, and you can add less sugar. Also, you can try using shallots, leeks, or even thinly sliced fennel bulbs. Each will bring its unique flavor profile to the dish, adding a twist to your caramelized creation.
- Salt. Salt enhances the natural flavors of the onions, but if you’re watching your sodium intake or prefer alternatives, you can try using low-sodium soy sauce or tamari for a savory touch. Another option is using a small amount of miso paste dissolved in water to bring that umami goodness to the caramelization process.
- Sugar. The addition of sugar helps in caramelizing the onions and adding a touch of sweetness. However, if you’re looking for a healthier alternative, you can use coconut sugar, maple syrup, or even a bit of honey. Just remember that the flavors may vary slightly, so adjust accordingly to your taste.
- Balsamic Vinegar. Balsamic vinegar contributes a tangy note to the caramelized onions. If you don’t have any on hand or prefer a different taste, you can substitute it with red wine vinegar, apple cider vinegar, or even a splash of lemon juice for a bright and citrusy twist.
- Olive oil. Olive oil adds richness and depth to the caramelization process. If you’re out of olive oil or prefer a different oil, you can use vegetable oil, canola oil, or even melted butter for a touch of decadence. Each will impart its unique flavor, so choose based on your personal preference.
Let’s get started!
How to Caramelize the Onions?
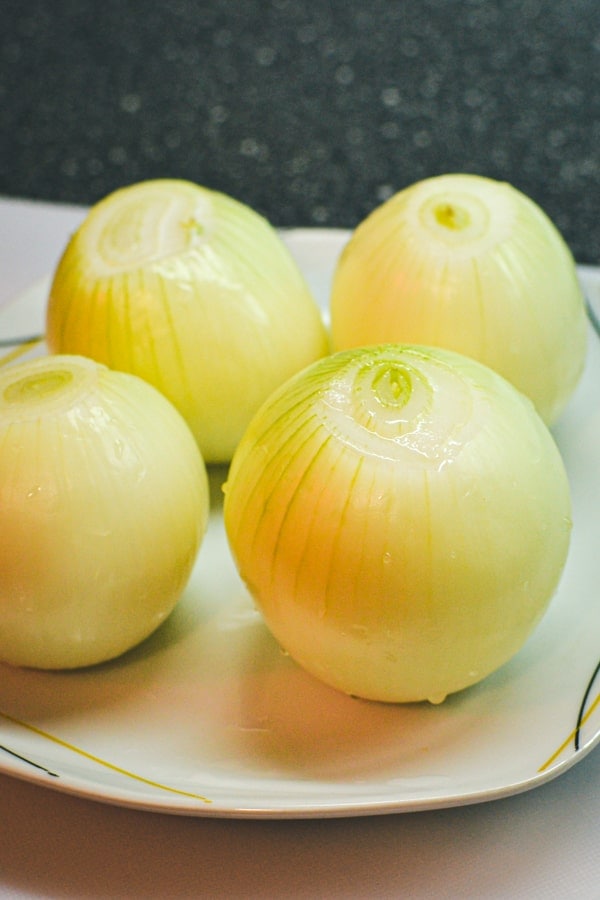
Choose four medium onions, peel them, and if you tear your eyes, as I said earlier, put them into a bowl with water for 10 minutes. This will help you to minimize the tears.
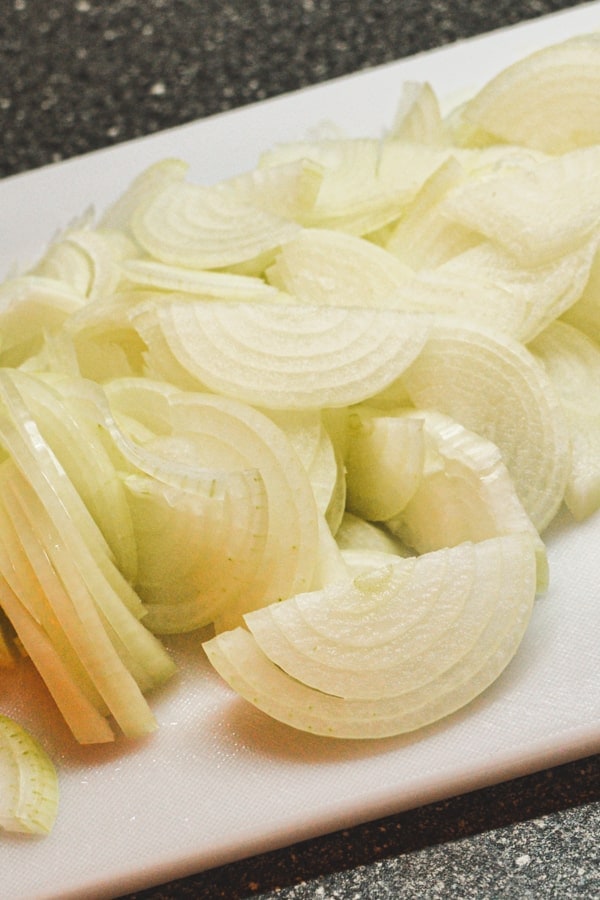
Slice the onions into pieces ⅛″ thick. Or, if you want, you can cut the onions into small cubes. As a result, you will get a texture that will be more like a jam.
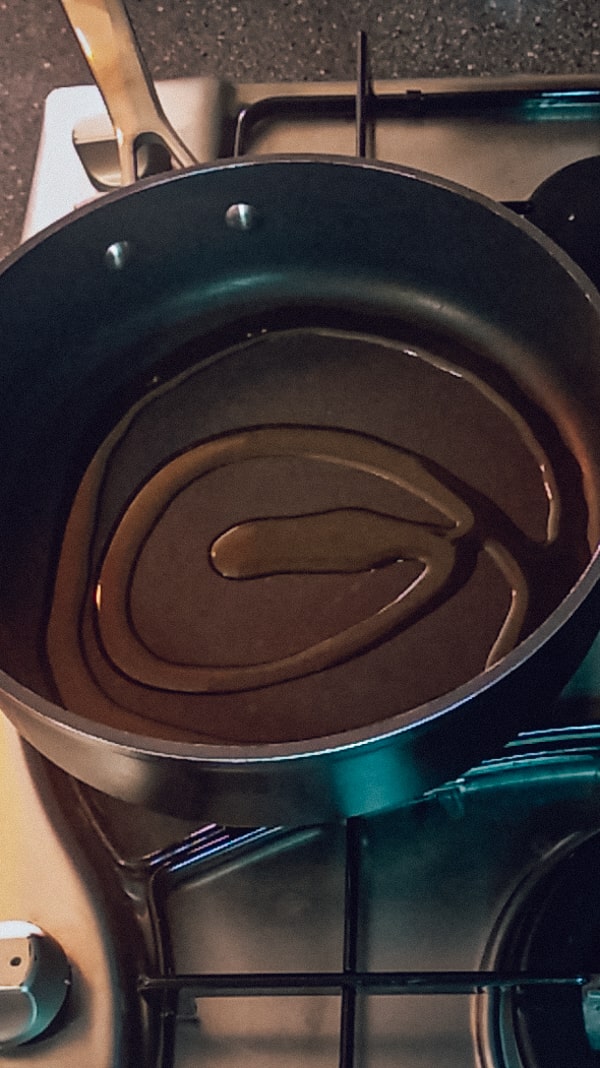
Take a non-stick pan and pour the extra virgin olive oil.
Quick note: It’s important to use a cold pan because if you use a preheated one, the onions will start to fry but not caramelize. Our main goal here is to warm gradually the onions, which will allow us to extract the natural sugar from the onions.
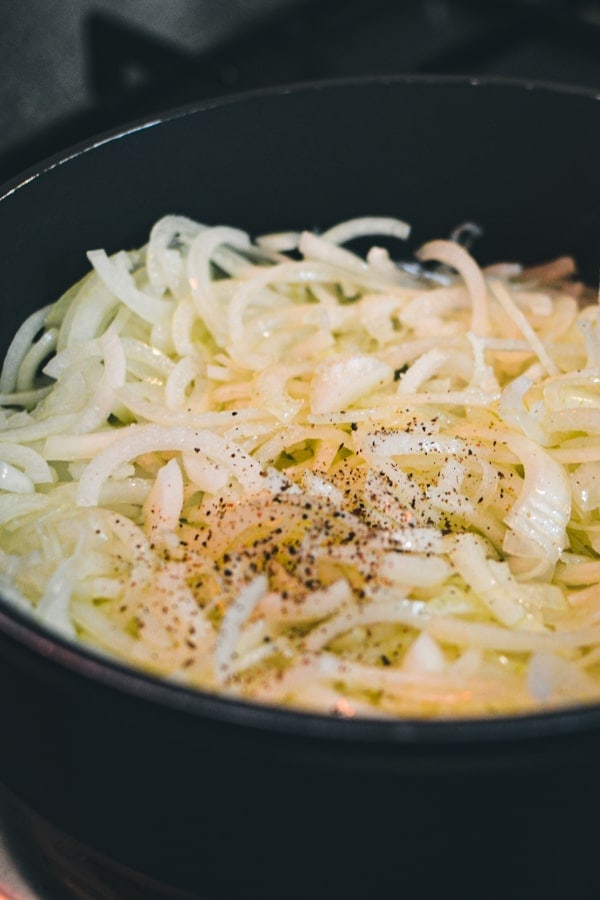
Put the onions into the pan, add the salt and pepper. By adding the salt and pepper from the beginning, we will help the onions to eliminate quicker the juice.
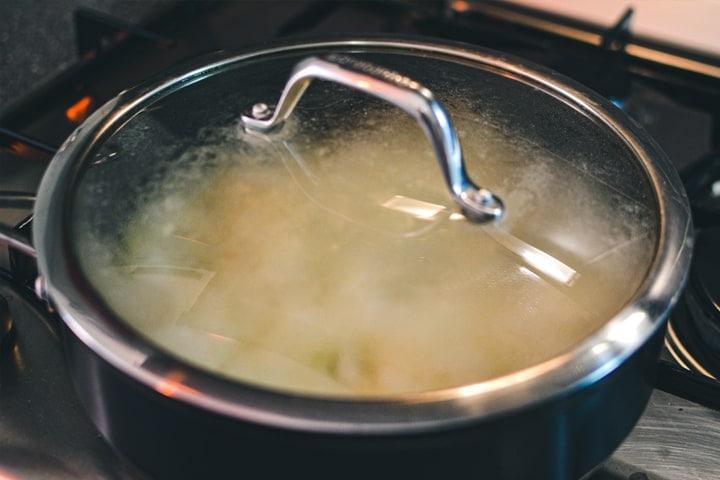
Cover with a lid and let it cook on low heat for 10-15 minutes. The onions should start to become succulent.
Take off the lid of the pan, and when all the juices evaporate, the caramelization process will begin. Don’t forget to mix the onions periodically to avoid burning the onions.
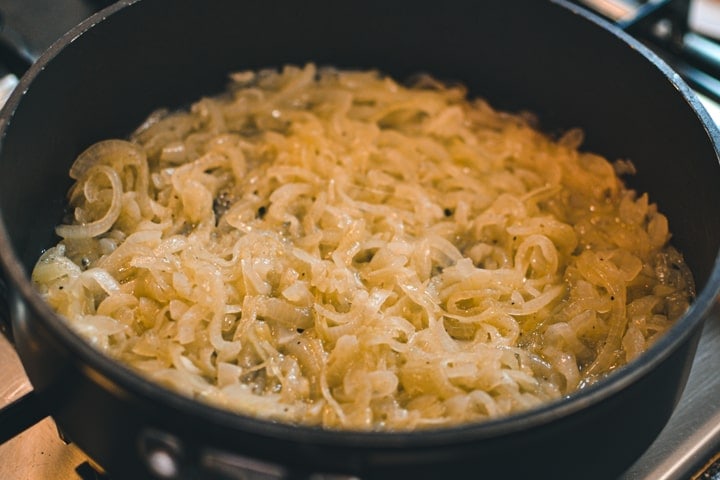
Add the balsamic vinegar and mix the onions well.
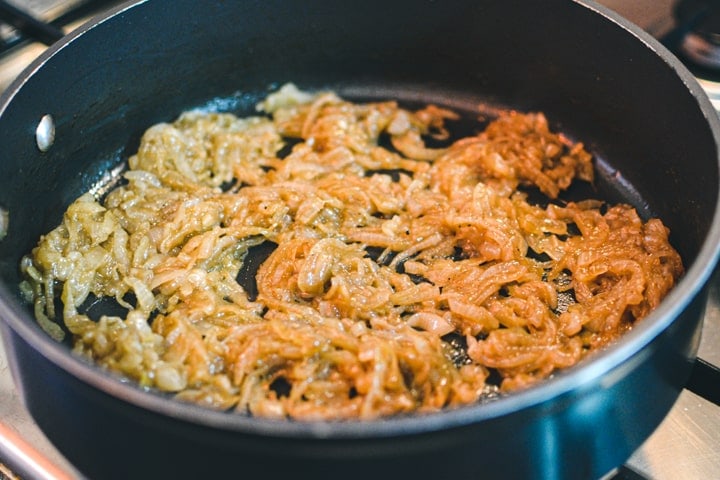
Add the sugar, and caramelize the onions for a few minutes to get an easy taste of fried onion, but do not exaggerate. We need caramelized onions instead of burned onions.
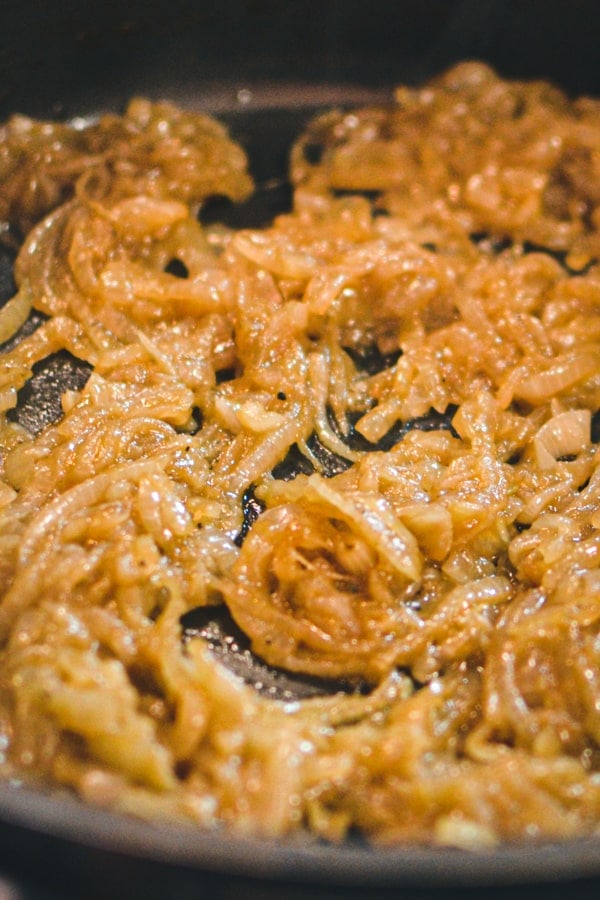
Put the caramelized onions into a bowl and cover them with a towel or a plate. Let the onions to cool down.
Here is the result that I got:

Now you can enjoy this delicious topping that gives a French and refined taste to your favorite dishes. If you plan to use caramelized onions for a burger, check out our recipe of how we made a healthy and delicious burger at home.
🤔 Answering Your Questions:
What Onions Are Best for Caramelizing?
Sweet onions like Vidalia, Walla Walla, or Maui onions are best for caramelizing because they have a higher sugar content, making them more likely to caramelize quickly and evenly.
Can I Use Other Types of Onions for Caramelizing?
Yes, you can use any type of onion for caramelizing, but the results may not be as desirable. Caramelizing onions with a lower sugar content, like yellow or white onions, may take longer and require more attention to prevent burning.
How Should I Store Caramelized Onions?
Caramelized onions can be stored in an airtight container in the refrigerator for up to a week. You can also freeze caramelized onions for up to three months. To reheat frozen onions, simply thaw in the refrigerator overnight and warm in a pan over medium heat.
Can I Caramelize Onions in the Oven?
Yes, you can caramelize onions in the oven by roasting them at a low temperature for an extended period of time. This method requires less attention than stovetop caramelization, but it may take longer to achieve the desired results.
Card Recipe:
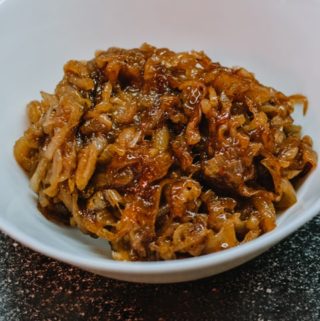
Caramelized Onions (3 Ingredients Only)
Ingredients
Instructions
- Slice the onions into pieces of ⅛" thick.
- In the non-stick pan, put the olive oil.
- Drop the onions into the pan and add the salt and pepper.
- Cover with a lid and let it simmer on low heat. It should leave juice.
- When all the juices evaporate, the frying process will begin — brown the onions a little.
- Add the balsamic vinegar.
- Add the sugar, and caramelize it for a few minutes to get an easy taste of fried onion, but do not exaggerate. We need the caramelized onions. But not burned onions.
- Put the caramelized onions in a bowl, cover them, and let the onions to cool down.
- Now you can enjoy this delicious topping that gives a french and refined taste to your favorite dishes.
Quick Note
I highly recommend reading the entire recipe to find more tips and notes about this recipe. Read Full Recipe ⇑
Notes
- Patience is key: Caramelizing onions is a labor of love that requires time and patience. The process takes a bit longer, usually around 30-40 minutes, as you slowly coax out the onions’ natural sweetness. Be prepared to dedicate some time and resist the temptation to rush the process. Trust me, the end result will be well worth it!
- Low and slow: To achieve that perfect caramelization, it’s important to cook the onions over low to medium heat. This allows them to gradually release their sugars and develop that rich, deep flavor. Avoid cranking up the heat too high, as it can lead to burning rather than caramelization.
- Stirring and monitoring: While the onions are caramelizing, it’s important to stir them occasionally to prevent sticking or uneven browning. Keep a close eye on the heat, adjusting it if necessary, to ensure that the onions cook evenly and don’t burn. Remember, a little attention goes a long way in achieving that beautifully golden hue.
- Cutting the onions: The size and thickness of the onion slices can affect the caramelization process. Thinly slicing the onions ensures that they cook more evenly and caramelize quickly. Aim for slices that are around 1/4-inch thick for best results.
- Flavor variations: While the base recipe is delicious on its own, feel free to get creative with additional flavors. You can add a sprig of fresh thyme, a clove of minced garlic, or even a splash of dry white wine to enhance the depth and complexity of the caramelized onions. Experiment and discover your own unique twist!
- Storage and usage: Caramelized onions can be stored in an airtight container in the refrigerator for up to a week. They also freeze well, so you can make a larger batch and portion it for future use. Use them as a topping for pizzas, sandwiches, burgers, or incorporate them into various recipes to elevate their flavors.




Michelle
Super easy recipe that looks delicious. Also loved the tips about how to avoid crying when slicing onions, some of them were new to me.
Lauren
Look amazing! I’ve been looking for a new recipe to caramelize onions ❤️
Alisa Infanti
I am going to try your candle trick so I can hopefully lose the tears. Love all the tips in this recipe!
Jen
Thanks for the tip about starting with a cold pan. I never knew that’s what I kept messing up on in the past. Worked like a charm!
Claudia Lamascolo
What greats tips and tricks to make this so easy, I love how you shared all those secrets and thank you will have to make this soon
Shashi
Oh my – I swear I can smell these from on this side of my screen! Nothing quite like caramelized onions and yours are caramelized perfectly!
Maria
Very helpful tutorial! Another thing to avoid the tears, leave the onion butts intact.
Marie-Charlotte Chatelain
Oh these are PERFECT! WOuld totally love to stir them into some sour cream now and call it dinner along with some crackers
Megan
Thanks for the tips! For some reason I always have the hardest time with these. I’m a little impatient for them.
Nicky
Thanks!! I’ve always wanted to know how to do this correctly!
Nicolas Risin
My first time making these tonight hotdogs with melted cheese, caramelized onion, ketchup, and mustard. Delightful!
Cathrine
I never knew caramelized onions could be so easy to make at home! This recipe provided clear and concise instructions that yielded beautifully golden and sweet onions.